Let’s be honest for a second. Is there anything more intimidating in a new kitchen than a big, sharp chef’s knife? I remember holding my first one, feeling like I was wielding something both powerful and terrifying. The potato I was trying to dice wobbled, my slices were all different thicknesses, and my biggest goal was simply to finish the task with all ten fingers intact. If this sounds familiar, I want you to take a deep breath. You are in the right place.
Mastering a few basic knife skills is truly the secret handshake that welcomes you into the world of confident cooking. It’s not about being lightning-fast like a TV chef (that comes much, much later, if ever!). It’s about safety, efficiency, and turning a pile of vegetables into a beautiful, evenly cooked meal. It’s the single most important skill you can learn, and today, we’re going to learn it together, one small, steady step at a time.
The Two Handshakes That Change Everything
Before we even touch a vegetable, we need to get comfortable holding the knife and positioning our other hand. Think of it like learning the proper way to hold a pen before you write a story. Getting these two grips right is 90% of the battle.
1. The Handle Grip (Your Knife Hand)
Forget holding the knife by the handle like it’s a hammer. The most stable and controlled way to hold a chef’s knife is with something called the “pinch grip.” It feels a little strange at first, but I promise it will click into place.
- Hold the handle with your last three fingers (middle, ring, and pinky).
- Now, take your thumb and index finger and “pinch” the blade itself, right where the handle meets the metal. Your thumb should be on one side, your index finger on the other.
- This grip makes the knife an extension of your hand, giving you incredible control over the blade’s movement. You’re guiding it from its balance point, not just steering it from the back end. (Trust me on this one.)
2. The Guide Grip (Your “Claw”)
This is the big one. This is the technique that will protect your fingers and give you the confidence to chop without fear. Your non-dominant hand isn’t just holding the food; it’s an active guide and a protective wall for your fingertips.
- Take the hand that will be holding the food and curl your fingertips inward, tucking your thumb behind them. It should look like you’re gently holding a tennis ball or, well, like a claw.
- Now, place your hand on the food. Your knuckles should be sticking out in front of your tucked-in fingertips.
- This is your safety shield! The flat side of the knife blade will rest and glide against your knuckles as you chop. Because your fingertips are tucked safely behind, it’s physically impossible for the blade to reach them.
Practice this motion without even cutting anything. Put your “claw” on a carrot. Bring your knife (held in a pinch grip) up to it. Feel how the side of the blade rests against your knuckles? That’s your guide. You’ll move the claw backward bit by bit to determine the thickness of each slice.
Your First Three Cuts Practice Makes Progress
Okay, grips mastered? Let’s get chopping. We’re going to start with three foundational cuts that will cover most of your cooking needs. For practice, I recommend starting with something inexpensive and easy to handle, like an onion, a potato, or a carrot.
A Quick Safety Tip: The most dangerous vegetable is a round one. Always create a flat, stable surface before you start chopping. If you’re cutting a potato or a carrot, slice a thin piece off one side first, then lay it on that flat side. No more wobbling!
1. The Dice (The Everyday Workhorse)
This is how you get those uniform pieces of onion or potato for soups, stews, and roasts. Consistency is key here, because evenly sized pieces cook at the same rate. No more half-mushy, half-raw potatoes in your dish!
- Step 1: The Planks. Start with your flat surface. Let’s use an onion half, flat-side down. Make evenly spaced vertical slices all the way across, but don’t cut all the way through the root end. Leave it attached so the onion holds together.
- Step 2: The Sticks. Turn the onion 90 degrees. Now, slice down across your first set of cuts. You’ll have a perfect pile of little sticks, or “batons.”
- Step 3: The Dice. If you had sliced all the way through the root, you’d already have dice! Just gather your sticks and chop them crosswise into your desired dice size.
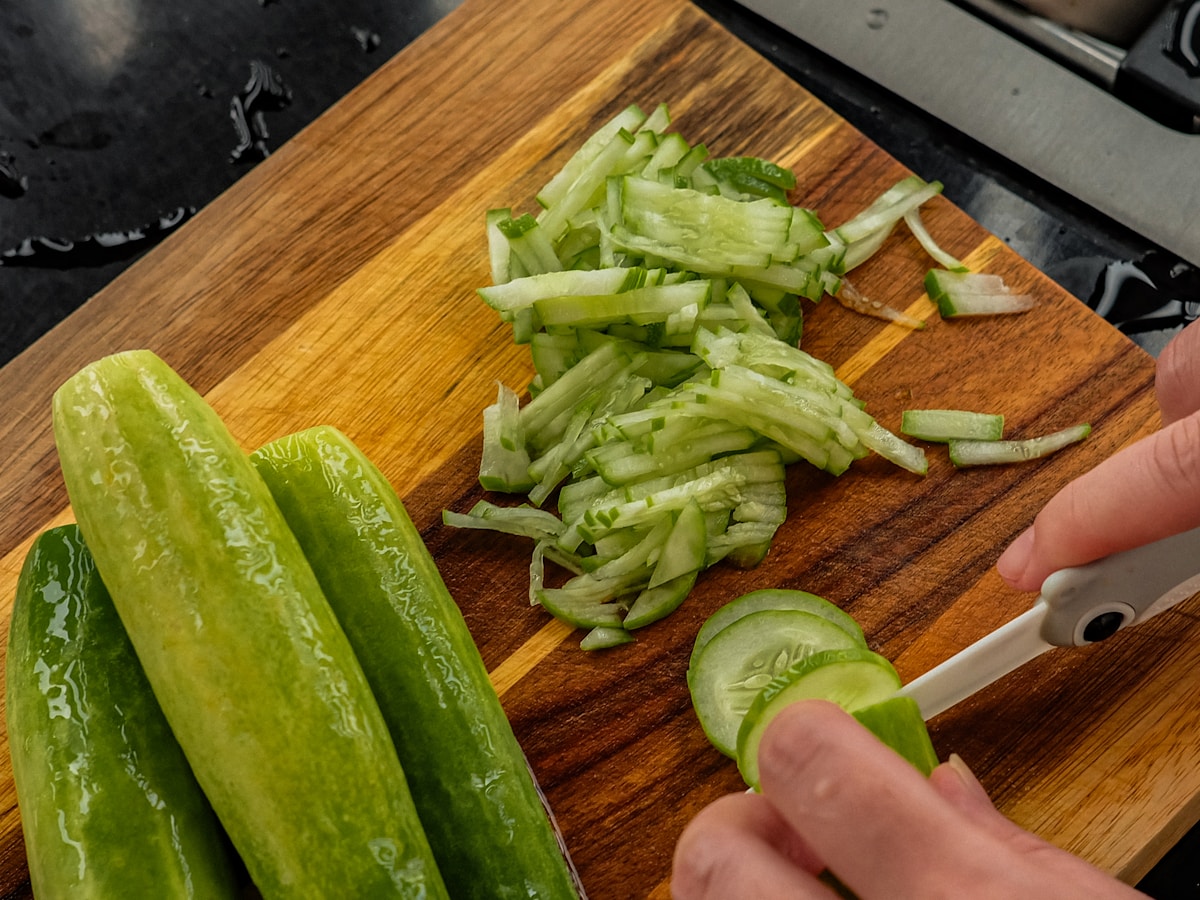
2. The Julienne (The Fancy Matchstick)
This sounds fancy, but a julienne is just a very thin stick. It’s perfect for salads, slaws, and stir-fries where you want vegetables to cook quickly and integrate beautifully.
- Take a carrot and create your flat surface. Cut it into a manageable 2-3 inch section.
- Slice that section into very thin planks, maybe 1/8th of an inch (about 3mm) thick.
- Stack those thin planks on top of each other and, using your claw grip, slice them lengthwise into very thin matchsticks. That’s it! You’ve made a julienne.
3. The Chiffonade (The Herbal Ribbon)
This is my favorite cut. It’s the fastest way to prep leafy herbs like basil and mint, or greens like spinach, and it looks so elegant.
- Take a handful of basil leaves and stack them neatly on top of one another.
- Starting from one of the long sides, roll the stack up tightly into a little green cigar.
- Now, holding the roll with your claw grip, thinly slice across it. The roll will unfurl into beautiful, delicate ribbons of basil. Perfect for sprinkling over pasta or soup.
Your Unsung Kitchen Heroes
Great knife skills need a great support system. There are two things you absolutely need.
1. A Stable Cutting Board: A sliding cutting board is a dangerous cutting board. The single best kitchen hack I can teach you is this: wet a paper towel, wring it out, and lay it flat on your counter. Place your cutting board on top. It will not budge. (Your future self will thank you.) Also, please avoid glass, marble, or stone cutting boards. They look pretty, but they will dull your knife in a heartbeat. Stick to wood or plastic; they have a little give and are much kinder to your blade’s edge.
2. A Sharp Knife: This sounds counterintuitive, but the sharpest knife in your kitchen is the safest one. A dull knife requires you to use more pressure and force to cut through food. When you’re pushing that hard, the knife is far more likely to slip off a tough tomato skin and into your hand. A sharp knife, however, will bite right into the food with very little pressure, doing the work for you and staying exactly where you guide it.
So, how do you keep it sharp? A simple, handheld pull-through sharpener (like one from a brand such as Wüsthof or Chef’sChoice) is a fantastic starting point for a beginner. Using it once every month or two will keep your blade in good shape.
Try This Tonight
Feeling overwhelmed? Don’t be. Nobody becomes a master overnight. The goal is just to get a little more comfortable each time.
So here’s your homework. Tonight, before you even think about dinner, just grab one onion. Put on some music you love. Place a damp paper towel under your cutting board. Take a deep breath and practice making dice. Don’t worry about speed. Don’t worry about perfect cubes. Just focus on your pinch grip and your claw grip. Focus on the feeling of the knife gliding against your knuckles.
That’s it. You’re not making a meal; you’re building a skill. And you’re on your way to becoming a more confident, safer, and happier home cook. Everyone starts somewhere, and you’ve already taken the most important step.