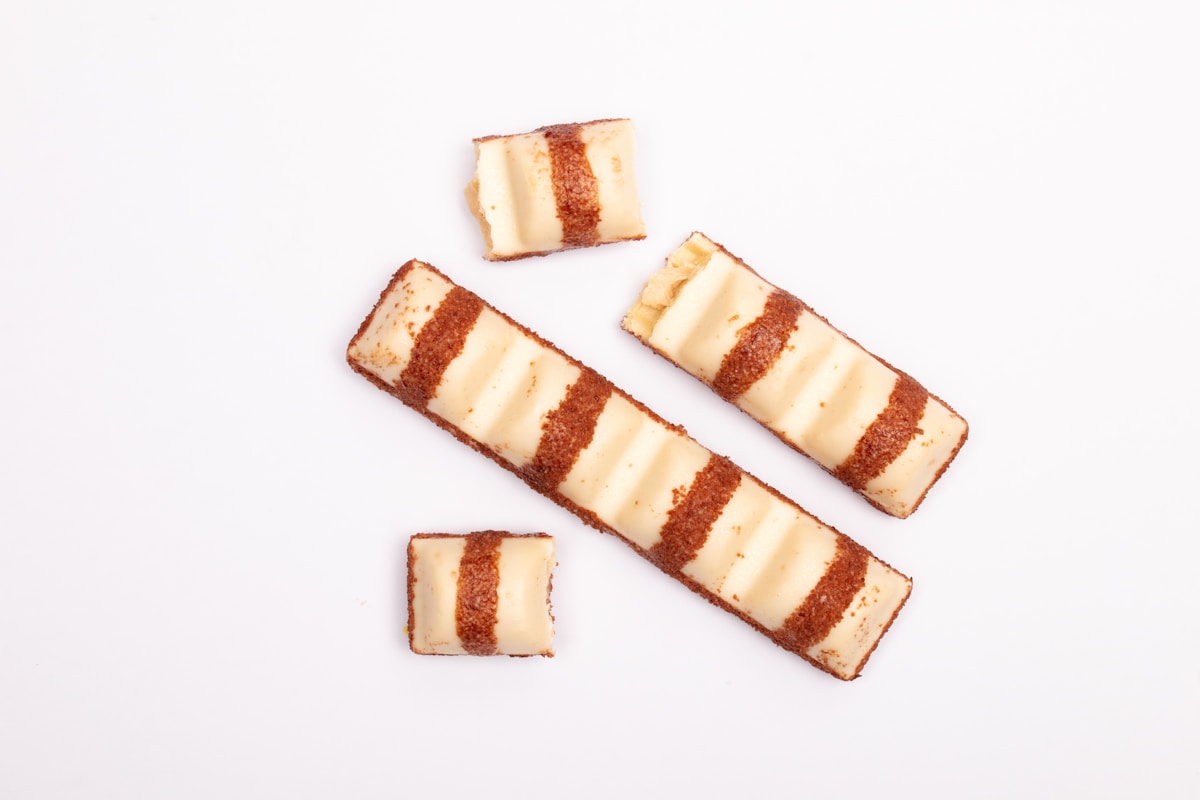
There are few moments in baking more visually satisfying than slicing into a perfectly constructed checkerboard cookie log. You see the crisp, clean lines, the beautiful contrast of vanilla and chocolate, and you imagine the stunning little mosaic cookies lining your cooling rack. Then, you put them in the oven.
Ten minutes later, you pull out the tray to find not a grid of perfect squares, but a collection of deconstructed blocks. The chocolate and vanilla pieces have drifted apart, pushed away from each other by some invisible force. It’s a common and deeply frustrating experience. You did all the hard work of measuring, rolling, and assembling, only to have it fall apart at the final hurdle.
The good news is that this isn’t a random baking failure. It’s a predictable result of physics and chemistry at work in your oven. And once you understand the forces at play, you can easily counter them. Let’s break down the science of why your cookies are separating and build them back better, stronger, and permanently fused.
The Science of Separation Why Dough Doesn’t Stick
At its core, cookie dough is an emulsion of fat (butter) and water, with flour providing structure. The main reason your checkerboard strips fail to fuse permanently comes down to two key culprits: fat and air.
First, let’s talk about the butter. A classic slice-and-bake cookie dough like this is very high in fat. While this makes the cookies tender and delicious, fat is also a lubricant. When you press two smooth, buttery dough surfaces together, they don’t have much natural inclination to stick. There isn’t enough free moisture or protein to form a strong bond on its own. It’s like trying to glue two sticks of butter together; it just doesn’t work.
Second, and more dramatically, is the issue of trapped air. No matter how carefully you assemble your log, it’s nearly impossible to press the strips together so perfectly that you eliminate every single microscopic air pocket between the layers. When the cookie dough hits the heat of the oven, that trapped air expands—and it expands rapidly. As the air pushes outward, it forces your carefully assembled layers apart. The steam generated from the small amount of moisture in the dough also contributes to this effect. This expansion is the primary force that causes the catastrophic separation you see on the baking sheet.
To create a structurally sound cookie, you need to solve both problems: you need to introduce an adhesive to bond the layers and you need to minimize trapped air before the dough ever sees the oven.
Your Secret Weapon Culinary Glue and Proper Assembly
To counteract the lubricating effect of the butter, we need to introduce an edible glue. In baking, the most effective glue is protein. When heated, proteins denature and coagulate, forming a strong, permanent bond. Your best and simplest source for this is an egg.
Here are your options for a culinary adhesive:
- Egg White (The Best Choice): An egg white is roughly 90% water and 10% protein (mostly albumin). This makes it the ideal glue. It has a massive concentration of bonding power with very little fat or color to interfere with your final cookie. A light brushing of whisked egg white between your dough layers will be nearly invisible and create a powerful bond once baked.
- Whole Egg Wash: A whole egg, beaten, also works well. The yolk adds a little fat and a distinct yellow color, which might be slightly visible in the finished cookie, but the proteins are still there to do the job.
- Milk or Cream: In a pinch, a brush of milk or heavy cream can provide some adhesion. They contain proteins (casein and whey), but in much lower concentrations than an egg. It’s better than nothing, but not as reliable.
The Assembly Technique:
- Lay down your first layer of alternating dough strips.
- Lightly whisk one egg white in a small bowl until it’s just frothy.
- Using a pastry brush, apply a very thin, even layer of egg white over the entire surface. (Do not overdo it. Too much will make the next layer slippery and difficult to position.)
- Place the next layer of dough strips on top, pressing down gently but firmly to ensure good contact and push out as much air as possible.
- Repeat the process until your log is fully assembled.
- Once built, gently squeeze the entire log from all sides. Your goal is to compact the layers and eliminate any remaining air pockets. Finally, wrap the log very tightly in plastic wrap. This tight wrapping provides external pressure that helps the layers meld as they chill.
A Foundational Checkerboard Dough Recipe
You can’t build a sturdy house on a weak foundation. A good slice-and-bake dough should be firm, not too sticky, and hold its shape well. This recipe is a reliable starting point.
Ingredients:
- 1 cup (227g) unsalted butter, softened but still cool
- 1 cup (200g) granulated sugar
- 1 large egg, room temperature
- 1 teaspoon vanilla extract
- 2 ½ cups (300g) King Arthur All-Purpose Flour
- ½ teaspoon salt
- ¼ cup (21g) Dutch-process cocoa powder
Instructions:
- In the bowl of a stand mixer fitted with the paddle attachment, cream the butter and sugar together on medium speed until light and fluffy, about 3 minutes.
- Add the egg and vanilla, mixing on low speed until just combined. Scrape down the sides of the bowl.
- In a separate bowl, whisk together the flour and salt.
- With the mixer on its lowest speed, gradually add the dry ingredients to the wet ingredients, mixing only until the flour disappears. (Over-mixing develops gluten and will make your cookies tough.)
- Remove half of the dough (about 400g) and set it aside. This is your vanilla dough.
- Add the cocoa powder to the remaining dough in the mixer bowl and mix on low until it’s uniformly chocolatey.
- Divide each flavor of dough in half. Form each of the four portions into a flat rectangle, wrap in plastic, and chill for 30 minutes. This makes it much easier to roll.
- Kitchen Hack: For perfectly even layers, roll each dough portion between two sheets of parchment paper. Use rolling pin guides (or two ½-inch square wooden dowels from a hardware store) on either side to ensure a uniform thickness. Aim for a rectangle about 6x8 inches.
- Stack the rolled doughs (separated by parchment), place on a baking sheet, and chill again for another 30 minutes before cutting into strips for assembly.
The Critical Chill Why Cold is Your Best Friend
Now that you’ve glued and assembled your log, the next step is non-negotiable: a deep chill. Chilling does two critical things for your cookies.
First, it solidifies the butter. As we discussed, soft butter makes for a soft, pliable dough. Cold, hard butter makes for a firm, solid dough. This firmness is absolutely essential for getting clean slices. If you try to slice a room-temperature or slightly cool log, the pressure of the knife will compress and squish the dough, smearing the colors and distorting your perfect squares. A thoroughly chilled log will behave more like a block of cold cheese, allowing you to slice through it cleanly.
Second, chilling prevents the cookies from spreading excessively in the oven. When cold fat enters a hot oven, it takes longer to melt. By the time it does, the cookie’s structure has already started to set, leading to less spread and a sharper final shape.
Chilling Times:
- Refrigerator: Chill the tightly wrapped log for a minimum of 2 hours, but preferably 4 hours or even overnight. You can’t really over-chill it in the fridge.
- Freezer: For a faster turnaround, you can freeze the log for 30-45 minutes. It should be very firm to the touch, but not frozen solid.
From Perfect Slices to Baked Perfection
Once your log is properly chilled, it’s time for the final steps. This is where your precision pays off.
Slicing: Use a long, thin, non-serrated, and very sharp knife. A chef’s knife or a slicing knife works well. Don’t saw back and forth. Position the knife and press down in one firm, fluid motion. After every two or three slices, rotate the log a quarter turn. This prevents one side from flattening under its own weight as you slice.
Baking:
- Preheat your oven to 350°F (175°C).
- Place the sliced cookies about 1 inch apart on a parchment-lined baking sheet.
- Bake for 10-12 minutes. The cookies are done when the edges of the vanilla squares are just beginning to turn a pale golden brown. The centers may look slightly underdone.
- Let the cookies cool on the baking sheet for 5 minutes before transferring them to a wire rack to cool completely.
By controlling the variables—adding a protein adhesive, pressing out the air, and ensuring the dough is bone-chillingly cold before slicing—you take charge of the final outcome. You are no longer a victim of baking physics; you are its master. The result is a batch of stunningly precise, structurally sound, and delicious checkerboard cookies that look every bit as good as they taste.


