It’s a scenario I hear about all the time. You followed the recipe for that perfect vanilla layer cake to the letter. You measured your flour correctly, your butter was at the perfect room temperature, and you folded everything together with care. You pour the batter into your brand-new, brightly colored, flexible silicone pan, feeling good about its modern, non-stick promises.
But when the timer goes off, what comes out of the oven is… disappointing. The cake is pale, the edges haven’t pulled away cleanly, and when you slice into it, the crumb feels a little heavy, almost gummy. You did everything right, so what went wrong? The culprit, my friends, is almost certainly the pan itself.
Here at kitchen-fun.com, we believe in using the right tool for the job. And when it comes to baking cakes, silicone is rarely the right tool. Let’s break down why your metal pans will beat silicone nearly every time.
The Science of the Bake: A Tale of Two Materials
To understand the problem, we need to talk about heat. Baking is all about heat transfer. How quickly and evenly heat gets from the oven into your batter determines everything from the rise and texture to that beautiful golden-brown crust.
-
Metal (Aluminum & Aluminized Steel): Think of a classic metal pan, like a USA Pan or a Nordic Ware cake pan. These materials are excellent heat conductors. When you place them in a hot oven, they heat up fast. This rapid heat transfer does two crucial things. First, it quickly sets the outer structure of the cake, helping it rise properly. Second, it kickstarts the Maillard reaction and caramelization on the surface—the chemical processes that turn sugars and amino acids into the hundreds of delicious flavor compounds that give us a deep, golden-brown, wonderfully textured crust.
-
Silicone: Now, think about silicone. What else in your kitchen is made of silicone? Probably your oven mitts or a trivet. That’s because silicone is a fantastic insulator. It does the opposite of a conductor; it slows down the transfer of heat. When you put a silicone pan in the oven, it acts like a little barrier, protecting your batter from the direct, intense heat. While this might sound good in theory, it’s a disaster for cake structure. The heat penetrates the batter much more slowly and gently, preventing that quick-setting of the crust and inhibiting the Maillard reaction. (Your cake essentially steams more than it bakes.)
So, while your metal pan is aggressively creating a delicious crust and a light, airy crumb, your silicone pan is coddling the batter, leading to that pale color and dense, often slightly wet, texture.
My Head-to-Head Kitchen Test
Talk is cheap, so I ran a simple side-by-side test. I whipped up one batch of a standard yellow cake batter. I meticulously divided it by weight into two identical 8-inch round pans:
- The Veteran: A heavy-duty aluminized steel pan from USA Pan (my personal workhorse).
- The Challenger: A popular, food-grade silicone 8-inch round pan from a well-known brand.
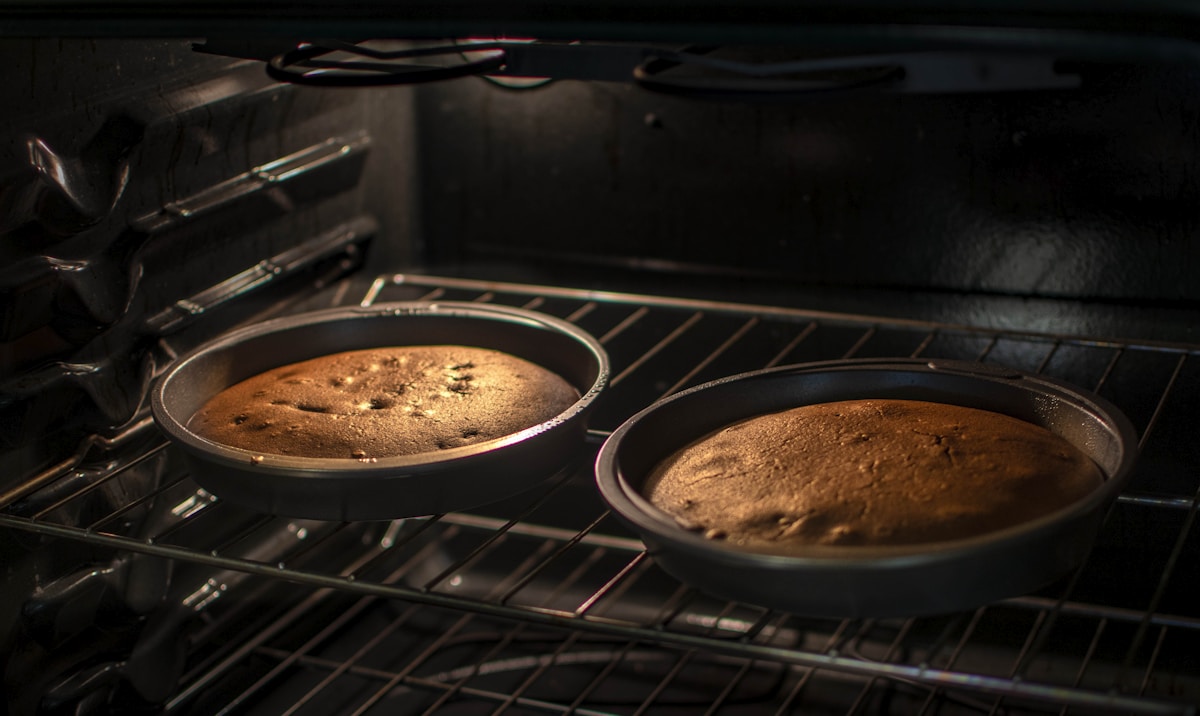
Both went into the same oven, on the same rack, preheated to 350°F (175°C). I started checking them at the 25-minute mark.
The results were exactly as expected. At 30 minutes, a toothpick came out clean from the center of the metal pan’s cake. The top was domed perfectly, a beautiful golden-brown, and the edges were just starting to pull away from the sides. It smelled incredible.
The silicone pan’s cake? Not so much. A toothpick came out with wet crumbs clinging to it. The surface was pale yellow, almost the same color as the raw batter. The edges showed no signs of pulling away. It needed more time.
I gave it another 8 minutes, for a total of 38 minutes. By then, a toothpick finally came out clean, but the cake was still noticeably paler. The real difference was in the texture. After cooling, the metal-pan cake had a delicate, tender crumb and a satisfying, lightly caramelized crust. The silicone-pan cake was heavier, the crumb was tighter, and the bottom and sides had a slightly rubbery, damp texture. It wasn’t a terrible cake, but next to the other one, it was a clear failure.
How to Improve Your Results (If You Must Use Silicone)
Okay, so what if silicone is all you have? Don’t throw it out just yet. While I don’t recommend it for delicate cakes, you can improve your results with a few adjustments.
-
Kitchen Hack: Use a Metal Buffer. Always place your silicone pan on a sturdy metal baking sheet before putting it in the oven. This has two benefits. First, it provides stability for the floppy pan. Second, the hot metal sheet will help conduct heat to the bottom of the silicone, promoting better browning and a more even bake.
-
Increase Baking Time. As my test showed, silicone simply takes longer. Start checking at the time the recipe suggests, but expect to add anywhere from 5 to 15 minutes to the total baking time. Rely on a toothpick or cake tester, not just the clock.
-
Adjust Your Expectations. Accept that you will likely never achieve a deep, golden-brown crust in a silicone pan. The material is fundamentally designed to prevent that.
When Silicone Actually Shines (It’s Not Useless!)
After all that, you might think I hate silicone bakeware. I don’t! It’s just a specialized tool that’s often marketed incorrectly as an all-purpose replacement for metal. The key is using its insulating and flexible properties to your advantage.
Silicone is brilliant for:
- Cold and Frozen Desserts: It is the absolute champion for no-bake cheesecakes, panna cotta, gelatin molds, and homemade ice cream bars. Its flexibility makes unmolding frozen treats a breeze.
- Sticky Candies and Caramels: Pouring hot caramel or taffy into a silicone mold is a dream. Once it cools, you can pop the candies right out with zero sticking. No greasing required!
- Egg Bites and Mini Frittatas: For things where you want a soft, steamed texture without a crust (like those popular sous-vide style egg bites), silicone molds are perfect.
- Freezing Portions: I love using silicone muffin pans to freeze perfect portions of stock, soup, or pesto. Once frozen, you can pop them out and store them in a freezer bag.
The Final Verdict: Metal for Baking, Silicone for Molding
When you’re investing your time and ingredients into baking a beautiful cake, give it the best chance to succeed. A reliable, light-colored metal pan is one of the most important tools in a baker’s arsenal. It conducts heat efficiently, gives you a beautiful rise, and creates that irresistible golden crust that makes a cake truly special.
Save your silicone pans for the jobs they excel at—cold applications, sticky stuff, and anything where a crust is undesirable. Remember the philosophy: the most expensive or modern-looking tool isn’t always the right one. For the timeless art of cake baking, the classic metal pan still reigns supreme.


