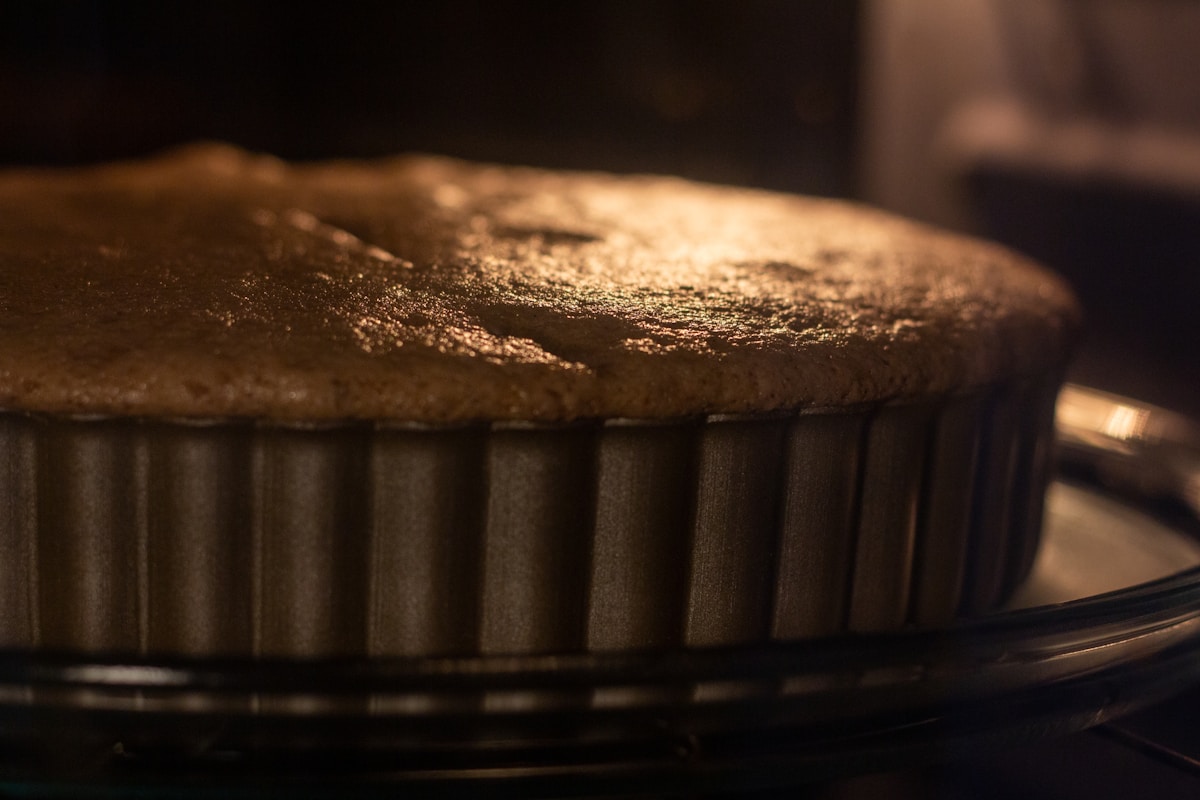
You’ve done everything right. You followed the recipe to the gram, your butter was perfectly softened, and you folded the flour with the care of a surgeon. You pour the batter evenly into three identical 8-inch cake pans, slide them into your preheated oven, and set the timer. When it dings, you pull them out to find a baking disaster: one layer is perfectly golden, another has a burnt edge and a sunken middle, and the third looks pale and underdone.
Sound familiar? This isn’t about your baking skills. It’s one of the most common frustrations in a home kitchen, and the culprit is almost always a combination of your oven’s personality and the gear you’re using. I’ve tested enough ovens to know that none of them are perfect, but with the right knowledge, you can outsmart yours and get consistent, beautiful results every single time. Let’s break down the problem.
It’s Not You It’s Your Oven (Mostly)
Every home oven is a liar. The temperature you set on the dial is, at best, an optimistic average. Inside that metal box, temperatures can swing wildly, creating hot and cool spots. Most residential ovens have their heating elements at the top and bottom, and they cycle on and off to maintain temperature. This creates a battlefield of uneven heat.
The back of the oven is almost always hotter than the front because heat gets trapped there, while the area near the door loses heat every time you peek. If you have a convection setting, the fan helps circulate air, but it doesn’t eliminate the problem entirely—sometimes it just creates a different pattern of hot spots.
So, how do you map out your oven’s unique heat geography? With the cheapest diagnostic tool available: a loaf of white bread.
The Great Bread Test:
- Preheat your oven to 350°F (175°C).
- Arrange slices of cheap, white sandwich bread across the entire middle rack, leaving no gaps.
- “Bake” for 5 to 10 minutes, until you see a clear pattern of browning.
- Take a picture with your phone.
That photo is now your treasure map. The dark, heavily toasted slices are your hot spots. The pale, soft slices are your cool zones. Now you know where your oven runs hot and where it lags. This simple test costs about two dollars and gives you more useful information than the oven manual ever will. (Your future self will thank you.)
The Pan Problem Why Material Matters More Than Price
Now let’s talk about gear. You might think all metal pans are created equal, but when it comes to even baking, the material and color make a huge difference. This is where my core philosophy comes in: the most expensive tool is not always the right one.
Dark Metal Pans (Non-stick, Carbon Steel): These are the pans you see everywhere, often coated with a dark gray or black non-stick finish. Dark surfaces are fantastic at absorbing heat. This is great for getting a crispy crust on a roast potato, but it can be a disaster for a delicate cake. The dark metal absorbs radiant heat aggressively, causing the edges and bottom of your cake to cook much faster than the center. This often leads to a dark, dry crust and a domed top as the center keeps rising while the edges have already set.
Shiny Aluminum Pans (Natural Finish): This is the professional baker’s choice for a reason. Light-colored, reflective surfaces like natural aluminum don’t absorb heat as aggressively. Instead, they reflect a good portion of it, allowing the cake to bake more gently and evenly from all sides. The result is a lighter, more tender crust and a flatter, more uniform layer. Brands like Nordic Ware or USA Pan make excellent, durable aluminum pans that often cost less than their fancy non-stick counterparts, typically in the $15-$25 range.
If you’re serious about layer cakes, investing in a set of three identical, light-colored aluminum pans is one of the best upgrades you can make for your kitchen. Skip the dark, heavy non-stick pans for this specific job.
The Rules of Airflow Baking Like a Pro
Even with the right pans and a map of your oven’s hot spots, you can still sabotage your bake by choking off the airflow. Heat needs to circulate freely around each pan to do its job. When you crowd the oven, you create shields and tunnels that block heat, exacerbating the uneven cooking problem.
Here are the non-negotiable rules for baking multiple layers:
- The Middle is Prime Real Estate: The middle rack generally offers the most stable and even heat. Whenever possible, bake on a single rack. Arrange your pans so they aren’t touching each other or the oven walls. A good rule of thumb is to leave at least one inch of space all around each pan.
- Stagger if You Must Stack: If you absolutely must use two racks to fit all your pans (for example, baking six layers for a massive cake), don’t place them directly on top of each other. Stagger them. For example, place two pans on the top rack on the left and right sides, and one pan on the bottom rack in the center. This prevents the top pans from completely shielding the bottom one from heat.
- Rotation is Not Optional: This is the most critical step. Halfway through the recommended bake time, you need to intervene. For a standard vanilla cake baking for 30-35 minutes at 350°F (175°C), you’ll do this at the 15 or 17-minute mark. Open the oven, and quickly but carefully, rotate each pan 180 degrees. If you’re using two racks, also swap their positions—the top pans go to the bottom rack, and the bottom pan goes to the top. This simple action compensates for all of your oven’s quirks, ensuring every side of every cake gets its fair share of heat.
Kitchen Hack A Simple Tool for Perfectly Flat Layers
Want to take your layer cake game to the next level? The secret isn’t a fancy ingredient; it’s insulation. You can buy commercial cake strips (like those from Wilton), which are fabric strips you soak in water and wrap around the outside of your cake pan. Or, you can make your own with strips of an old towel.
The wet strip insulates the side of the pan, forcing it to heat up at the same rate as the center of the cake. This prevents the edges from setting too early, which is what causes that classic dome to form. The result is a shockingly flat, even cake layer that requires little to no trimming. (Yes, really.) It’s a cheap, low-tech solution that delivers professional results.
Your Checklist for Flawless Cake Layers
Let’s put it all together. The next time you set out to bake a layer cake, follow this simple checklist, and I guarantee you’ll see a dramatic improvement.
- Verify Your Temperature: Use a separate oven thermometer (a $10 tool that will change your life) to make sure your oven is actually at the temperature you set. Adjust your dial accordingly.
- Use the Right Pans: Opt for shiny, light-colored aluminum pans. Save the dark, non-stick ones for roasting.
- Position for Success: Use the middle rack whenever possible. Leave at least an inch of space around each pan for air to circulate.
- Rotate, Rotate, Rotate: Set a timer for halfway through the bake time. Turn each pan 180 degrees and swap racks if you’re using more than one.
- Consider Insulation: Try cake strips for incredibly flat, even layers that are easy to stack and frost.
Baking a beautiful, consistent layer cake isn’t magic. It’s about understanding how your tools work and applying a little bit of science. Once you get these fundamentals down, you can stop fighting with your oven and start focusing on the fun part: decorating and, of course, eating.