You’ve done everything right. You followed the recipe to the letter, measured your flour perfectly, and even let your eggs come to room temperature. You preheat the oven, set the timer, and slide your beautiful cake batter in, full of hope. But when the timer dings, you’re met with that all-too-common tragedy: dark, over-baked edges that threaten to turn into crust, and a gooey, under-baked center that sinks sadly as it cools.
If this sounds familiar, I want you to know two things. First, you’re not alone. This is one of the most frequent frustrations I hear about from home bakers. Second, the problem probably isn’t your recipe, your oven, or your skills. The culprit is likely hiding in plain sight: your cake pan.
Here at kitchen-fun.com, my philosophy is simple: the right tool makes the job easier, but it isn’t always the most expensive one. When it comes to baking a perfect cake, understanding your pan is the key that unlocks consistent, bakery-quality results. Let’s break down why that dark, non-stick pan might be sabotaging your success.
The Simple Science of Heat and Color
Think about wearing a black t-shirt on a sunny day versus a white one. You can feel the difference instantly. The black shirt absorbs the sun’s heat, making you feel much warmer, while the white shirt reflects it, keeping you cooler. Your oven works on the same principle.
The primary source of heat in your oven is radiant heat. The heating elements glow and radiate thermal energy, which travels through the air and is absorbed by whatever is inside. Just like with the t-shirt, the color and finish of your bakeware dramatically change how it interacts with that energy.
- Dark, Matte Pans: These pans are heat magnets. They absorb radiant heat quickly and efficiently, getting hotter, faster. This intense, direct heat is then transferred to your cake batter.
- Light, Shiny Pans: These pans act like mirrors. They reflect a good portion of the radiant heat, which results in a gentler, more indirect heating process. The pan heats up more slowly and evenly.
This single difference in heat absorption is the root cause of most uneven baking. A pan that gets too hot too fast will cook the outside of the cake long before the heat has had a chance to penetrate and cook the center.
The Dark Pan Dilemma
Walk into any big-box store, and the shelves are full of dark gray or black metal bakeware, usually with a non-stick coating. They’re popular, affordable, and seem convenient. While they have their place, they are notoriously difficult for delicate cakes.
I tested a standard Wilton Recipe Right Non-Stick 9-Inch Round Pan (typically $8-$12). These are incredibly common in home kitchens.
Pros:
- Excellent Browning: That aggressive heat absorption is great when you want a dark, crispy crust. Think brownies with chewy edges or a well-browned potato gratin.
- Affordable & Accessible: They are inexpensive and you can find them anywhere.
- Non-Stick (Initially): The coating helps with food release when it’s new.
Cons:
- The Burn Zone: The edges and bottom of your cake will cook much faster than the center. This is what creates that dreaded dark, dry ring around a pale, under-cooked middle.
- Promotes Doming: The fast-setting edges can force the center of the cake to dome up as it bakes, creating an uneven top that you have to trim off for layering.
- Fragile Coating: Non-stick coatings are easily scratched by metal utensils and can degrade over time, especially at high heat.
The Fix: If a dark pan is all you have, don’t despair! You can absolutely make it work with a simple adjustment. The pros at King Arthur Baking recommend this, and my tests confirm it works: Reduce your oven temperature by 25°F (about 15°C). If your recipe calls for 350°F (177°C), set your oven to 325°F (163°C). Then, start checking for doneness about 5-10 minutes before the recipe’s stated bake time. This gives the center a chance to catch up to the edges.
The Pro’s Choice: Light-Colored Aluminum
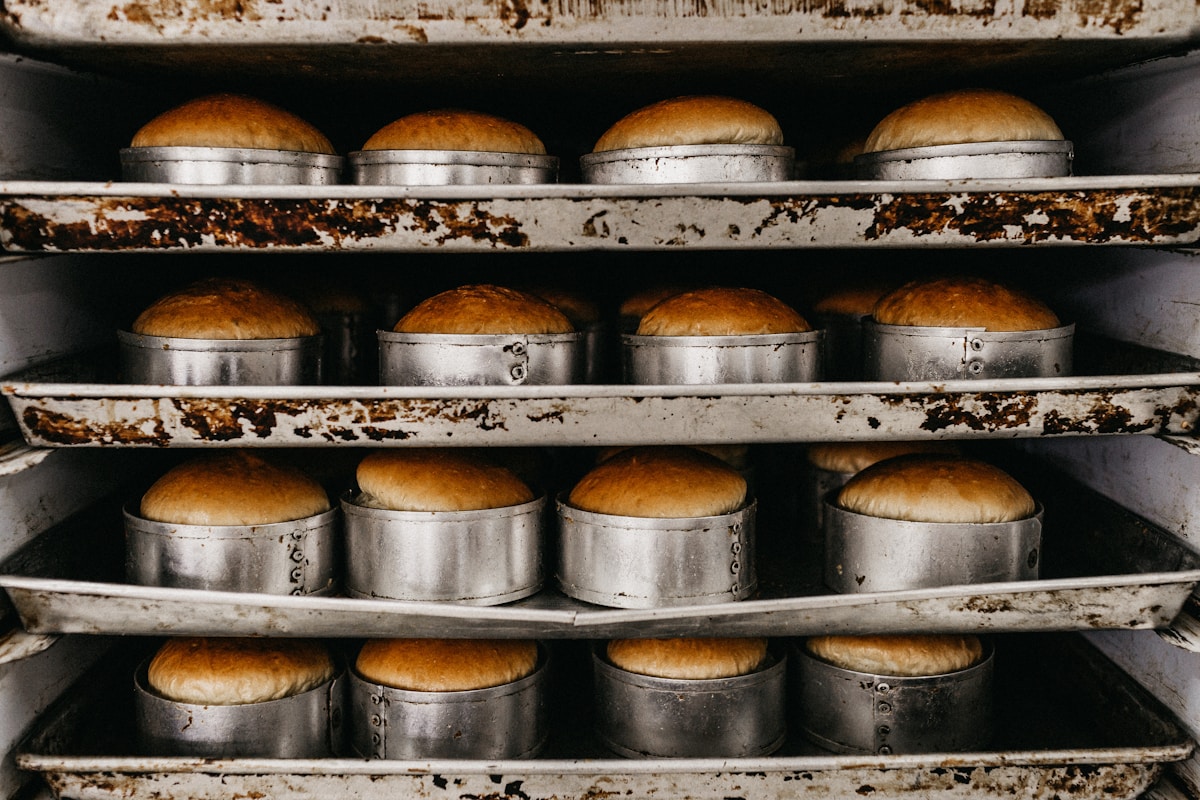
Ask any professional baker what they use for cakes, and you’ll almost always get the same answer: heavy-gauge, light-colored aluminum pans. These are the workhorses of the pastry world for one reason: they deliver the most reliable and even results.
My go-to recommendations are the Fat Daddio’s Anodized Aluminum Round Cake Pans (around $15-$20) or the Nordic Ware Natural Aluminum Commercial Round Layer Cake Pan (around $15-$18). Notice the keywords: “natural” and “anodized.” This means they are uncoated, straight-up aluminum.
Pros:
- Superior Heat Conduction: Aluminum is one of the best thermal conductors. It heats up evenly and transfers that heat gently to the batter.
- Even Baking & Browning: By reflecting radiant heat, these pans prevent the edges from burning while the center bakes through perfectly. The result is a level, golden-brown cake with a tender crumb from edge to edge.
- Durability: Anodized aluminum is tough, scratch-resistant, and won’t rust or warp. A good set of these pans will last you a lifetime. (Seriously, it’s a worthy investment.)
Cons:
- Not Non-Stick: This is the biggest hurdle for some people. You must grease and flour your pan properly, or even better, use a parchment paper liner. (Trust me, this is a small price to pay for a perfect cake.)
Kitchen Hack: Stop buying pre-cut parchment rounds. To make a perfect liner for any round pan, just take a square of parchment paper, fold it in half, then in half again to make a smaller square. Then fold that square diagonally to make a triangle, and one more time to make a thinner triangle. Place the pointy tip of the triangle at the exact center of your upside-down cake pan and trim the wide end to match the pan’s edge. Unfold it, and you have a perfect circle! It takes 10 seconds and saves you money.
What About Glass and Silicone Pans?
Two other materials you’ll often see are glass and silicone. While useful in the kitchen, they are generally poor choices for baking classic cakes.
- Glass Pans (like Pyrex): Glass is an insulator, not a conductor. It takes a long time to heat up, but once it’s hot, it stays hot for a long time. This often leads to the same problem as dark pans—over-baked edges and bottoms because the pan retains so much intense heat where it touches the batter. If you must use glass, reduce the oven temperature by 25°F (15°C), just as you would for a dark metal pan.
- Silicone Pans: Silicone is an even worse heat conductor. It’s so inefficient at transferring heat that cakes baked in silicone often fail to brown at all. The result can be a pale, anemic-looking cake with a slightly rubbery texture. Their flexibility is their only real advantage, but their flimsy structure means they need to be placed on a sturdy baking sheet anyway. For cakes, I’d steer clear.
My Head-to-Head Bake-Off
To prove the point, I baked the same simple vanilla cake recipe in three 9-inch round pans, all in the same 350°F (177°C) oven, side-by-side.
- The Dark Non-Stick Pan: At 28 minutes, the edges were dark brown and pulling significantly from the sides of the pan. A tester in the center still came out with wet crumbs. I pulled it at 32 minutes. The result? A 1-inch dark, dry ring around the perimeter and a slightly sunken, dense center.
- The Glass Pie Plate: This one took the longest. At 35 minutes, the top was still quite pale, but the bottom and sides were visibly browning. I pulled it at 38 minutes. The sides were tough and the bottom was a bit too dark, while the crumb was decent but not spectacular.
- The Light Aluminum Pan: This was the Goldilocks of the bunch. At 30 minutes, a tester came out perfectly clean. The cake rose evenly with a flat top, the color was a uniform golden brown all over, and the crumb was light, airy, and consistent from the very edge to the dead center. It was, without a doubt, the perfect cake.
Lucas’s Final Verdict
If you are serious about baking better cakes, the single best upgrade you can make to your kitchen gear is a set of two light-colored, heavy-gauge aluminum cake pans.
For an investment of about $30-$40, you will eliminate a massive variable and a huge source of frustration in your baking. You’ll get more consistent results, tender and evenly-baked cakes, and a set of pans that will outlive your oven. Look for brands like Fat Daddio’s or Nordic Ware’s Natural Aluminum line. Your cakes will thank you.
If you have dark non-stick pans, don’t throw them out! They’re still great for brownies, cornbread, and roasted vegetables. Just remember the golden rule for cakes: drop the temperature by 25°F (15°C) and keep a close eye on them.
Baking should be joyful, not frustrating. By understanding how your tools work, you empower yourself to create something delicious every single time. And it all starts with choosing the right pan.