Have you ever scrolled through social media and stopped dead at a picture of a perfectly glossy, dome-shaped cake that looks like it belongs in a high-end patisserie? I had that exact moment when I saw a baker’s post from a bachelorette party — elegant white chocolate domes with a surprise raspberry lemon center. My first thought was, “There’s no way I could make that at home.” But then I got curious. The kitchen is a magic place, and with the right techniques, even fancy desserts become doable. Today, I want to walk you through everything I’ve learned about crafting white chocolate cake domes, from the tender almond cake base to the crucial art of tempering white chocolate.
What Exactly Are Cake Domes
Cake domes are a trendy dessert that pairs a soft, flavorful cake interior with a crisp, shiny chocolate shell. They’re often made using hemisphere silicone molds, which give that perfect half-sphere shape. The dome is then filled with a thin layer of cake, a complementary filling (like fruit puree or ganache), and sometimes a second layer of cake before being sealed with a chocolate coating. The result is a bite-sized or single-serving dessert that looks like a glossy ornament. The magic lies in the contrast: the snap of the tempered chocolate gives way to a moist, tender crumb and a burst of tart fruit. That’s exactly what we’re aiming for.
Building the Almond Cake Base
Start with a moist, tender almond cake that won’t overpower the white chocolate. I use a recipe adapted from a classic genoise, swapping out some all-purpose flour for almond flour. For a standard batch (about 12 small domes), you’ll need:
- 100 grams (3.5 oz) almond flour
- 80 grams (2.8 oz) all-purpose flour
- 150 grams (5.3 oz) granulated sugar
- 4 large eggs, at room temperature
- 1 teaspoon vanilla extract
- 1/4 teaspoon almond extract (optional, but enhances the nuttiness)
- 60 grams (2.1 oz) unsalted butter, melted and cooled
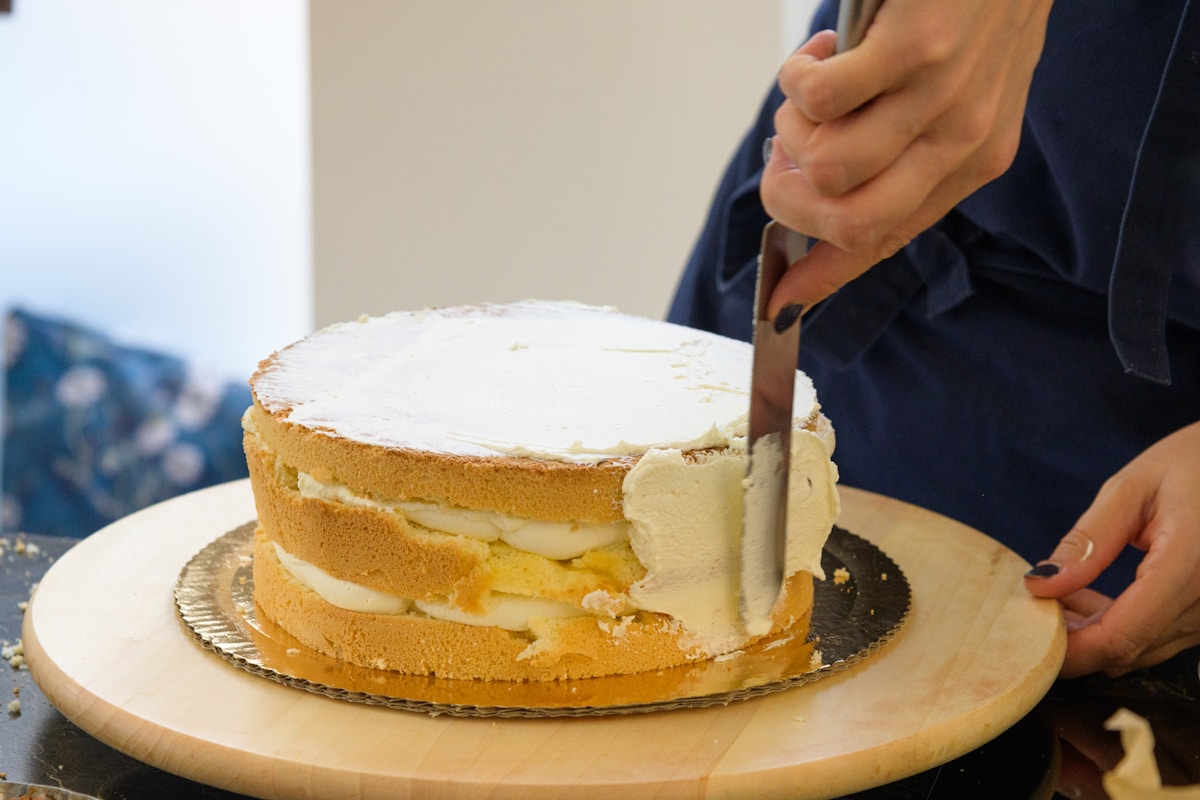
Whisk the eggs and sugar together over a bain-marie until warm to the touch (about 110°F / 43°C), then beat with a stand mixer until tripled in volume and ribbon stage. Fold in the sifted flours gently, then fold in the melted butter and extracts. Pour into a greased and lined half-sheet pan (about 10x15 inches) and bake at 350°F (175°C) for 12–15 minutes, until golden and springy. Let it cool completely. Once cool, use a round cutter slightly smaller than your hemisphere mold to punch out cake disks. You’ll want two disks for each dome — one for the bottom, one to cap the filling.
The Tangy Secret: Raspberry Lemon Puree
The raspberry lemon puree is the heart of the contrast. White chocolate is sweet, so you need acidity to cut through it. This puree is simple but powerful. Combine 200 grams (7 oz) fresh or frozen raspberries, the zest and juice of one lemon, and 50 grams (1.75 oz) granulated sugar in a saucepan. Cook over medium heat, mashing the berries, until the mixture thickens slightly (about 5 minutes). Strain through a fine-mesh sieve to remove seeds. Let it cool completely. You can even add a teaspoon of cornstarch slurry if you want a thicker gel-like consistency — that helps keep it from soaking into the cake. The tartness will make your jaw clench in the best way.
Tempering White Chocolate: The Make-or-Break Step
Here’s where most home bakers get nervous. Tempering white chocolate is essential for a shiny, snappy dome that doesn’t bloom or melt at room temperature. White chocolate is more finicky than dark because it contains milk solids that burn easily. But I promise you can do it. You’ll need good-quality couverture white chocolate (I like Callebaut or Guittard — avoid cheap chips with stabilizers). Use the seeding method:
- Chop 400 grams (14 oz) of white chocolate finely.
- Melt two-thirds of it in a heatproof bowl over a pot of simmering water (not touching the water), stirring until it reaches 110°F (43°C).
- Remove from heat and add the remaining third of chopped chocolate. Stir constantly until the temperature drops to 80°F (27°C).
- Gently rewarm the bowl over the water for a few seconds to bring it back to 88–89°F (31–32°C). This is the working temperature.
Test the temper by dipping a knife tip into the chocolate — it should set firm and glossy within a minute. If it’s streaky or soft, you need to re-temper. (Trust me, it’s worth the extra effort.)
Shaping and Assembling the Domes
You’ll need a hemisphere silicone mold (Ateco makes great ones in 3-inch diameter) and a drum sander or fine-grit sandpaper for cleanup. Lightly brush the mold cavities with a thin layer of tempered white chocolate using a small paintbrush — this creates the outer shell. Put the mold in the fridge for 5 minutes to set. Then apply a second coat for thickness. After that sets, place one cake disk in each cavity. Spoon a small amount of raspberry lemon puree (about 1 teaspoon) onto the cake, leaving a border. Top with a second cake disk, pressing gently. Now seal the open side with a thin layer of tempered chocolate. Refrigerate for at least 30 minutes until fully set.
Once set, unmold the domes. You might notice a rough edge where the chocolate overflowed. Here’s the kitchen hack: use a drum sander (available at hardware stores or online) with 220-grit sandpaper to gently sand the bottom of each dome until it’s smooth and even. It sounds odd, but it works beautifully — just like the baker on Reddit demonstrated. Your domes will have a flawless finish.
Finishing Touches and Serving Tips
For a polished look, you can drizzle a little extra tempered white chocolate in a zigzag pattern on a plate, or dust with a touch of freeze-dried raspberry powder. Serve these domes at room temperature so the chocolate shell cracks perfectly when you cut into it. They’re ideal for parties because they’re individually portioned and look incredibly sophisticated. Store them in an airtight container in the fridge for up to three days, but bring them to room temperature before serving.
The beauty of this dessert is the story it tells: a celebration of contrasts — sweet and tart, crisp and tender. It’s a dessert that says someone took time and care. And when you master it at home, you’ll feel like a pastry chef. So next time you see those glossy domes on your feed, you’ll know exactly how to make them. Your future self (and your friends) will thank you.