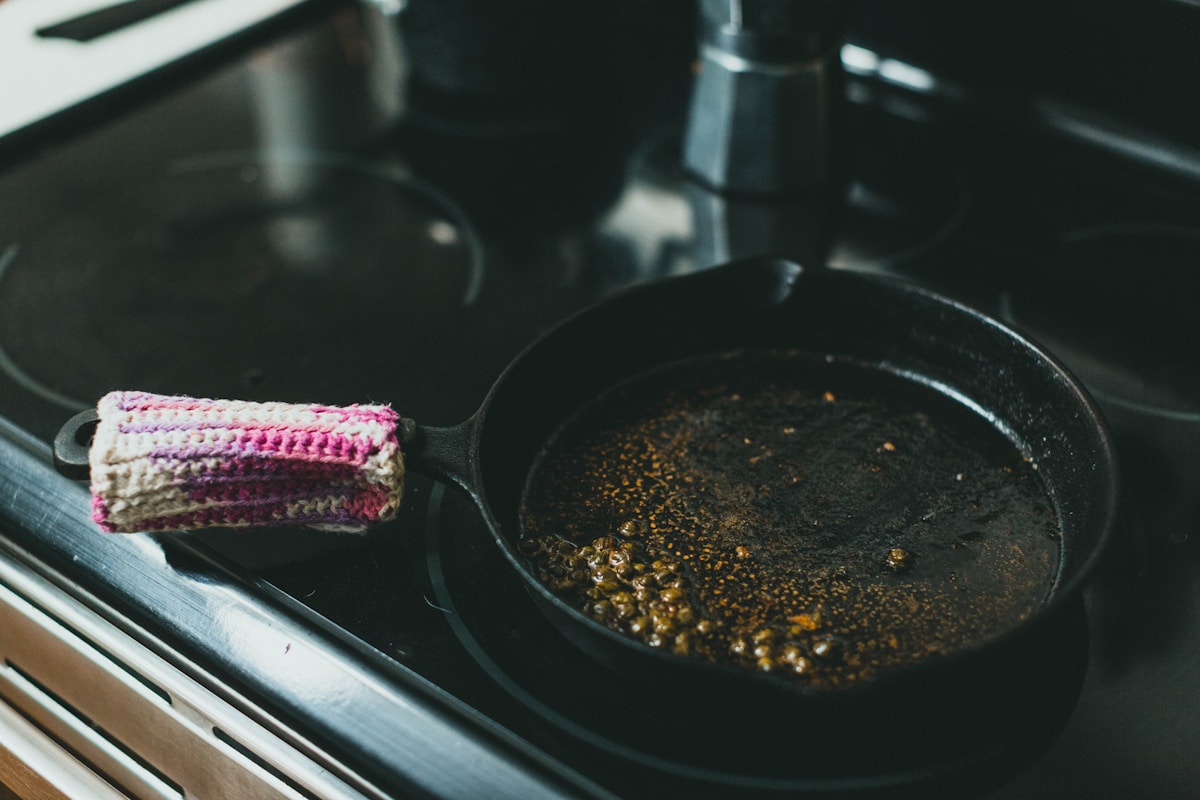
The Sticky Seasoning Problem
You spent hours restoring that vintage Lodge skillet, scrubbing off rust and applying three careful coats of seasoning. You followed every video and blog post to the letter. But when you pulled it out of the oven, the surface felt tacky, gummy, and left fingerprints. Sound familiar? You’re not alone. The sticky seasoning trap is the single most common mistake I see beginners make on forums like r/castiron. The good news? It’s completely fixable without sacrificing your pan.
Why Too Much Oil Creates a Sticky Mess
Seasoning works through a chemical process called polymerization. When you heat a thin layer of oil above its smoke point, the fatty acids break down and bond to the iron in a hard, plastic-like coating. That’s what gives cast iron its non-stick magic. The problem happens when you apply too much oil. A thick layer can’t polymerize fully. Instead, it turns into a soft, gummy residue that never hardens. (Think of it as half-baked oil.
Most beginners follow the advice to “coat the pan with oil” and take that literally. They pour in a tablespoon, spread it around, and call it done. But that’s way too much. Experienced cast iron users have a different rule: apply oil, then wipe it off as if you accidentally got oil on the pan. You want the thinnest film possible. If you can see wet spots, you’ve used too much.
How to Tell If Your Seasoning Is Sticky (And Not Just Uneven)
A sticky pan feels tacky to the touch, even after cooling. It may leave oily smudges on paper towels. Food will stick fiercely, and the surface might develop a patchy, glazed look. This is different from a spotty seasoning that’s simply uneven (often due to thin coverage or high heat spots). Sticky seasoning feels like low-tack tape. Uneven seasoning looks blotchy but feels dry and smooth.
The Fix: Strip and Start Fresh
Unfortunately, you can’t simply bake the stickiness away. The partially polymerized oil has a lower melting point and will just stay gummy, even at 500°F. You have to remove the existing seasoning and start over. Here are the three most effective methods, ranked from easiest to most involved.
Method 1: Oven Self-Clean Cycle
This is the quickest and most accessible option for most home cooks. Place your cast iron pan upside down on the oven rack (put a foil-lined baking sheet on the lower rack to catch any drips). Run the self-clean cycle — typically 3 to 4 hours at around 800-900°F (427-482°C). That extreme heat will burn off all organic matter, including the sticky seasoning. Let the oven cool completely before opening. Your pan will come out covered in gray ash (iron oxide) and potentially a bit of rust. Wash it thoroughly with hot water and a stiff brush, dry immediately, and apply a very light coat of oil to prevent flash rusting. Then proceed to re-season.
Pros: No caustic chemicals; works in one cycle. Cons: High heat can warp thin pans or cause existing rust to flake; may trigger smoke alarms; not recommended for pans with wooden handles.
Method 2: Lye Bath
This is the gold standard for restorers. Lye (sodium hydroxide) breaks down seasoning without attacking the iron. You’ll need a plastic bucket, a solution of 1 pound of lye crystals per 5 gallons of water, and a pair of chemical-resistant gloves. Submerge the pan for 1-2 days. The seasoning will dissolve into a slimy sludge. Pull it out, rinse thoroughly, neutralize with a mild vinegar solution, and wash with soap and water. Lye is caustic, so work in a well-ventilated area and keep away from kids and pets. (I like this method because it preserves the original surface texture and doesn’t risk warping.)
Method 3: Electrolysis
For the truly dedicated, a DIY electrolysis setup uses a low-voltage current to blast off rust and seasoning. It’s the gentlest method and leaves bare iron perfectly clean. You’ll need a battery charger, a plastic tub, a piece of scrap steel (not stainless), and washing soda. This is overkill for sticky seasoning, but if you’re already restoring heavily rusty pans, it’s a one-stop solution. For most readers, the self-clean or lye bath will do.
Re-Seasoning: The Thin Coat Rule
Once your pan is bare iron, it’s time to season properly. This time, do it right. Here’s the step-by-step that will never fail you.
-
Choose your oil. Grapeseed, flaxseed, and canola are favorites for their high polymerization rates. I lean toward grapeseed because it’s affordable and gives a dark, hard finish. Flaxseed creates a beautiful bronze color but can be brittle. (Flax also goes rancid quickly, so store it in the fridge.)
-
Apply the oil. Put exactly 1 teaspoon of oil in the pan. Use a clean, lint-free cloth or paper towel to rub it all over the entire surface — inside, outside, handle, bottom. Now take a fresh paper towel and wipe it off thoroughly. As the r/castiron veterans say, “Wipe it off like you made a mistake.” You should see only a faint sheen, no pools or streaks.
-
Bake upside down. Place the pan upside down on the middle oven rack. Put a foil-lined baking sheet on the rack below to catch any drips. This prevents oil from pooling in the bottom. Set the oven to 450°F (232°C) for standard oils like canola or grapeseed. For flaxseed, 500°F (260°C) is better. Bake for 1 hour. Then turn off the oven and let the pan cool inside without opening the door. The gradual cooling helps the seasoning harden.
-
Repeat three to four times. Each coat adds to the bonding layers. Don’t rush. After the fourth coat, your pan should have a deep, semi-glossy black finish that’s smooth to the touch. Cook a batch of cornbread or fry some bacon to test it.
What If It’s Still Sticky After Re-Seasoning?
If you followed the thin coat rule and your pan still feels tacky, check these variables:
-
Oven temperature too low. You need to exceed the oil’s smoke point. For most vegetable oils, that’s around 400-450°F (204-232°C). If you used flaxseed, you need 500°F (260°C). A cheap oven thermometer can verify accuracy.
-
Baking time too short. Polymerization is time-dependent as well as temperature-dependent. One hour at 450°F is the minimum. Some seasoned cast iron users go 90 minutes for the first coat.
-
Oil quality. Old or rancid oil won’t polymerize well. Always use fresh oil. If you’ve been using the same bottle for a year, toss it and buy new.
-
Humidity. In very humid climates, the pan’s surface can attract moisture, which inhibits bonding. Try baking with the oven light on to reduce moisture, or run the pan through a dry heat cycle before oiling.
A Quick Kitchen Hack for Immediate Smoothness
If you only have a small sticky patch (say, from cooking something acidic that broke down seasoning), you can spot-fix it without stripping the whole pan. Use a scouring pad (like a chainmail scrubber or 0000 steel wool) to abrade the sticky area until it feels smooth. Wash, dry, and apply a single thin coat of oil. Bake at 450°F for 30 minutes. This won’t fix a fully sticky pan, but it works for localized issues.
Final Thoughts From a Kitchen Gear Reviewer
Cast iron is forgiving. I’ve seasoned hundreds of pans, and I still make mistakes. The sticky seasoning problem is simply a sign you were too generous with oil. The fix is straightforward, and once you master the thin layer technique, you’ll have a pan that rivals any non-stick surface — without the chemicals. Your great-grandkids might even use that same skillet. (Your future self will thank you.)
Remember: the right tool makes cooking easier, but the most expensive tool isn’t always the right one. A $20 Lodge skillet, properly seasoned, outperforms many $200 stainless steel pans. Value over vanity. Now go fix that sticky pan and get back to making magic in the kitchen.