You’ve been smelling it all day. That incredible aroma of a pot roast slowly cooking, filling every corner of your house. You’re picturing a fork-tender, fall-apart-at-a-touch masterpiece. But when you finally lift the lid and dig in, you’re met with… disappointment. The meat is tough, a little dry, and stringy. What went wrong? You followed the recipe, you let it cook for hours, but the magic just didn’t happen.
More often than not, the culprit is a single, misunderstood button on your slow cooker: the ‘High’ setting. Here at Kitchen Fun, I’ve tested dozens of these machines, from the basic $30 Crock-Pot to fancy multi-cookers. And the most common mistake I see people make is assuming that ‘High’ means a hotter final cooking temperature. It’s a logical assumption, but it’s completely wrong. Understanding the real difference between ‘High’ and ‘Low’ is the key to unlocking the true potential of your slow cooker and guaranteeing you never serve a tough pot roast again.
The Biggest Slow Cooker Myth Debunked
Let’s get this out of the way first. On almost every slow cooker on the market, both the ‘High’ and ‘Low’ settings are designed to reach the exact same maximum temperature. This target temperature is typically just below the boiling point of water, somewhere around 209°F (or 98°C).
So, if they both end up at the same temperature, what’s the difference? It’s all about the journey, not the destination. The real difference is how long it takes to reach that simmering point.
-
The ‘Low’ Setting: This is the scenic route. The heating element cycles on and off gently, taking its time to bring the contents up to that 209°F simmer point. This process can take a full 7 to 8 hours.
-
The ‘High’ Setting: This is the expressway. The heating element stays on for longer periods, pushing the temperature up to that same 209°F simmer point much more aggressively. It typically gets there in just 3 to 4 hours.
Think of it this way: you’re driving to a city 100 miles away. On ‘Low,’ you’re taking the back roads, enjoying the view. On ‘High,’ you’re flooring it on the interstate. You both end up in the same city, but the experience—and the effect on your metaphorical engine (the meat)—is vastly different.
The Science of Tender Meat Why ‘Low’ Is Your Best Friend
Now we get to the important part: why does this time difference matter so much, especially for those classic slow cooker cuts like chuck roast, pork shoulder, or brisket? The answer lies in a single word: collagen.
These tough, hard-working muscle cuts are loaded with connective tissue. The primary protein in this tissue is collagen. When you try to pan-sear or quick-roast a chuck steak, that collagen stays tough and chewy, making the meat unpleasant to eat. The magic of slow cooking is its ability to break down this collagen and transform it into rich, silky gelatin.
This transformation is a function of both time and temperature. Collagen begins to break down at around 160°F (71°C) and continues up to 180°F (82°C). However, it’s not an instant process. It needs a long, slow, gentle heat to fully melt and render. This is what gives you that incredibly succulent, fall-off-the-bone texture and a rich, full-bodied sauce.
Here’s where the ‘High’ setting becomes the villain. By racing to the finish line, the ‘High’ setting cooks the actual muscle fibers of the meat too quickly. The proteins in the muscle tighten up and squeeze out their moisture long before the collagen has had enough time to break down. The result? You get tough, dry meat swimming in a watery broth, even though it’s technically fully cooked. You hit the target cooking temperature, but you completely missed the window for tenderness.
The ‘Low’ setting, on the other hand, is perfectly designed for this job. It spends hours gently holding the meat in that ideal 160°F-180°F collagen-melting zone before slowly climbing to the final simmer. This long, gentle cooking gives the connective tissue all the time it needs to transform into gelatin, bathing the muscle fibers in moisture from the inside out.
Your Practical Guide When to Use ‘High’ vs ‘Low’
So, is the ‘High’ setting useless? Not at all. It’s a tool, and like any tool, you just need to know the right job for it. The philosophy here is simple: value over vanity. Use the setting that gets the best result, not just the fastest one.
You should absolutely use the ‘LOW’ setting for:
- Tough Cuts of Meat: This is non-negotiable. For chuck roast, brisket, pork shoulder (pulled pork), beef short ribs, or lamb shanks, ‘Low’ is the only way to go. Plan for 8-10 hours.
- Large Roasts: Any large, dense piece of meat will cook more evenly on low heat.
- Leaner Cuts (with caution): Even leaner cuts that can dry out, like a pork loin or chicken breasts, benefit from the gentler heat of the ‘Low’ setting, though for a much shorter time (2-4 hours).
The ‘HIGH’ setting is perfectly fine for:
- Soups and Stews (with tender ingredients): If you’re making a vegetable soup, a lentil stew, or a chili with ground meat that’s already been browned, the ‘High’ setting is great. These dishes don’t rely on breaking down tough collagen. You can have a delicious chili ready in 3-4 hours.
- Dips and Appetizers: Making a warm spinach-artichoke dip or melted cheese dip for a party? ‘High’ is your friend here to get it hot and bubbly quickly.
- Converting Recipes: If a recipe calls for 8 hours on ‘Low,’ you can usually cook it for 4-5 hours on ‘High.’ Just know that you will sacrifice some tenderness if it’s a tough cut of meat.
- When You’re in a Real Pinch: Sometimes life happens and you just need dinner done faster. Using ‘High’ is better than ordering takeout, just manage your expectations for the texture of the final dish.
Lucas’s Pro-Tips for Perfect Slow Cooking
After years of using these cookers, I’ve learned a few tricks that go beyond the instruction manual. These will help you get the most out of whichever model you own, whether it’s a basic $30 Crock-Pot 7-Quart Manual or a fancier programmable Hamilton Beach model.
-
Don’t You Dare Peek! Every time you lift the lid of your slow cooker, a significant amount of heat escapes. This can lower the internal temperature by 10-15 degrees, and it can take up to 30 minutes to recover. Resisting the urge to peek is crucial for maintaining a stable cooking environment, especially when you’re counting on that long, slow cook time.
-
Always Sear Your Meat First. I know, I know. The whole point of a slow cooker is to be a one-pot meal. But taking 5-10 minutes to get a deep, brown crust on your roast in a hot skillet before you put it in the slow cooker is the single best thing you can do for flavor. This process, called the Maillard reaction, creates hundreds of complex flavor compounds that you simply cannot get from steaming meat in a ceramic pot. (Your taste buds will thank you.)
-
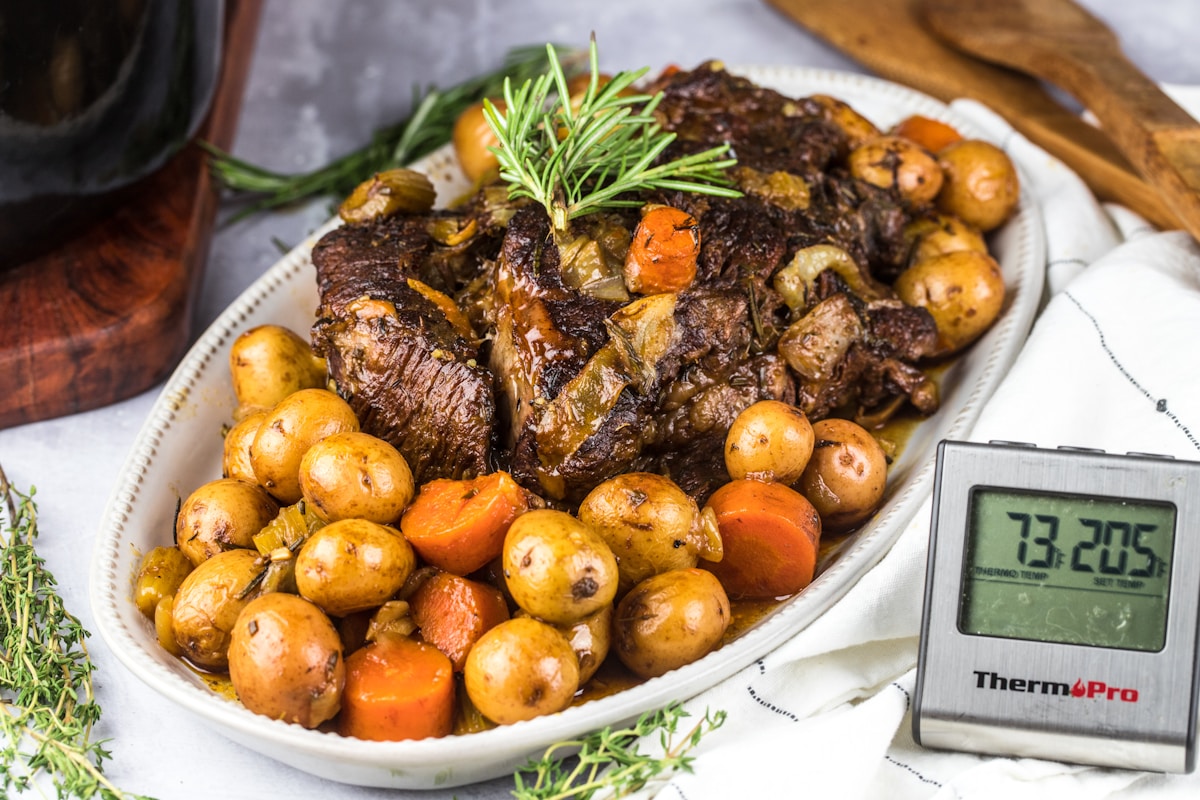
My No-Fail Pot Roast Framework: Forget complicated recipes. Try this simple method. Take a 3-4 lb chuck roast and pat it dry. Season it aggressively with salt and pepper. Sear it hard on all sides in a hot, oiled skillet. Place a bed of thickly sliced onions in the bottom of your slow cooker, put the seared roast on top, and add about 1 cup of beef broth or red wine. Add a few sprigs of thyme or rosemary. Put the lid on. Cook on LOW for 8 hours. That’s it. You’ll have a perfect, flavorful, and incredibly tender pot roast every single time.
Ultimately, your slow cooker is a fantastic tool for making delicious, comforting food with minimal effort. But it’s not a magic pot. Understanding how it actually works—that it’s about time, not just heat—is what separates a decent meal from an unforgettable one. So next time you’re planning a slow-cooked masterpiece, give it the time it deserves. Choose ‘Low,’ be patient, and prepare for the best pot roast of your life.


