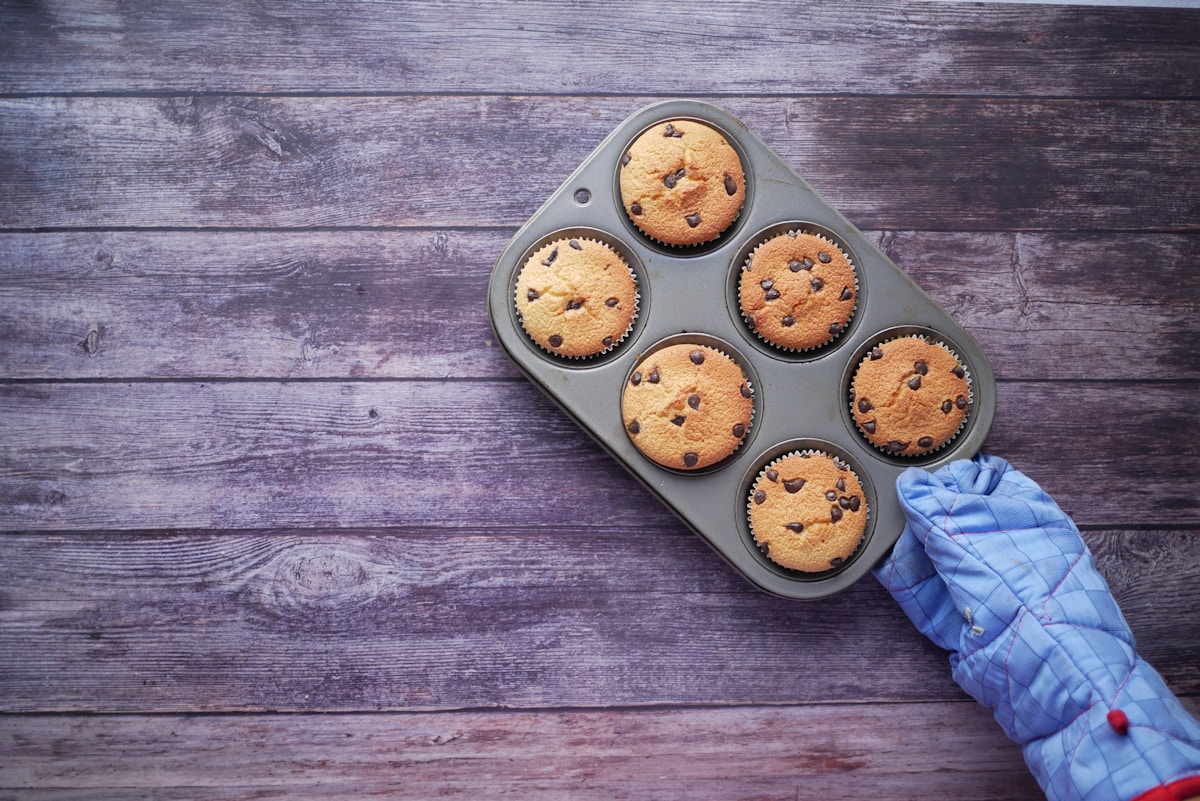
You just brought home your newborn, and between diaper changes and feedings, you finally snuck into the kitchen to bake a batch of macarons. The target? That perfect foot, the smooth dome, the delicate chew. But as you pipe the batter onto the baking sheet, you pause—silicone mat or parchment paper? If you’ve ever been there, you know that choice can make or break your batch. Let’s cut through the noise and figure out which surface really gives you those bakery-worthy shells.
Why the Baking Surface Matters for Macarons
Macarons are notoriously finicky. They demand precise temperature control, steady humidity, and a surface that encourages even spread without browning the bottoms. The baking surface directly affects two critical factors: heat conduction and foot development. A silicone mat insulates slightly, slowing heat transfer, which can help prevent browning but may also reduce the maillard reaction needed for that golden kiss on the bottom. Parchment paper, being thinner, allows faster heat penetration, often yielding a crispier, taller foot. But it can also lead to uneven browning or sticking if not used right. Professional pastry chefs at King Arthur Baking and Serious Eates often recommend silicone mats for consistency, but home bakers have strong opinions on both sides. So which one should you trust?
Silicone Mats: The Pros and Cons
High-quality silicone mats, like Silpat or Roul’pat, are made from food-grade silicone reinforced with fiberglass mesh. They provide a non-stick surface without grease, and they distribute heat evenly because of their thickness (about 1.5 mm). For macarons, this means the bottom of each shell heats slowly, reducing the risk of a burnt base. I’ve tested Silpat mats extensively, and they perform beautifully in terms of consistency: every macaron comes out with a nearly identical foot and color.
Pros:
- Even heat distribution—no hot spots.
- Prevents bottoms from browning too quickly.
- Reusable for hundreds of batches (if cared for properly).
- No need for greasing or flouring.
Cons:
- Some brands can cause sticking if the batter is too fresh (needs proper aging).
- Silicone can deform over time if exposed to high heat levels above 220°C (425°F).
- Higher upfront cost (around $20–$40 per mat).
In my experience, sticking happens most often when your macaron batter hasn’t been aged long enough—ideally 3–4 days in the fridge. Silicone also has a bit of static cling, so if your piped shells are too wet, they’ll grab on. One kitchen hack: lightly dust the mat with a tiny bit of powdered sugar or rice flour before piping. That tiny barrier prevents sticking without affecting texture. (Trust me, it works.)
Parchment Paper: The Classic Contender
Parchment paper is the old-school choice. It’s cheap, disposable, and widely available. But not all parchment is created equal. You want unbleached, heavy-grade parchment (like King Arthur Flour’s brand or Reynolds Kitchen). Lightweight paper can curl or shift in the oven, ruining your symmetry typical macarons demand.
The biggest advantage? Lift. Many bakers swear parchment gives a taller, airier foot because the paper allows a bit of moisture to escape underneath the shell, encouraging the batter to rise. I’ve seen batches where silicone mats produce flatter feet compared to parchment. On the other hand, parchment’s thinness can cause the bottom of the macaron to brown more quickly, especially if your oven runs hot. Bake at 150°C (300°F) on parchment, and you might need to rotate the pan halfway to prevent dark spots.
Pros:
- Inexpensive (a roll lasts many batches).
- Excellent for feet development (taller shells).
- Easy to lift off the tray—just slide the parchment onto a cooling rack.
- No need to worry about aging batter as much.
Cons:
- Thin paper can crease or wrinkle, causing uneven bottoms.
- Conducts heat faster, leading to potential over-browning.
- Single-use only (unless you reuse carefully, which is messy).
- Can stick if the batter is too dry or if the paper is low quality.
Head-to-Head Comparison: Silicone Mat vs Parchment Paper
| Feature | Silicone Mat | Parchment Paper |
|---|---|---|
| Heat Distribution | Even, slow | Fast, uneven possible |
| Brown Control | Excellent | Requires careful temp |
| Foot Development | Moderate height | Taller, airier |
| Sticking Risk | High with fresh batter | Low if quality paper |
| Cost per use | ~$0.10 over lifespan | ~$0.05 per sheet |
| Reusability | Hundreds of times | Once |
| Ease of cleanup | Wipe clean | Toss in trash |
From this table, you see the trade-off: silicone gives you control and ease but requires you to master batter aging; parchment offers immediate lift but demands a closer eye on heat. So what’s the verdict?
Practical Tips for Macaron Success on Any Surface
No matter which surface you choose, these tips will up your game:
-
Aging is non-negotiable. Let piped shells rest until a skin forms—usually 30–60 minutes at room temperature, depending on humidity. The skin should feel dry and slightly tacky. Proper aging helps prevent cracking and encourages the foot. (Yes, even a new mom can fit this in during a nap.)
-
Oven thermometer is a must. Most home ovens drift from the set temperature. Place an oven thermometer on the center rack and aim for 150°C (300°F). If your oven runs hot, parchment will brown faster; silicone will be more forgiving.
-
Bake one tray at a time. For even heat, bake only one sheet in the center of the oven. Rotate 180 degrees halfway through (at 8 minutes if baking for 15–18 total).
-
Cool completely before peeling. Whether using silicone or parchment, let shells cool fully on the sheet. Then gently lift the edge with a thin spatula. If they stick, pop the sheet into the fridge for 5 minutes—the cold usually releases them.
-
Test a small batch first. Pipe just a few shells on each surface before committing the whole recipe. That way you can adjust time or temperature without wasting ingredients.
Which Should You Choose? My Honest Take
If you bake macarons more than once a month, invest in a good silicone mat. I recommend the Silpat Non-Stick Silicone Baking Mat (about $25) or Roul’pat (about $20). They pay for themselves after a dozen batches and give you bulletproof consistency. For the occasional baker who wants that perfect foot, parchment paper is your friend—just watch your heat. Use heavy-duty parchment and double-layer it on the pan if you’re worried about browning.
In the end, the right tool makes cooking easier. But the most expensive tool isn’t always the right one. For macarons, both silicone and parchment have a place. If you’re a new parent juggling a baby and a baking hobby, go with silicone for the peace of mind it offers—just remember to age your batter. Your future self (and your hungry neighbors) will thank you.