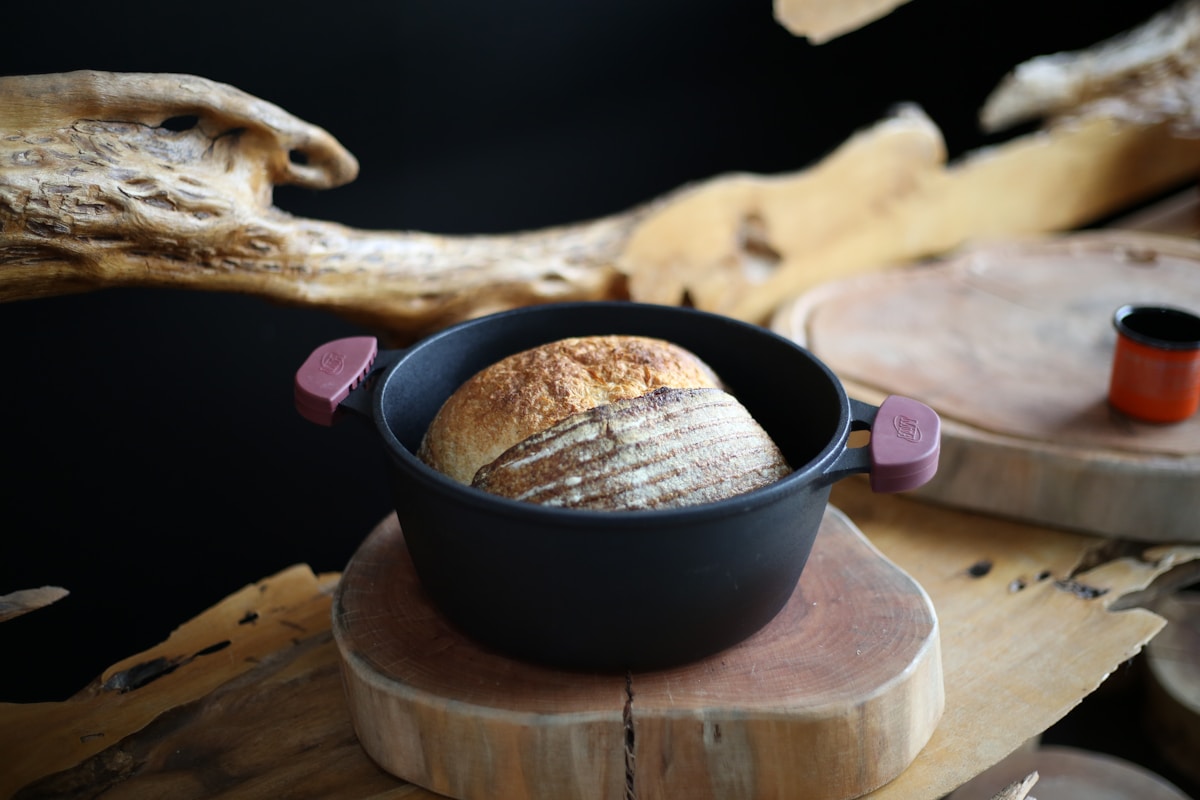
You just unboxed your first pre-seasoned cast iron skillet—a shiny, matte-black Lodge that feels like it could last a century. You’ve heard the hype: cast iron sears steaks like a dream, bakes cornbread perfectly, and with proper care, it’s virtually nonstick. So you crack an egg into the hot pan, and within seconds, white tendrils grip the surface like glue. By the time you scrape it off, a grayish-black residue stains your breakfast. Sound familiar? You’re not alone.
Eggs are the ultimate test for any nonstick surface, and pre-seasoned cast iron often fails that test right out of the box. But does that mean you should give up on using your new skillet for scrambled eggs or sunny-side-ups? Absolutely not. The truth is, pre-seasoned cast iron can work beautifully for eggs—once you understand a few key principles. Let’s break down why eggs stick, what that black residue really is, and how to turn your factory seasoning into a reliable egg-cooking surface.
Why Do Eggs Stick to Pre-Seasoned Cast Iron?
The short answer is that factory seasoning is thin and uneven. Cast iron seasoning is polymerized oil—a layer of fat that has been heated to its smoke point, bonding to the metal. Pre-seasoned pans like Lodge’s are coated with a vegetable oil seasoning at the factory, but it’s often only one or two layers. That’s enough for high-fat foods like bacon or steak, but eggs are low in fat and high in protein. Protein forms strong bonds with bare iron, and if the seasoning layer isn’t thick or smooth enough, those bonds win.
Another big factor is heat. Your stovetop likely runs hotter than you think. Many beginners crank the burner to medium-high, thinking cast iron needs high heat. That’s a myth. Cast iron retains heat incredibly well, so a medium-low flame is often plenty. If you preheat on high, the pan’s surface temperature can easily exceed 400°F (200°C), which immediately denatures egg proteins and glues them to the pan. The ideal range for eggs is between 250°F and 325°F (120°C to 160°C).
And then there’s the oil issue. Pre-seasoned pans aren’t truly nonstick until you build up additional layers. You need a visible amount of fat—butter, clarified butter, or a neutral oil with a high smoke point—to create a barrier between the egg and the iron. A dry pan is a sticky pan.
What Is That Black Residue on My Eggs?
That black or gray specks you see? It’s not rust or dirt. It’s loose carbon from the factory seasoning. When a pre-seasoned skillet is first used, the seasoning layer can shed tiny flakes of polymerized oil. These flakes get stirred into your eggs, leaving unappetizing dark bits. It’s completely harmless, but not something you want on your plate.
The residue usually stops after a few cooking sessions. Washing the pan with hot water and a stiff brush (no soap? Actually, a little mild soap is fine for modern seasoning) helps remove loose particles. America’s Test Kitchen noted that after three to five uses, the shedding diminishes significantly. Some Reddit users in r/castiron recommend scrubbing the pan with coarse salt and oil to accelerate the process. But the real fix is to strengthen the seasoning so the flakes stop forming.
How to Build a Better Seasoning for Eggs
You don’t need to strip the pan and start over. Adding a few oven-seasoning rounds will transform your skillet. Here’s a simple method:
- Preheat your oven to 400°F (200°C).
- Wash your skillet with mild dish soap and dry it thoroughly.
- Apply a thin layer of oil—vegetable, grapeseed, or canola work well. Use a paper towel to rub the oil all over the pan, then try to wipe it off again. You want the bare minimum coating; any excess will pool and create sticky spots.
- Place the skillet upside down on the middle rack (put a baking sheet on the rack below to catch drips).
- Bake for one hour, then turn off the oven and let the pan cool inside.
Repeat this two or three times. The result is a darker, more resilient seasoning that’s much friendlier to delicate eggs. Many Lodge owners find that after three oven seasonings, eggs slide around like they’re on Teflon.
The Right Technique for Cast Iron Eggs
Even with a well-seasoned pan, technique matters. Here’s my go-to method for perfect sunny-side-up eggs in a pre-seasoned Lodge 10.25-inch skillet:
- Preheat the pan over medium-low heat for about 5 minutes. The pan should be hot but not smoking.
- Add a generous pat of butter (about 1 tablespoon) or a splash of oil. Let it foam and coat the bottom.
- Crack your egg into a small bowl first (no shell fragments) and gently slide it into the pan.
- Let it cook undisturbed for 2–3 minutes. You’ll see the edges turn white and crispy.
- For over-easy, gently flip with a thin metal spatula. A fish spatula is ideal because it slides under the egg without scraping the seasoning.
- Remove when the white is set but the yolk is still runny—about 4 minutes total.
The key is patience: low heat, enough fat, and a preheated pan that’s not screaming hot. If you try the same egg on medium-high heat, you’ll get a rubbery, stuck mess.
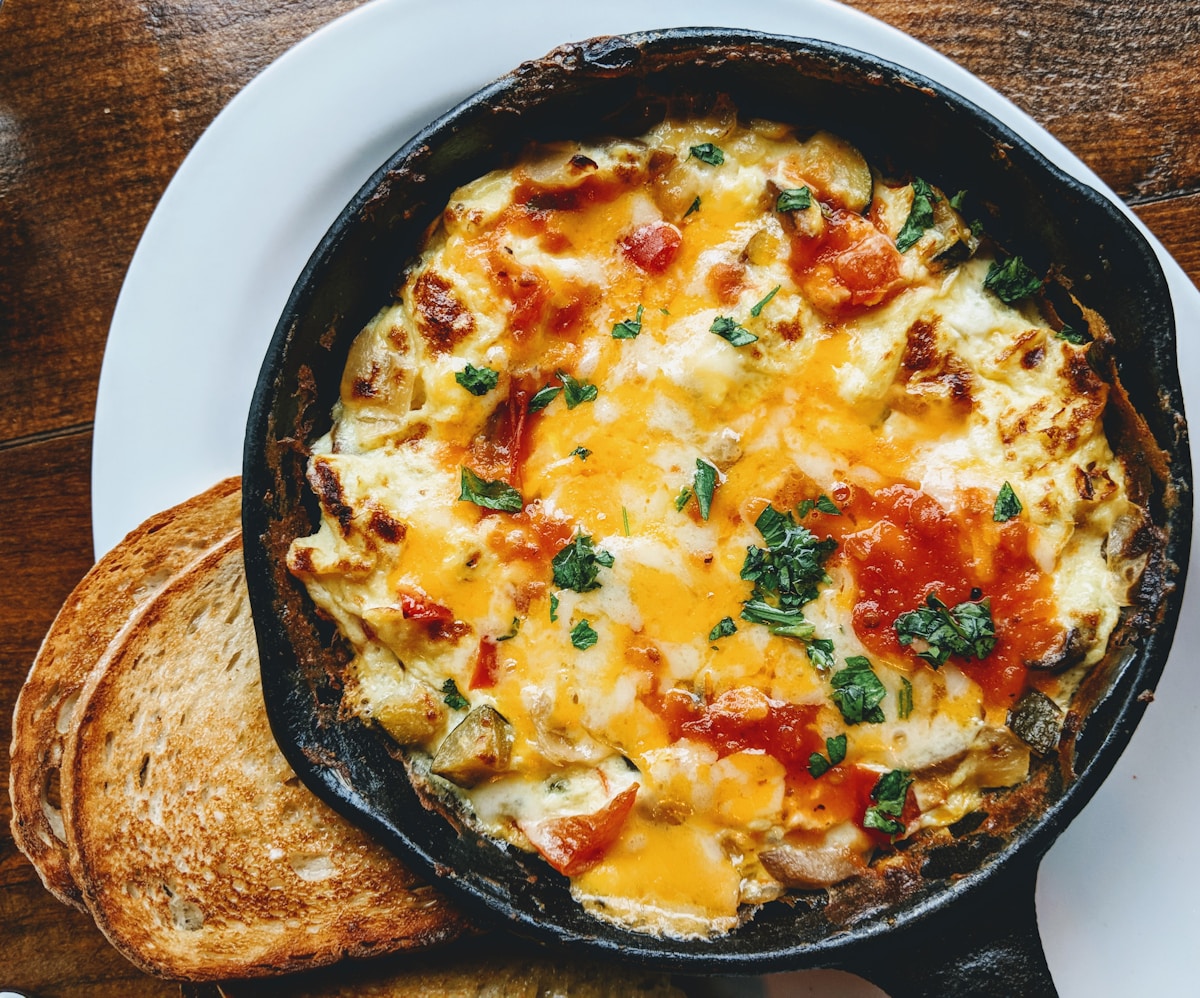
What About Scrambled Eggs?
Scrambled eggs are actually trickier than fried eggs because they’re stirred constantly, exposing more surface area to the pan. For fluffy, nonstick scrambled eggs in cast iron, try this:
- Whisk your eggs with a splash of milk or cream and a pinch of salt.
- Heat the pan on low to medium-low for 3 minutes.
- Add 1–2 tablespoons of butter. When it’s melted and bubbling, pour in the eggs.
- Using a silicone spatula, gently push the eggs from the edges toward the center. Don’t constantly scrape the bottom—let the eggs set slightly before folding.
- Remove from heat while still a bit wet; carryover cooking will finish them.
Again, low heat is non-negotiable. If you see brown spots on your scrambled eggs, your pan was too hot.
Best Oils and Fats for Cast Iron Eggs
Not all fats are equal. Butter adds flavor but burns above 350°F (175°C), so keep the heat moderate. Clarified butter (ghee) has a higher smoke point around 485°F (250°C) and is excellent for crispy edges. For neutral options, use avocado oil (smoke point 520°F) or grapeseed oil (420°F). Avoid olive oil at high heat—it can smoke and leave a bitter taste.
A tip from America’s Test Kitchen: spray the pan lightly with a nonstick cooking spray (like Pam) before adding your fat. The lecithin in the spray helps create an extra slip layer. Just be aware that cooking sprays can leave a gummy residue on seasoning if used repeatedly, so wash the pan well afterward.
How to Clean Your Cast Iron After Eggs
Cleaning is simple. After cooking, let the pan cool slightly. Run hot water over it while scrubbing with a stiff brush or chainmail scrubber. If any egg bits are stuck, add a pinch of coarse salt and scrub with a paper towel. Rinse, dry thoroughly with a cloth, then heat it on the stovetop for a minute to drive off every drop of moisture. Apply a tiny dab of oil and rub it into the surface to maintain the seasoning.
Don’t use soap regularly—modern dish soap is mild enough for occasional use, but frequent washing can strip seasoning. If you do use soap, be sure to dry and re-oil immediately.
Is Pre-Seasoned Cast Iron Worth It for Eggs?
Absolutely, but with realistic expectations. A pre-seasoned Lodge is an incredible value—around $20–$40 for a 10-inch skillet, compared to $100+ for premium enameled or vintage pans. With a few extra seasoning rounds and proper technique, it will cook eggs as well as any $200 French carbon steel pan. The learning curve is real, but the reward is a skillet that improves with every meal.
Eggs are the ultimate diagnostic tool for your cast iron. If they stick, your seasoning needs work or your heat is too high. If they slide, you’ve nailed it. Keep cooking, keep seasoning, and soon you’ll be flipping eggs without a second thought. Your pre-seasoned skillet is ready—it just needs a little help from you.