You know that moment. You open the fridge and spot the container of strawberries you bought just a few days ago, full of hope for healthy snacks. But now they look sad. Soft. A little wrinkled. Maybe even with a tiny spot of mold on one. Don’t toss them. You have just discovered the perfect excuse for a baking afternoon with your kids. Those overripe strawberries are actually ideal for turning into jammy, sweet crumb bars. This is one of those happy accidents that the r/Baking community loves, and it is a wonderful way to teach kids about resourcefulness in the kitchen. Let me show you how.
Why Overripe Fruit Is a Baker’s Best Friend
When strawberries get soft and overly ripe, their natural sugars concentrate and their texture breaks down. That makes them perfect for cooking down into a thick, jam-like filling. In crumb bars, you don’t need firm, perfect berries. The soft fruit will release its juices as it bakes, creating that luscious, sticky layer that everyone fights over. Plus, using fruit that would otherwise go to waste is a fantastic lesson for kids. It says, “We don’t waste food, we transform it.” That is a kitchen skill that lasts a lifetime.
A few caveats: if the strawberries have any moldy spots, just cut those off. If they are slimy or smell fermented, then they have gone too far. But soft, slightly wrinkled berries are perfect. You can also use this same method with peaches, plums, blueberries, or raspberries. The crumb bar recipe is endlessly forgiving.
Getting Little Hands Involved: Age-Appropriate Tasks
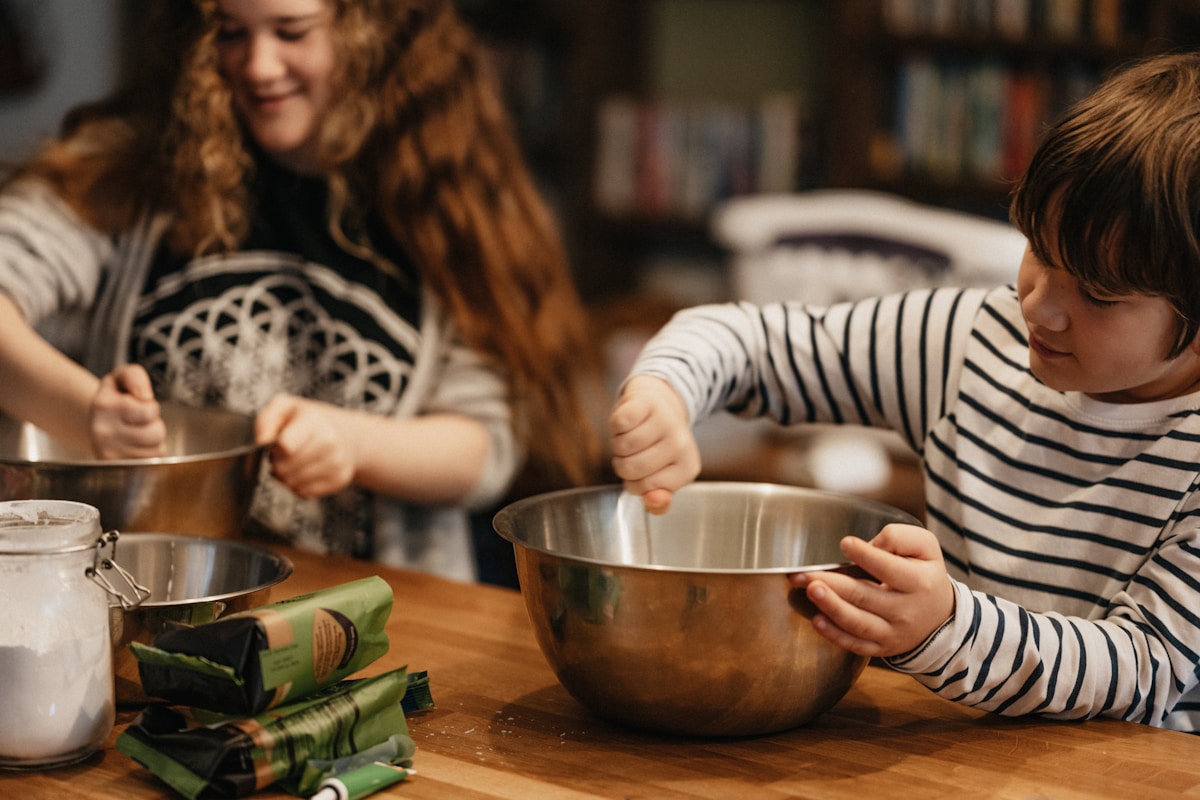
Crumb bars are a dream recipe for cooking with kids because nearly every step can be done by small hands with a little supervision. Here is how to split the work by age:
Ages 3 to 5: Let them wash the strawberries in a colander, tear the green tops off (with your help), and sprinkle the sugar over the fruit. They can also press the crust mixture into the pan with their clean hands. It is messy, and that is the point.
Ages 6 to 9: They can measure the flour, sugar, and oats; stir the crust ingredients together; and help cut the butter into the mixture using a pastry blender or their fingertips. They can also stir the strawberry filling on the stove (with you nearby). This age group loves feeling like a real chef.
Ages 10 and up: They can handle most of the recipe independently. Let them read the instructions aloud, decide when the filling has thickened, and check the bars for doneness with a toothpick. You are there for oven duty, but they are the lead baker.
Step-by-Step: Strawberry Crumb Bars (No Fancy Equipment Needed)
This recipe is based on the classic crumb bar formula that the Reddit community loves. You do not need a stand mixer. A bowl, a fork, and a 9x13-inch baking pan are enough.
Ingredients for the crust and crumb topping:
- 1 ½ cups (180g) all-purpose flour (King Arthur Flour works great)
- 1 cup (80g) old-fashioned rolled oats
- ½ cup (100g) packed brown sugar
- ¼ cup (50g) granulated sugar
- ½ teaspoon salt
- ½ teaspoon baking powder
- ¾ cup (170g) cold unsalted butter, cut into small cubes
For the strawberry filling:
- 4 cups (about 600g) overripe strawberries, hulled and chopped
- ¼ cup (50g) granulated sugar (adjust based on sweetness of berries)
- 2 tablespoons cornstarch
- 1 tablespoon lemon juice (fresh is best)
- 1 teaspoon vanilla extract
Instructions:
Preheat your oven to 350°F (175°C). Line the 9x13-inch pan with parchment paper, leaving some overhang for easy lifting later.
Start with the crust. In a large bowl, whisk together the flour, oats, both sugars, salt, and baking powder. Add the cold butter cubes. Use a pastry blender or your fingers to work the butter into the dry ingredients until the mixture resembles coarse crumbs with some pea-sized butter pieces still visible. Set aside about 1 cup of this mixture for the topping. Press the remaining mixture firmly into the bottom of the prepared pan. Bake for 12 minutes. (Your kids can watch through the oven window — it is very exciting.)
While the crust bakes, make the filling. In a medium saucepan, combine the chopped strawberries, sugar, cornstarch, lemon juice, and vanilla. Cook over medium heat, stirring frequently, until the berries break down and the mixture thickens, about 5 to 7 minutes. It should look like a rustic jam. Let it cool slightly.
Spread the warm strawberry mixture evenly over the pre-baked crust. Sprinkle the reserved crumb topping over the fruit, covering it as evenly as possible.
Bake for 30 to 35 minutes, until the topping is golden brown and the filling is bubbling at the edges. (A little bubble is good — that means the cornstarch has done its job.) Let the bars cool completely in the pan before cutting. This is the hardest part for impatient kids, but the bars hold together much better when cool. If you try to cut them warm, you will get a delicious mess instead of neat squares. Both are fine, but the neat squares are more satisfying for little hands to pick up.
Practical Tips for Success (From Experience)
Use cold butter for the crust. If the butter melts before baking, the crust will be greasy rather than crisp. Pop the bowl in the fridge for 10 minutes if your kitchen is warm.
Do not overmix the crust. You want visible butter bits — that creates flaky texture. If the mixture looks like play dough, you have gone too far.
Let the bars cool completely. At least 2 hours at room temperature, or 45 minutes in the fridge. Use the parchment sling to lift the whole block onto a cutting board. Then let kids cut with a plastic knife (or supervise with a sharp one for older kids).
Make ahead and freeze. These bars freeze beautifully. Wrap them individually in plastic wrap and store in a zip-top bag. They thaw in about 20 minutes at room temperature, perfect for school lunchboxes or after-school snacks.
Variations to Try With Your Family
Once you master the basic strawberry version, the possibilities are endless. The same crumb base works with:
- Peach crumb bars: Use 4 cups peeled, sliced peaches. Add ¼ teaspoon cinnamon to the filling.
- Blueberry lemon: Swap strawberries for blueberries and add the zest of one lemon to the crust.
- Mixed berry: Use whatever berries are languishing in your fridge — a combination of strawberries, raspberries, and blackberries is wonderful.
- Apple crumble bars: Use 4 cups diced apples (about 4 medium apples), increase sugar to ½ cup, and add 1 teaspoon cinnamon to the filling. No cornstarch needed; apples thicken on their own with longer cooking.
Each variation follows the same method. Your kids can choose the fruit at the store or from your garden. That gives them ownership of the project.
The Real Magic: More Than Just a Dessert
When you bake with overripe fruit, you are not just making a treat. You are teaching your children that mistakes — or accidents — can turn into something wonderful. That soft strawberries are not a failure. They are an opportunity. The Reddit community understands this. That original post about strawberry crumb bars sparked dozens of comments sharing their own happy accidents. That is the spirit I want you to take into your kitchen.
So next time you see those sad berries in the fridge, do not sigh. Smile. Call your kids over. Tell them you have a project. An hour later, your kitchen will smell like summer, your children will have flour on their noses, and a pan of golden crumb bars will be cooling on the counter. That is real kitchen magic. And it starts with a soft strawberry.