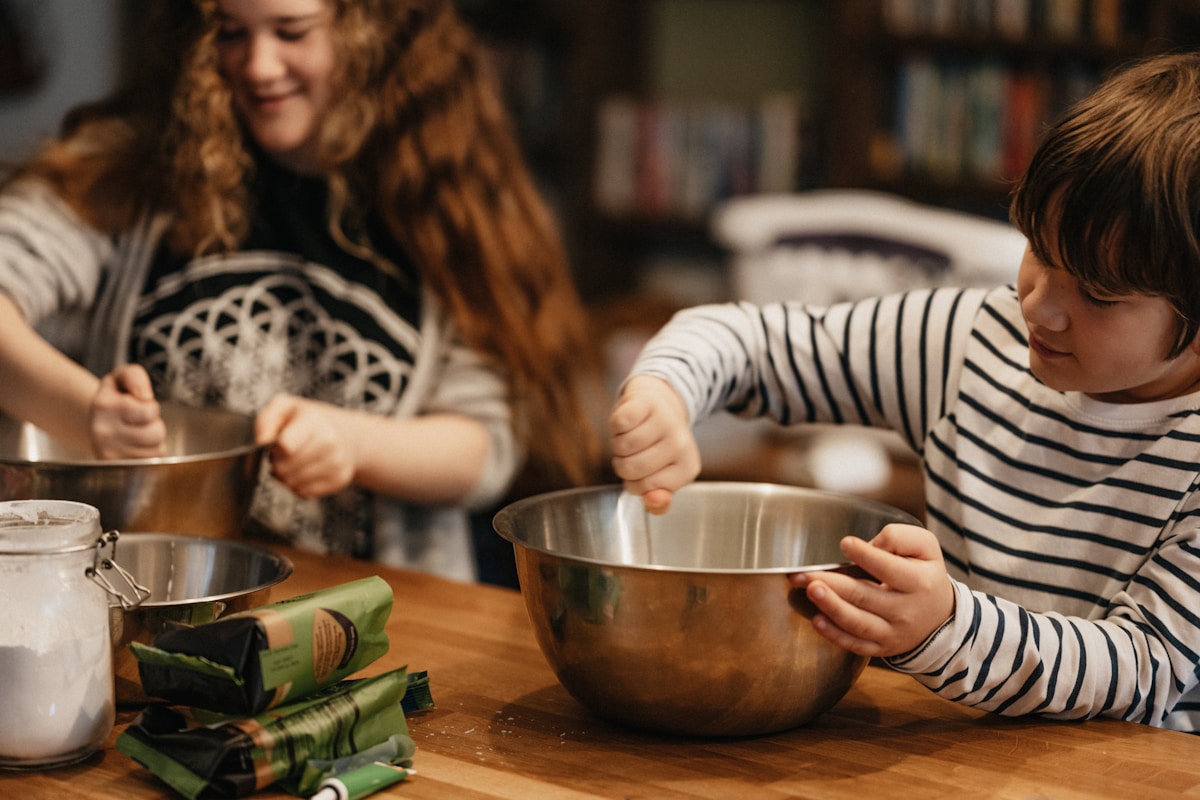
Every family has that debate. Your partner wants a classic yellow birthday cake with fluffy vanilla frosting. The kids are campaigning for a deep, fudgy chocolate layer cake. You stand in the middle of the kitchen, spatula in hand, wondering if there’s a way to please everyone without making two separate cakes. The answer is yes, and it’s been sitting in Grandma’s recipe box for generations: marble cake.
Marble cake isn’t just a visual gimmick. It’s a clever solution that delivers two distinct flavor experiences from a single pan. The trick lies in balancing the batters and mastering the swirl technique. When done right, each slice offers pockets of tender vanilla and rich chocolate, with beautiful ribbons running through the crumb. (And yes, it impresses guests every time.)
I’ve been making marble cakes for my family for over a decade, and I’ve learned a few secrets that separate a good marble from a great one. The experts at King Arthur Baking suggest using a 1:1 ratio of vanilla to chocolate batter for balanced flavor, and they’re spot on. But the real magic happens in how you layer and swirl. Let’s walk through it step by step.
The Great Debate: Chocolate vs. Vanilla
It’s a classic dilemma. According to a 2023 survey by the International Dairy Foods Association, chocolate is America’s favorite ice cream flavor, but vanilla remains the top choice for birthday cakes. This split preference reflects something deeper: chocolate feels indulgent and celebratory, while vanilla feels familiar and nostalgic. Marble cake bridges that divide.
The beauty of a marble cake is that neither flavor overpowers the other. The vanilla batter provides a light, buttery canvas that supports the chocolate’s depth. And the chocolate swirls add just enough richness to satisfy a cocoa craving without overwhelming the palate. It’s a diplomatic dessert that lets both sides claim victory.
The Secret to a Perfect Marble
A common mistake is to overmix the two batters until they turn into a muddy gray mess. That’s not marbling; that’s a sad tie-dye experiment. Instead, you want distinct pools of light and dark that remain separate even after swirling. The key is to alternate dollops of each batter in the pan and then draw a knife through them only a few times.
Temperature matters too. Use room-temperature eggs, butter, and milk (about 70°F/21°C) to ensure the batters blend evenly without curdling. For the chocolate portion, I recommend sifting together cocoa powder and a pinch of espresso powder (unsweetened, not instant) to deepen the flavor without adding bitterness. Brands like Ghirardelli or Valrhona work beautifully, but even standard Hershey’s cocoa will give good results.
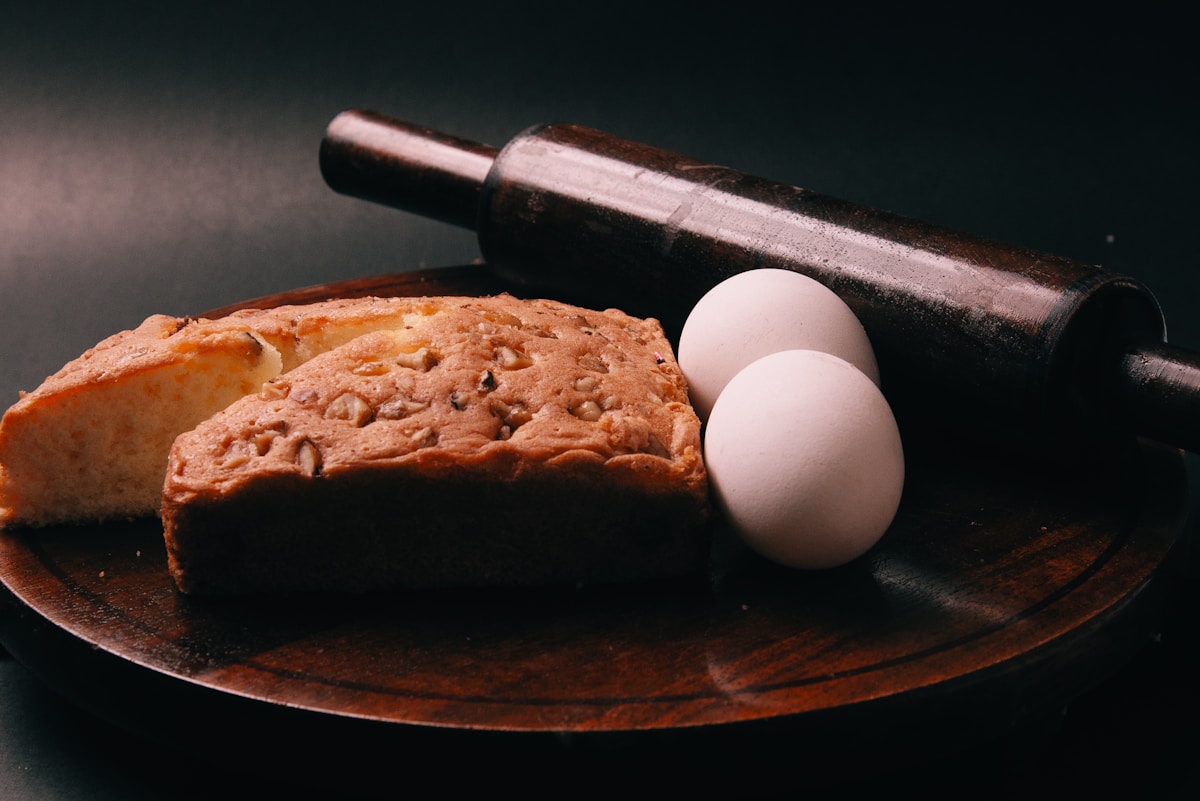
Step-by-Step: Building Your Marble Cake
Let’s get into the details. This recipe yields one 9-inch round cake or a standard 8x8 square pan. You’ll need:
- 1 1/2 cups (180g) all-purpose flour (I love King Arthur Unbleached)
- 1 1/2 teaspoons baking powder
- 1/4 teaspoon salt
- 1/2 cup (113g) unsalted butter, softened
- 1 cup (200g) granulated sugar
- 2 large eggs, room temperature
- 1 teaspoon vanilla extract
- 1/2 cup (120ml) whole milk, room temperature
- 3 tablespoons unsweetened cocoa powder
- 2 tablespoons hot water (for dissolving cocoa)
- Optional: 1/4 cup sour cream for extra moisture (your future self will thank you)
Preheat your oven to 350°F (175°C). Grease your pan with butter and dust it with flour, or use a baking spray with flour like Baker’s Joy.
First, whisk together the flour, baking powder, and salt in a medium bowl. In a separate large bowl, beat the butter and sugar with an electric mixer on medium speed until light and fluffy, about 3 minutes. Scrape down the sides, then add the eggs one at a time, beating well after each. Stir in the vanilla extract.
Now alternate adding the flour mixture and the milk, starting and ending with flour. Mix just until combined—overmixing makes the cake tough. If using sour cream, fold it in now.
Divide the batter into two bowls. In one bowl, stir together the cocoa powder and hot water until smooth, then fold that paste into the batter until no white streaks remain. You now have a vanilla batter and a chocolate batter.
Here’s the layering technique: Spoon dollops of vanilla batter into your prepared pan, spacing them out. Then spoon dollops of chocolate batter into the gaps. Continue alternating until all batter is used. You’ll have a checkerboard pattern of light and dark.
Now for the swirl: Take a butter knife or a thin metal spatula and insert it vertically into the batter. Draw a figure-eight or spiral pattern through the pan, touching the bottom. Do this no more than six times—any more and you’ll lose the contrast. The goal is to marble, not to blend.
Bake for 30-35 minutes, or until a toothpick inserted in the center comes out clean. The top should be golden and spring back when touched lightly. Cool in the pan for 10 minutes, then transfer to a wire rack.
Tips for a Flawless Swirl Every Time
- Chill the chocolate batter slightly: If your kitchen is warm, pop the chocolate bowl in the fridge for 10 minutes before layering. This slows down the spreading and keeps the colors distinct.
- Use a light hand: The more you swirl, the less visible the marble pattern. Two or three passes is often enough.
- Add a glaze: A simple powdered sugar glaze (1 cup confectioners’ sugar + 2 tablespoons milk + 1/2 teaspoon vanilla) drizzled over the cooled cake adds sweetness without competing with the flavors. Or serve it plain with a dusting of cocoa.
- Buttermilk substitute: If you don’t have milk, you can use 1/2 cup buttermilk plus 1/4 teaspoon baking soda added to the dry ingredients. This gives a slightly tangy, tender crumb.
- Bake in a loaf pan: For a taller, denser cake, use a 9x5-inch loaf pan and bake for 40-45 minutes. Check at 35 minutes.
Why This Works for Your Family
Marble cake isn’t just a compromise—it’s a celebration of variety. Each slice offers a little bit of both worlds, which encourages kids to try flavors they might otherwise resist. I’ve seen picky eaters who claim to hate chocolate suddenly devour the vanilla pockets, and vice versa. The visual intrigue also makes it a hit at parties: the marbled interior is a pleasant surprise when you cut into the cake.
From a baker’s perspective, marble cake is also forgiving. Because you’re using a single base batter, you don’t need to worry about two separate mixing bowls or different oven racks. It’s efficient, uses pantry staples, and yields a dessert that feels special without hours of effort.
One more hack: If you want to take it up a notch, replace the hot water with strong brewed coffee when dissolving the cocoa. Coffee enhances chocolate’s richness without adding coffee flavor (trust me on this one). And for a fun variation, swirl in a tablespoon of raspberry jam along with the chocolate—it creates a lovely fruit-chocolate swirl.
So the next time your family is split over dessert, pull out your mixing bowls and make a marble cake. It’s a small gesture that says, “I hear you, I love you, and we’re all going to enjoy this together.” The kitchen is a magical place, and a marble cake is proof that sometimes the best answer isn’t one or the other—it’s both.
Happy baking, and remember: every swirl is a story waiting to be shared.