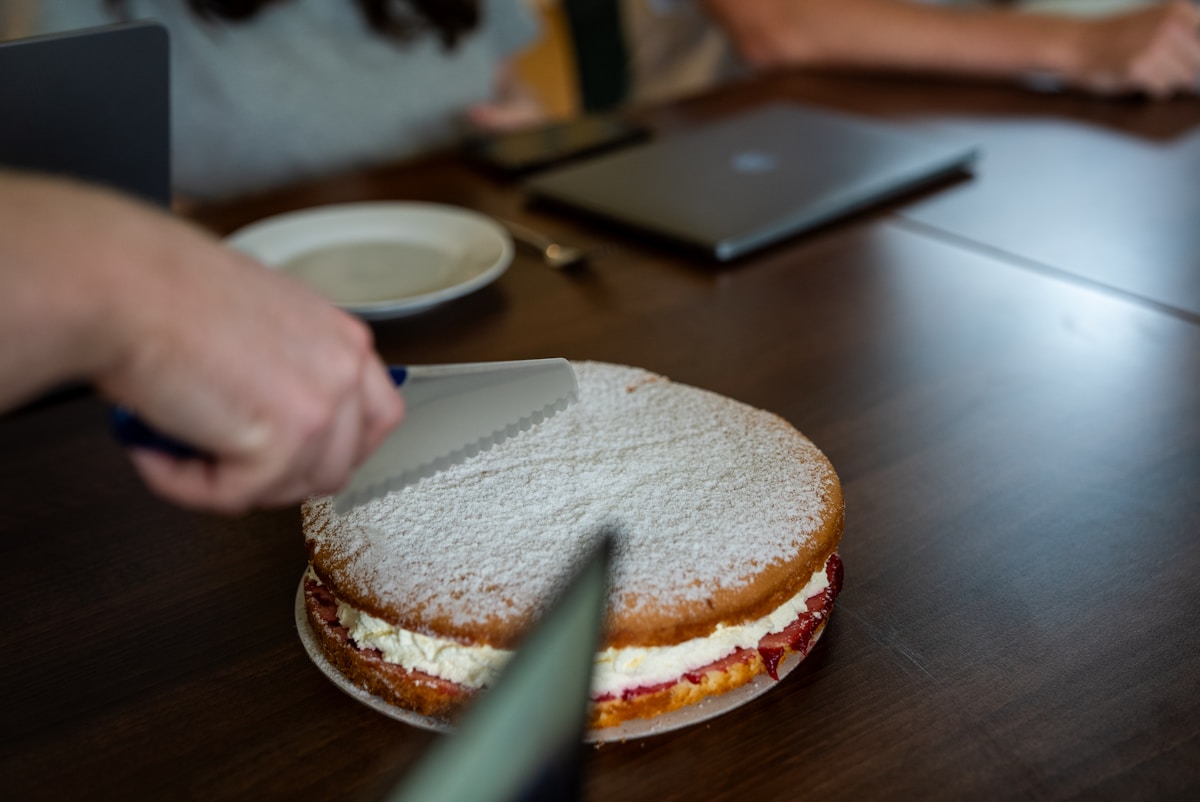
There’s a specific kind of baker’s heartbreak that I know all too well. You’ve spent hours baking the perfect vanilla sponge. You’ve whipped up a batch of pristine, snow-white Swiss meringue buttercream. You’ve sliced the most beautiful, ruby-red strawberries and arranged them in a stunning pattern on top. The cake is a masterpiece. You place it in the fridge, ready for the big reveal at a family gathering in a few hours.
But when you pull it out, disaster has struck. Angry red streaks have bled from every cut berry, weeping down the sides of your perfect frosting, creating a messy, soggy halo around your beautiful design. It’s frustrating, and it feels like a failure. But I’m here to tell you it’s not your fault; it’s just chemistry. And like any chemical reaction, we can control it with a little knowledge.
Baking is, after all, chemistry you can eat. Understanding the ‘why’ behind this common problem is the key to solving it for good. Let’s dive into the science and the simple, professional techniques that will keep your strawberry-topped cakes looking immaculate from the moment you decorate them to the moment they’re served.
The Science Behind the Weep Why Berries Bleed
The phenomenon of your strawberries leaking juice all over your frosting is caused by a powerful, invisible force called osmosis. It’s a fundamental process in biology, and it’s happening right there on your cake.
Think of it this way: your frosting, whether it’s buttercream, cream cheese, or whipped cream, is loaded with sugar. The cells inside your fresh, juicy strawberry are mostly water. Nature loves balance. When the high-sugar environment of the frosting comes into direct contact with the high-water environment of the cut strawberry, the water is compelled to move. It travels from the area of lower sugar concentration (the strawberry) to the area of higher sugar concentration (the frosting) to try and even things out.
This movement of water is what causes the ‘bleeding’ or ‘weeping.’ The sugar in the frosting is literally pulling the water right out of the strawberry’s cells, and that water carries the red pigments with it. The more you cut a strawberry, the more cells you break open, and the more surface area you create for this osmotic pressure to do its work. It’s a completely natural process, but one that we can easily outsmart.
The Pâtissier’s Secret The Apricot Glaze Seal
Walk into any high-end French bakery and look at their fruit tarts. Notice how the fruit glistens with a perfect, jewel-like sheen? And notice how the fruit isn’t making the tart shell soggy? That’s not just for looks; it’s a protective barrier. The most common and classic method to prevent fruit from bleeding is to seal it with a thin glaze.
My go-to is a simple apricot glaze. Apricot jam has a mild, neutral flavor that complements most cakes and a good amount of pectin, which helps it set into a beautiful, clear seal. Here’s the exact method I use:
- Choose Your Jam: Select a good quality, seedless apricot jam or preserve. If it has seeds or large pieces of fruit, you’ll need to strain it.
- Warm It Gently: Place about 1/2 cup of jam in a small saucepan with 1 to 2 teaspoons of water. The water helps thin the jam just enough to be brushable. Heat it over low heat, stirring constantly, until it’s just warmed through and liquid. You don’t want to boil it, just melt it to a syrupy consistency, around 150°F (65°C).
- Strain for Perfection (Optional but Recommended): Pour the warm jam through a fine-mesh sieve to remove any remaining lumps or fruit pieces. This ensures a perfectly smooth, clear glaze.
- Application is Key: Using a soft pastry brush, gently dab a very thin layer of the warm glaze over all the cut surfaces of your strawberries. You don’t need to slather it on; a delicate coating is all it takes to create a waterproof seal. Let the glaze set for about 10-15 minutes before arranging the berries on your cake.
This thin, edible barrier effectively separates the strawberry’s water from the frosting’s sugar, stopping osmosis in its tracks. You can apply the berries to your cake hours in advance, and they will stay put without a single red tear.
The Delicious Defense A Chocolate Barrier
If the flavor of apricot isn’t quite right for your cake, or you want to add another layer of flavor and texture, there’s another fantastic option: chocolate. A thin layer of cooled, melted chocolate creates an equally effective, and arguably more delicious, waterproof barrier.
White chocolate is a popular choice as its color blends seamlessly with most light-colored frostings, but milk or dark chocolate can also create a stunning contrast. This technique is wonderfully simple.
- Prepare Your Berries: Make sure your sliced strawberries are as dry as possible. Pat them gently with a paper towel. Water is the enemy of melted chocolate and can cause it to seize.
- Melt the Chocolate: Using a good quality chocolate (chips or a chopped bar), melt it carefully. You can do this in a microwave in 20-second bursts, stirring in between, or over a double boiler (a heatproof bowl set over a saucepan of simmering water). Be careful not to overheat it. You want it smooth and fluid, but not scorching hot—around 110°F (43°C) is ideal.
- Dip and Set: Hold each strawberry slice and dip the cut side into the melted chocolate, creating a thin coating. Place the chocolate-dipped side down on a sheet of parchment paper.
- Chill to Harden: Place the parchment sheet in the refrigerator for 5-10 minutes, or just until the chocolate is firm. Once the chocolate base is solid, the strawberries are sealed and ready. You can now arrange them on your cake, chocolate-side down against the frosting.
This method not only prevents bleeding but also adds a delightful snap of chocolate to each bite. (Your guests will thank you for this one.)
When in a Rush The Last-Minute Press
Sometimes you simply don’t have time for glazes or chocolate. If you’re decorating a cake that will be served within the hour, you can get away with a simpler, faster method. The key here is moisture management and timing.
Slice your strawberries and lay them out, cut-side up, on a double layer of paper towels. Let them sit for about 15 minutes. The paper towels will wick away a significant amount of the surface moisture. Just before you’re ready to arrange them on the cake, take another clean paper towel and gently blot the cut surfaces one last time to get them as dry as possible.
Arrange the blotted berries on the cake immediately before serving. This method doesn’t stop osmosis, but it delays it. By removing the excess surface juice, you buy yourself about an hour of pristine decoration before any significant bleeding begins. It’s not a foolproof, long-term solution, but it’s a great kitchen hack for when you’re short on time.
The Whole Berry Solution
What if you need to decorate a cake the night before? In this case, your best defense is to avoid cutting the berries at all. A whole, unhulled strawberry has its own natural, waterproof barrier: its skin. The skin does a fantastic job of keeping the berry’s moisture contained.
You can arrange beautiful whole strawberries on your cake, and they will hold up perfectly in the refrigerator overnight without any bleeding. Just be sure to wash and thoroughly dry them before placing them on the frosting. For a touch of elegance, you can even find long-stemmed strawberries for a truly dramatic presentation. This is the safest bet for any cake that needs to sit for more than a few hours, preserving both the look of your cake and the integrity of the fruit.