You’ve done it. You’ve brought home a beautiful, thick-cut steak. It’s sitting there on the cutting board, full of promise. But now comes the moment of truth, the step that separates a restaurant-quality steak from a disappointingly bland one: the seasoning.
Your hand hovers over the salt, a little voice in your head whispering, “Don’t use too much! You’ll ruin it!” We’ve all been there. I saw a post online recently from a teenager who was so proud of the steak they made for their birthday, and they asked for tips. The first thing all the experienced cooks said was about getting the seasoning right. It’s the most common hurdle for new cooks, and the fear of over-salting often leads to the real crime: under-seasoning.
So let’s quiet that little voice of doubt. Today, we’re going to get confident with seasoning. Because the truth is, that beautiful piece of meat needs — and can handle — more seasoning than you probably think.
The Most Common Mistake Is Not What You Think
When it comes to a good steak, the single biggest flavor mistake isn’t overcooking it by a minute or two; it’s being too timid with the salt. A one-and-a-half-inch-thick New York strip is a dense piece of protein. A light little sprinkle of salt on the surface is like trying to flavor a whole swimming pool with one drop of lemon juice. It’s just not going to cut it.
Think about it this way: the salt and pepper you apply only ever touch the outside of the steak. They have to be bold enough to flavor not just that first bite of crust, but to complement the rich, beefy interior as well. When you take a bite, you get a bit of that seasoned crust and a bit of the unseasoned inside. They have to balance each other out.
Many of us grew up with all-in-one “seasoned salts” in the pantry. While convenient, these blends often contain fine salt, sugar, paprika, and other powders that can burn on a hot pan and mask the pure flavor of the beef. Learning to season with just salt and pepper first gives you complete control and teaches you what beef is supposed to taste like. It’s the foundation of all great steak cooking.
Your Two Best Friends Salt and Pepper
For a truly spectacular steak, you don’t need a complicated rub with ten ingredients. You need two. But the type of salt and pepper you use makes a world of difference.
For Salt, Go Coarse: Forget the standard table salt in the blue cylinder. Its tiny crystals are incredibly dense, making it shockingly easy to over-salt your food. Instead, you want a coarse salt. Your two best options are:
- Kosher Salt: This is the workhorse of professional kitchens for a reason. Its large, flaky crystals are easy to pinch and distribute evenly. Because the flakes are bigger and less dense than table salt, a teaspoon of kosher salt is less “salty” than a teaspoon of table salt, giving you a much wider margin for error. Brands like Diamond Crystal (my personal favorite) and Morton are fantastic.
- Coarse Sea Salt: Similar to kosher salt, coarse sea salt has large crystals that adhere well to the meat and provide great texture and flavor.
How much to use? Be generous. You want to coat the entire surface of the steak — top, bottom, and all the sides. It should look like a light, even dusting of snow. You should be able to clearly see the individual crystals of salt and pepper all over the meat. (Yes, really.)
For Pepper, Go Fresh: That tin of pre-ground black pepper has its place, but it’s not here. The aromatic compounds that give black pepper its wonderful, spicy bite begin to fade the moment it’s ground. Grinding your peppercorns just before they hit the steak releases all those volatile oils, giving you a fragrance and flavor that pre-ground pepper just can’t match. A simple pepper mill is one of the best small investments you can make for your kitchen.
The Magic of Time The 40-Minute Rule
Now for the secret ingredient: time. The moment you apply your seasoning can have a huge impact on the final result. While seasoning just before the steak hits the pan is fine, giving it at least 40 minutes makes a world of difference. This is a technique called “dry brining,” and it’s pure magic.
Here’s how the science works in three simple steps:
-
Moisture Pulls Out: As soon as you salt the steak, osmosis begins. The salt on the surface draws moisture from within the meat, and you’ll see little beads of water form on top. A lot of beginners see this and panic, thinking they’re drying out the steak. Stay calm! This is part of the plan.
-
A Brine is Born: This liquid that’s been pulled to the surface dissolves the salt and pepper, creating a super-concentrated, flavorful brine right on the surface of your steak.
-
Flavor Pulls In: Over the next 30-40 minutes, the steak reabsorbs that brine. But now, instead of just reabsorbing water, it’s pulling in all that concentrated salty, peppery flavor deep into the muscle tissue. This seasons the meat more thoroughly than a simple surface sprinkle ever could.
The result? A more deeply flavorful steak and, as a bonus, a much drier surface. A dry surface is the key to getting a perfect, dark-brown crust (the Maillard reaction) in a hot pan.
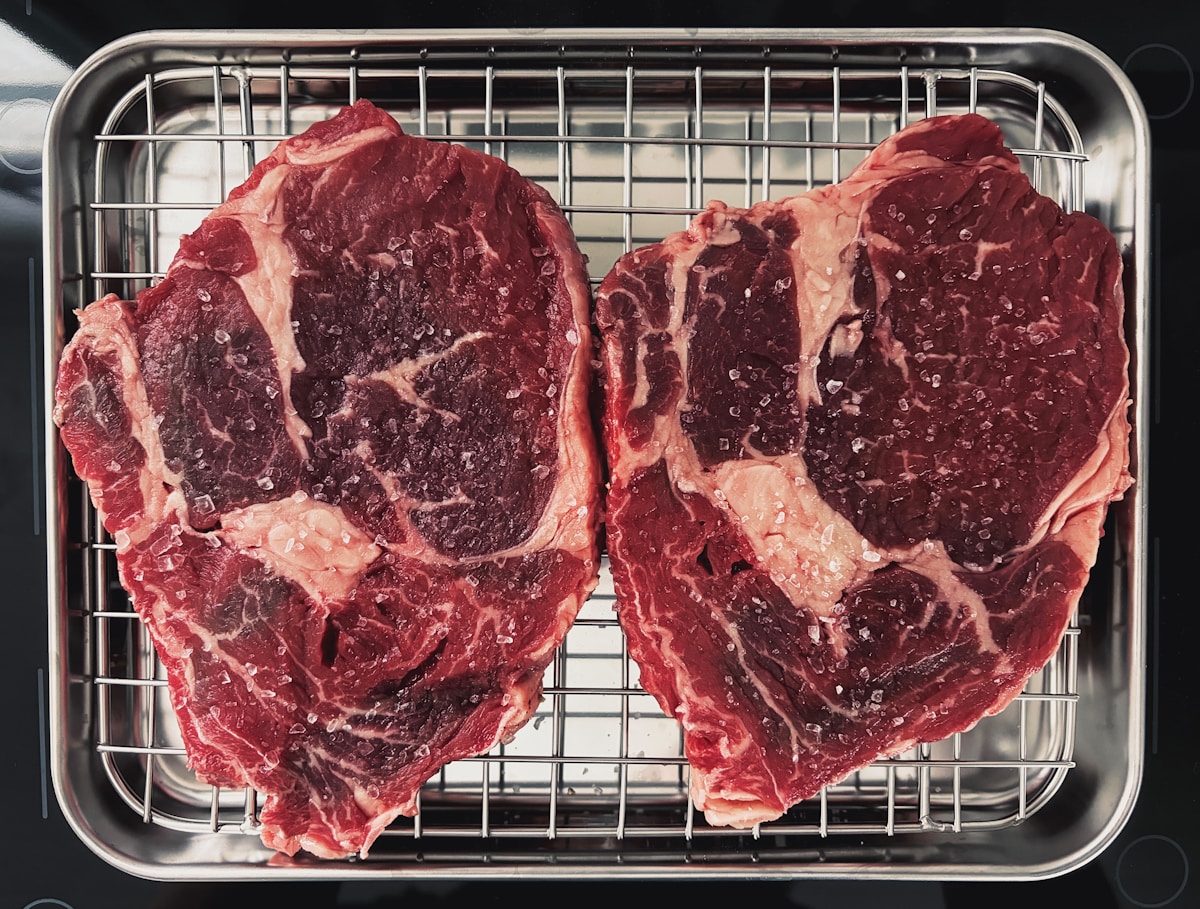
Kitchen Hack: The best way to do this is to season your steak generously, place it on a small wire rack set inside a baking sheet, and leave it uncovered in the refrigerator. You can do this for as little as 40 minutes or for as long as overnight for an even more dramatic effect.
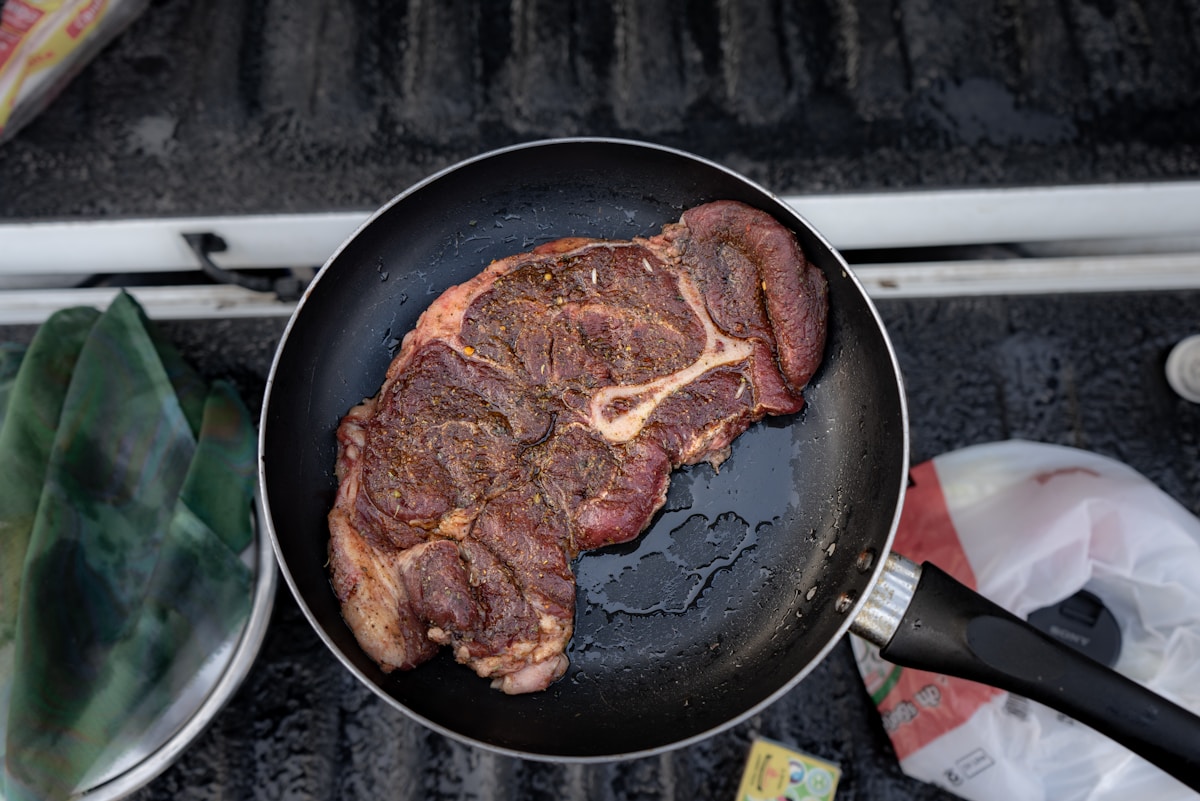
Let’s Cook A Simple Pan-Seared Steak
Ready to put this all together? Let’s cook a steak that will make you feel like a culinary hero.
You’ll Need:
- One 1.5-inch thick boneless steak (a ribeye or New York strip is perfect)
- Kosher salt and freshly cracked black pepper
- 1 tablespoon high-smoke-point oil (canola, grapeseed, or avocado oil)
- A heavy-bottomed skillet (a cast-iron pan, like one from Lodge, is ideal)
- 2 tablespoons unsalted butter
- 2 cloves garlic, smashed with the side of your knife
- 1 sprig of fresh rosemary or thyme (optional, but lovely)
The Method:
- At least 40 minutes before cooking, pat your steak completely dry with paper towels. Season it very generously on all sides with kosher salt and pepper. Place it on a wire rack and let it rest.
- When you’re ready to cook, pat the steak dry one more time. (Moisture is the enemy of a good sear.)
- Place your skillet over medium-high heat. Let it get properly hot. A drop of water should sizzle and evaporate instantly. Add your oil; it should shimmer.
- Gently lay the steak in the pan, laying it away from you to avoid any oil splashback. You should hear a loud, confident SIZZLE. This is the sound of success.
- Let it cook, undisturbed, for about 4 minutes. You want to build a deep, brown crust. Flip the steak with tongs (never a fork!) and cook for another 3-4 minutes on the other side for a perfect medium-rare.
- For the last minute of cooking, turn the heat down to medium-low. Add the butter, smashed garlic, and rosemary to the pan. As the butter melts and foams, tilt the pan towards you and use a large spoon to continuously baste the steak with the fragrant, bubbling butter.
- Remove the steak from the pan and place it on a clean cutting board. Let it rest for 10 minutes. This is non-negotiable! It allows the juices to redistribute throughout the meat, ensuring every bite is tender and juicy.
- Slice against the grain and enjoy the best steak you’ve ever made.
Try This Tonight
Don’t wait for a special occasion. Go to the store and buy one good steak. Just one. Grab a box of kosher salt and some black peppercorns if you don’t have them. Tonight, you’re not just ‘making dinner’; you’re conquering the kitchen’s most common fear.
Follow the 40-minute rule. Be brave with the salt. Listen for that sizzle. And when you take that first perfectly seasoned, juicy bite, you’ll understand. It wasn’t about a fancy recipe; it was about confidence and a little bit of science. You’ve got this.