The Strawberry Disaster That Changed Everything
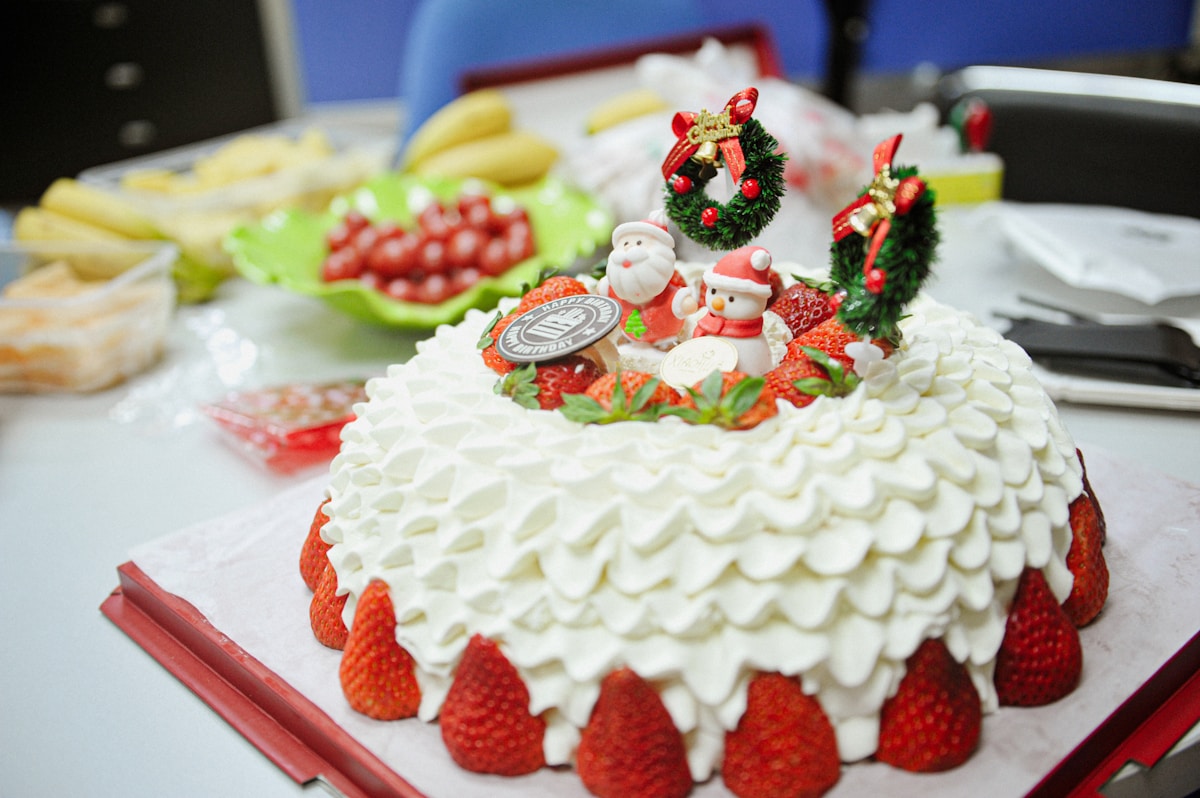
Picture this: You’ve spent hours baking a beautiful birthday cake. It’s two layers of fluffy vanilla, filled with a luscious strawberry filling you made from fresh berries. You frost the outside with perfect swirls of buttercream, light the candles, and proudly present your creation. Then you cut the first slice — and your heart sinks. The layers nearest the filling are stained a sad pink, and the cake crumb feels damp and mushy. The beautiful white frosting on the outside is starting to look blotchy, too. What went wrong?
If this sounds familiar, you’re not alone. A Reddit user in r/Baking shared exactly this experience in April 2024 after making their first birthday cake. They used fresh strawberry filling without any barrier between the fruit and the cake, and the juice bled right into the surrounding layers. The good news? There’s a simple, foolproof technique used by professional bakers that would have saved their cake — and it will save yours, too. It’s called the cake dam, and once you learn it, you’ll never go back.
What Exactly Is a Cake Dam and Why Do You Need One?
A cake dam is a ring of stiff frosting piped along the edge of a cake layer before you add any fruit filling. Think of it like a miniature seawall: it holds the liquidy filling inside, preventing it from leaking out into the cake crumb. The dam is crucial for any filling that contains moisture — especially fresh or cooked fruits like strawberries, raspberries, blueberries, peaches, or even lemon curd. When you stack a second layer on top, the weight pushes down on the filling, forcing the juice to escape. Without a dam, that juice has nowhere to go but into the sponge. With a dam, the juice stays put, and your cake stays pristine.
The science is simple. Most fruits are loaded with water, and when you cut or macerate them, they release even more liquid (that’s why macerated strawberries sit in a puddle of syrup). The cake crumb acts like a sponge, soaking up that liquid and becoming weak, soggy, and discolored. The dam creates a physical barrier that traps the filling in the center, away from the cut edges of the cake. It also gives your final layer of outer frosting a clean, smooth surface to adhere to, free from any fruit stains. (Trust me, there’s nothing more frustrating than a perfect crumb coat ruined by a bleeding raspberry.)
Professional cake decorators use this trick religiously. Kim-Joy, the Great British Bake Off star, swears by it. The reason is simple: it works. For best results, you need a frosting that holds its shape — American buttercream is ideal because it’s thick, sturdy, and has a high sugar-to-butter ratio. Avoid thin, runny frostings like a simple glacé icing or a whipped cream that hasn’t been stabilized. A good dam frosting stays put, even when the cake is chilled.
Step-by-Step: How to Pipe a Perfect Dam
Let’s walk through the process so you can do it with confidence. You’ll need a piping bag fitted with a round tip (Wilton #12 or Ateco #806 are great choices, about 1/2 inch wide) and a batch of American buttercream at room temperature. The buttercream should be stiff enough that when you lift a spoonful, it holds its shape without slumping. If it’s too soft, pop it in the fridge for 10-15 minutes to firm up.
Step 1: Prepare your first cake layer. Place one cooled cake layer on your cake board or serving plate. If the top is domed, level it with a serrated knife so the surface is flat. This is important: a level layer ensures even pressure when you stack the next layer.
Step 2: Pipe a ring of frosting along the outer edge. Fill your piping bag with the stiff buttercream. Starting at the outer edge of the cake layer, pipe a continuous ring of frosting about 1/2 inch thick and 1/2 inch high. Keep the ring at least 1/2 inch from the very edge of the cake — you don’t want it to bulge out when you add the top layer. The ring should form a neat barrier all the way around. If you make a mistake, simply scrape it off and start again. (No one’s watching, promise.)
Step 3: Fill the center with your fruit filling. Spoon your prepared strawberry filling (or whatever you’re using) into the area inside the dam. Spread it evenly, but don’t overfill — leave about 1/4 inch of space below the top of the dam. This prevents the filling from spilling over when you add the next layer. If your filling is very liquid, you can also toss the fruit with a teaspoon of cornstarch before adding it to thicken the juice slightly.
Step 4: Add the next cake layer. Place the second cake layer on top, flat side down (or leveled again). Press down gently to set it in place, but don’t push too hard — you want to compress the filling only a little. The dam should hold everything in check. Repeat these steps for any additional layers.
Step 5: Chill the cake. Once all layers are stacked, refrigerate the cake for at least 30 minutes before you start frosting the outside. This sets the filling and the dam, making it easier to apply a smooth crumb coat without any smearing or shifting. (Your future self will thank you for this pause.)
Extra Insurance: Macerate and Drain
Even with a perfect dam, some bakers go one step further to prevent juice problems. They macerate the fruit with sugar before using it as a filling. Here’s how: toss your chopped strawberries (or raspberries, peaches, etc.) with a tablespoon or two of granulated sugar in a bowl. Let them sit for 30 minutes to an hour. The sugar draws out the natural juices, creating a syrupy liquid. Then you can drain that liquid off (save it for a cocktail or drizzle over ice cream!) and use only the fruit solids for your filling. The fruit will still be intensely flavorful and soft, but with much less free liquid.
Another trick: toss the drained fruit with a little cornstarch — about 1 teaspoon per cup of fruit — before adding it to the cake. The cornstarch absorbs any remaining moisture and helps the filling set into a jam-like consistency when chilled. This is especially helpful for very juicy berries like raspberries. It also gives you a slightly thicker filling that won’t squish out as easily when you slice the cake.
If you’re using a cooked fruit filling like a jam or a curd, the dam is still important. Cooked fillings are often thick, but they can still weep moisture into the cake over time. A dam provides that extra layer of security, especially if the cake will sit at room temperature for a few hours before serving.
Common Mistakes and How to Avoid Them
Even with good instructions, small slip-ups happen. Here are the most common dam pitfalls and how to avoid them:
- Using too soft buttercream: If your frosting is too soft, the dam will slump or melt into the filling. Make sure your buttercream is stiff. If in doubt, chill it for 10 minutes before piping.
- Piping the dam too close to the edge: You need at least 1/2 inch from the outer rim. Otherwise, when you add the top layer, the dam will push outward and create a bulge in your final frosting.
- Overfilling the center: Leave space between the top of the dam and the filling. The dam should be higher than the filling level so that the top layer sits on the dam, not the filling. If the filling is level with the top of the dam, it will ooze over the sides.
- Not chilling the cake before frosting: Skipping the refrigeration is tempting when you’re in a hurry, but it almost always leads to disaster. The cold sets everything in place, making the crumb coat easier and cleaner.
- Using a very wet filling without pre-draining: Strawberries that are just sliced and not macerated are full of free water. Always drain them, or better yet, macerate and drain. Your cake will thank you.
Try This Tonight: A Simple Practice Cake
You don’t need a special occasion to practice the dam technique. This weekend, bake a simple 6-inch vanilla or chocolate cake (a box mix is fine — we’re here for the technique, not the recipe snobbery). Make a batch of American buttercream using your favorite recipe (I like the one from Preppy Kitchen, which uses equal parts butter and shortening for stability). Prepare a simple strawberry filling: mash fresh strawberries with a little sugar, let them sit 20 minutes, then drain off the juice.
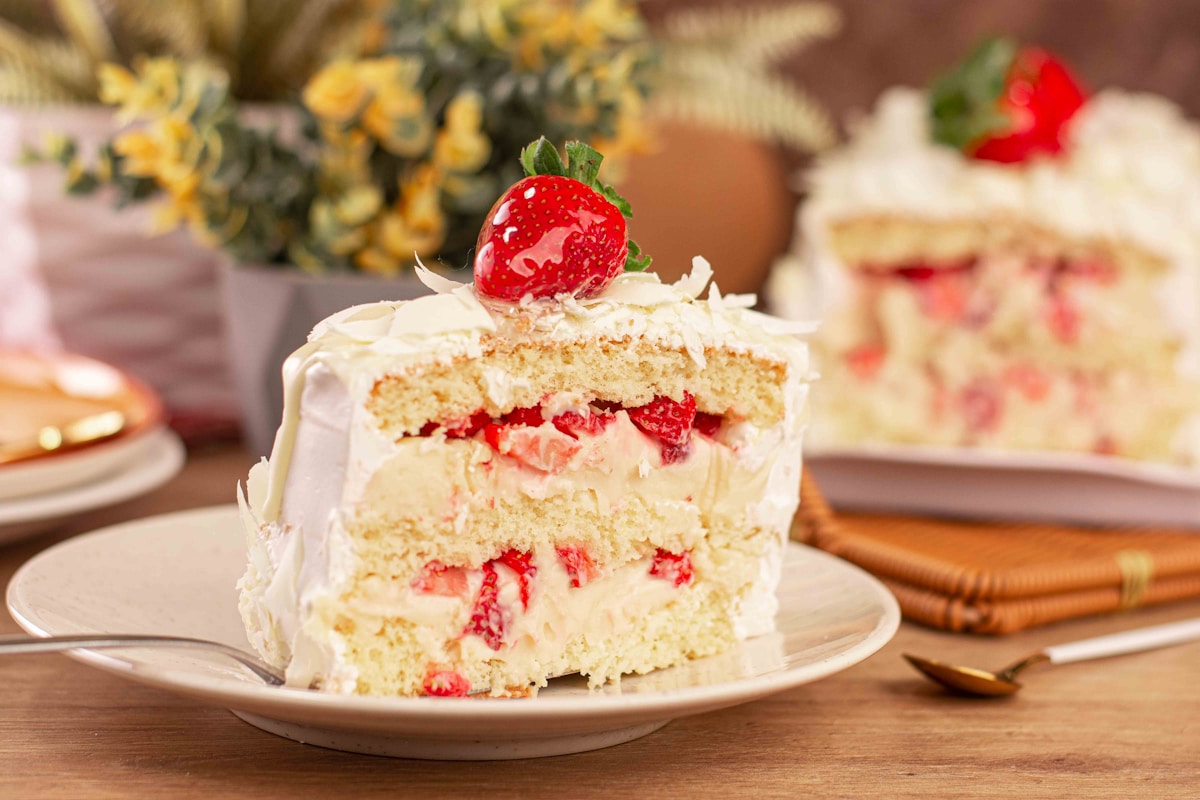
Pipe your dam, fill the center, top with the second layer, and refrigerate. Then frost the outside with the remaining buttercream. When you cut into that cake, you’ll see a perfect, clean layer of strawberry filling held inside the ring of frosting, with no bleeding whatsoever. That feeling? That’s the joy of understanding your tools. (And it tastes amazing, too.)
Remember: The kitchen is meant to be fun, not frustrating. Every technique you learn — even one as simple as a frosting dam — builds your confidence and makes you a better baker. So go ahead, give it a try. Your next birthday cake will thank you.