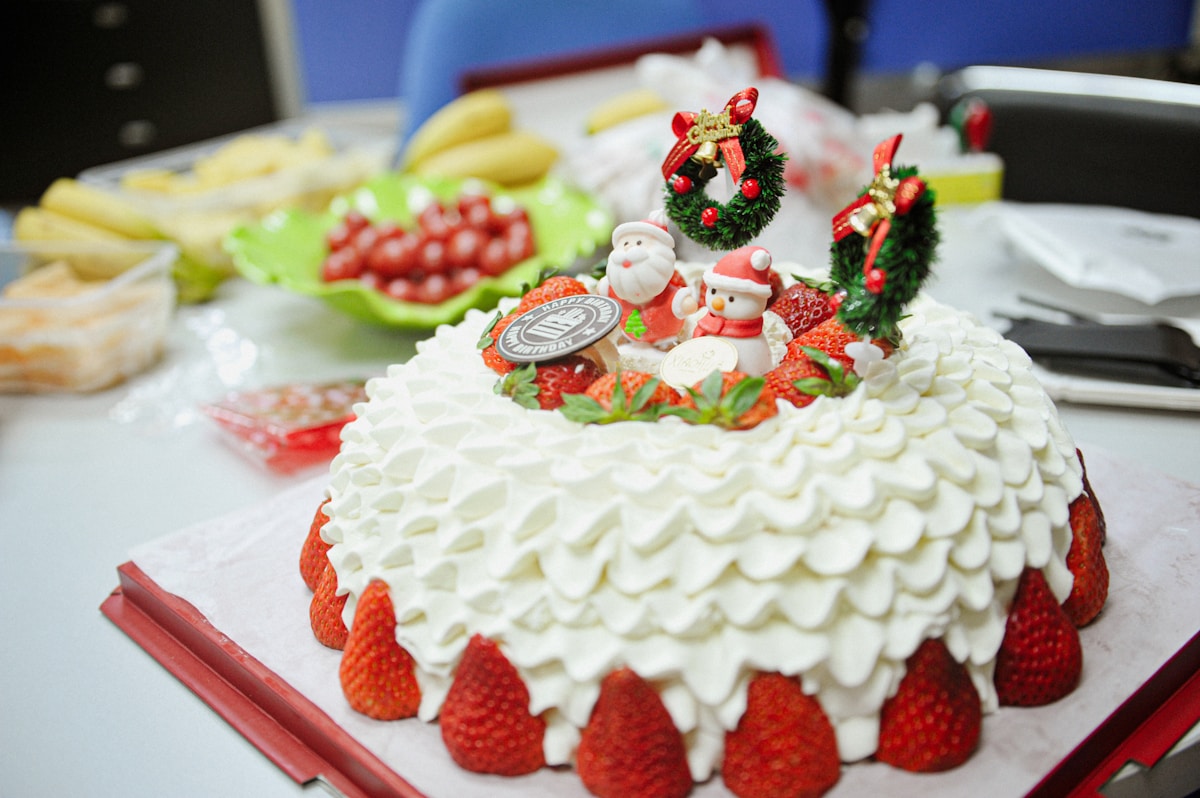
We’ve all been there. You spend hours baking a beautiful vanilla cake, whipping up a pristine white buttercream, and carefully arranging a crown of vibrant, sliced strawberries on top. It looks like a magazine cover. You place it in the fridge, beaming with pride. But when you pull it out a few hours later for the party, your heart sinks. Angry red streaks are bleeding down the sides, pooling at the base, turning your masterpiece into a mess.
It’s a frustratingly common problem, but it’s not your fault—it’s chemistry. And like any chemical reaction, we can control it once we understand it. Baking is, after all, chemistry you can eat. Let’s break down why this happens and ensure your cakes stay beautiful from the first slice to the last.
The Science Behind the Bleed: A Lesson in Osmosis
To solve this problem, we first need to understand the culprit: osmosis. It sounds like a term from a high school science class, because it is. Strawberries are over 90% water, all neatly contained within their cell walls. Your delicious frosting, on the other hand, is packed with sugar.
Sugar is what scientists call ‘hygroscopic,’ which is a fancy way of saying it loves to attract and hold onto water molecules. When you place a water-rich strawberry onto a sugar-rich surface like frosting, a battle for balance begins. The sugar in the frosting relentlessly pulls the water out of the strawberry’s cells in an attempt to equalize the concentration. This process, osmosis, ruptures the berry’s delicate cell walls, causing its juice to leak out and stain your frosting.
The more you cut a strawberry, the more cell walls you break and the more surface area you expose to the frosting. This is why sliced or halved strawberries are far more prone to weeping than whole ones. So, how do we stop this natural process from ruining our hard work?
Preparation is Everything: Setting Your Berries Up for Success
Your first line of defense begins long before the berries ever touch the cake. Proper preparation can mitigate most of the risk.
-
Choose Your Berries Wisely: Start with the firmest, freshest strawberries you can find. Avoid any that are overly ripe, soft, or bruised. Mushy berries have already started to break down on a cellular level and will weep juice almost instantly.
-
Wash and Dry, Then Dry Again: Wash your berries under cool water and then lay them out in a single layer on a tray lined with paper towels. Pat them completely dry. I mean completely. Let them air-dry for another 20-30 minutes if you have the time. Any lingering water on the surface of the berry will only accelerate the weeping process. (Surface moisture is the enemy of a pristine cake.)
-
To Slice or Not to Slice: Whenever possible, use whole strawberries for decoration. A whole berry has its protective skin intact, which dramatically slows down moisture loss. If your design requires sliced or halved berries, you absolutely must create a barrier, which brings us to our next step.
Creating a Moisture Barrier: The Glazing Technique
This is the secret weapon of professional pastry chefs. By sealing the cut surfaces of the fruit, you create a waterproof barrier that stops osmosis in its tracks. You have a few excellent options here, each with its own benefits.
-
Apricot Glaze (The Classic): This is the traditional method. It adds a beautiful shine and a very subtle, complementary flavor. To make it, simply combine about 1/4 cup (75g) of apricot jam with 1 tablespoon of water in a small saucepan. Heat gently, stirring, until it’s melted and smooth. For an ultra-clear finish, strain it through a fine-mesh sieve to remove any fruit solids. Let it cool slightly, then use a small pastry brush to paint a thin layer onto the cut surfaces of your strawberries. Let the glaze set for a few minutes before placing the berries on your cake.
-
Neutral Piping Gel (The Professional’s Choice): If you want pure shine with zero added flavor, neutral piping gel is your answer. You can find it from brands like Wilton at most baking supply stores. It’s a clear, stable gel that you can simply brush directly onto the cut fruit. It’s incredibly effective and gives that professional bakery-case gloss.
-
Melted White Chocolate (The Decadent Barrier): For a truly delicious and effective seal, consider melted white chocolate. Melt a small amount of good-quality white chocolate until smooth. Let it cool so it’s not hot, but still liquid. Dip the cut side of each strawberry slice into the chocolate, scraping off the excess, and place it on parchment paper to set. The hardened chocolate creates a solid, fat-based barrier that water cannot penetrate. (Your guests will thank you for this one.)
Your Frosting Choice Matters More Than You Think
Not all frostings are created equal when it comes to resisting fruit juice. The fat content of your frosting is a key factor.
-
American Buttercream: This simple frosting, made from powdered sugar and a high ratio of fat (butter, shortening, or a mix), is your best bet. Fat and water naturally repel each other. The high fat content in American buttercream creates a water-resistant surface that helps fend off the strawberry juice longer than other types.
-
Meringue-Based Buttercreams (Swiss/Italian): While wonderfully silky and less sweet, these buttercreams contain more water from the cooked egg whites in the meringue. This makes them more delicate and more susceptible to bleeding from fresh fruit.
-
Stabilized Whipped Cream: If you’re using whipped cream, it must be stabilized. Unstabilized whipped cream will weep and break down on its own, and adding fruit will only speed up its demise. You can stabilize it by adding a little powdered gelatin, cornstarch, or cream cheese to the cream as you whip it. This helps it hold its structure and resist moisture far better.
The Ultimate Fail-Safe: Timing is Everything
Even with all these precautions, time is your enemy. The longer the strawberries sit on the cake, the greater the chance they will eventually weep. If you are aiming for absolute perfection for a special event, here is the ultimate pro tip: decorate just before serving.
Prepare your berries ahead of time—wash, dry, and glaze them. Transport them in a separate airtight container. When you arrive at your destination, or right before you plan to present the cake, arrange the berries on top. This gives osmosis virtually no time to work its magic. It might feel like a bit of extra fuss, but for a show-stopping cake, that final touch is worth its weight in gold.


