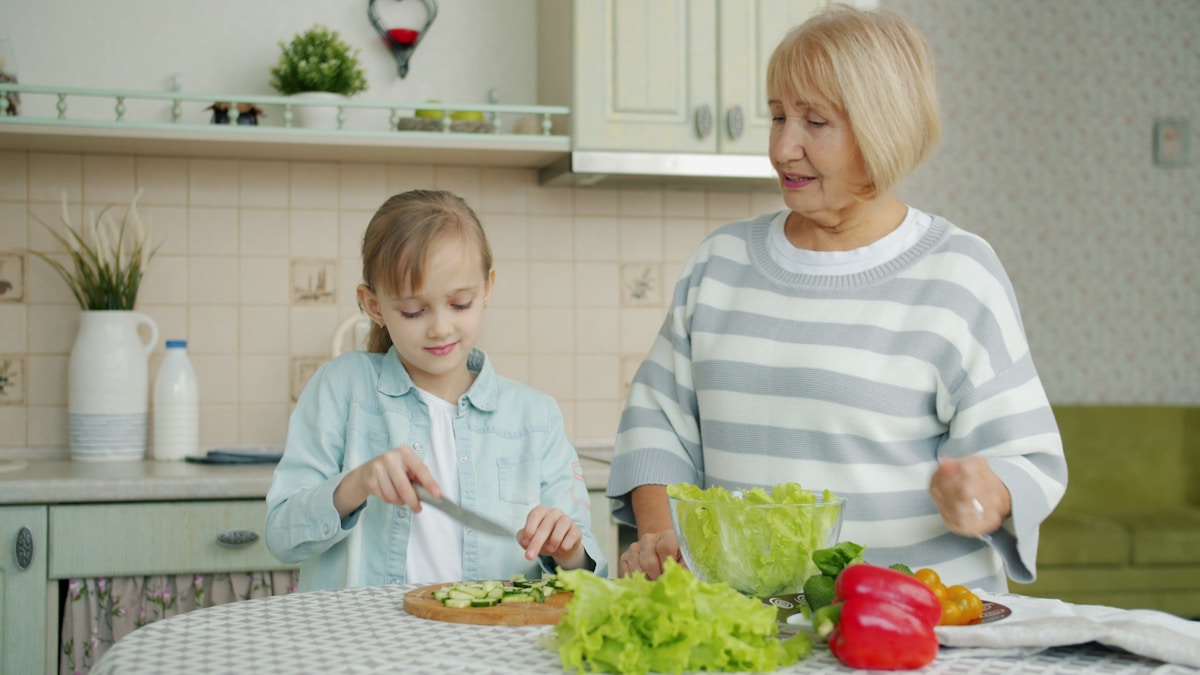
I remember the first time my little one asked to help with waffles. She stood on her step stool, eyes wide, clutching a wooden spoon that was nearly as tall as she was. I braced myself for flour clouds and sticky fingers — and yes, both happened. But the joy on her face when she poured batter into the waffle iron (with my hands steadying hers) was absolutely worth it. If you’re wondering how to include your preschooler in waffle-making without losing your mind or compromising safety, you’re in the right place. The key is focusing on what they can do while keeping the hot work for grown-ups. Let’s walk through it together.
Keeping Your Preschooler Safe Around the Waffle Iron
Safety comes first, and with a waffle iron that can reach 375°F (190°C), we need clear boundaries. Choose a waffle maker with a locking lid and an indicator light. I recommend models like the Cuisinart Round Classic Waffle Maker (around $50) or a non-stick version from Hamilton Beach. The locking lid prevents curious fingers from lifting it while cooking. Always place the waffle iron on a stable counter away from the edge — and never let your child touch it. Demonstrate by pointing to the light: “When the light is green, we pour. When it’s red, we wait.” This builds understanding. Another tip: use a long-handled plastic or silicone brush to grease the plates, keeping small hands far from the heat. After cooking, unplug the iron immediately and let it cool completely out of reach. (Your future self will thank you for that habit.)
Age-Appropriate Tasks for Little Helping Hands
Preschoolers thrive on feeling useful. Stick to dry ingredients and mixing — these are safe and teach basic skills. Here are tasks they can do:
- Measure flour, sugar, baking powder, and salt into a bowl. Use a large bowl to minimize spills. Pre-measure the ingredients into small cups, then let your child dump them in.
- Stir with a wooden spoon. Start with the dry ingredients alone, then add wet ingredients while they stir. Expect some clumps — it’s fine.
- Use a small batter dispenser (like a squeeze bottle) to fill the waffle iron. But only after you demonstrate and with you holding the bottle together. This reduces drips and keeps hands away from steam.
- Crack eggs — if you’re brave. Let them practice cracking into a separate bowl first to catch shells.
Avoid tasks near heat: pouring batter directly from a large bowl, opening the iron, or removing waffles. Remember, the goal is participation, not perfection. (Trust me on this one — I’ve cleaned up more spilled milk than I care to count.)
The Secret to No-Drip Waffle Batter
Reddit parents swear by a thick, no-drip batter, and they’re right. Standard waffle batter can be runny and cause messy pours. The fix: reduce the liquid slightly or add a tablespoon of extra flour. For our recipe below, start with 1 3/4 cups milk, but if it looks thin, add another tablespoon of flour. The batter should fall from the spoon in a thick ribbon, not pour like water. Another hack: use a squeeze bottle. Fill it with batter and let your child squeeze it onto the hot iron in a grid pattern. Squeeze bottles cost a few dollars at any kitchen store and dramatically reduce spills. Plus, kids love the “squeeze and pop” action. Just be sure the bottle is heat-safe (silicone or BPA-free plastic) and never let the tip touch the hot plates.
A Simple Waffle Recipe Your Preschooler Can Help Make
Here’s a reliable basic waffle recipe that yields about 6-8 standard waffles. It’s adapted from King Arthur Flour’s classic but simplified for little helpers.
Ingredients:
- 2 cups all-purpose flour
- 2 tablespoons sugar
- 1 tablespoon baking powder
- 1/2 teaspoon salt
- 2 large eggs
- 1 3/4 cups whole milk (or any milk)
- 1/2 cup unsalted butter, melted and cooled slightly
- 1 teaspoon vanilla extract
Instructions for kids and adults:
- In a large bowl, combine flour, sugar, baking powder, and salt. Let your child whisk or stir to combine. (They’ll love seeing the white cloud puff up.)
- In a separate bowl (adult does this), whisk eggs, milk, melted butter, and vanilla.
- Pour the wet ingredients into the dry. Let your child stir gently until just combined — some lumps are okay. Overmixing makes waffles tough. (Good lesson: “Gentle like you’re petting a cat.”)
- Check consistency: batter should be thick but pourable. If it’s too thin, add a tablespoon of flour. If too thick, add a splash of milk.
- Preheat your waffle iron. When the light says ready, let your child help you pour batter using the squeeze bottle (adult controls the bottle near the iron). Use about 1/3 cup per standard waffle.
- Close the lid and set a timer. Most waffles take 3-5 minutes. Let your child push the button on the timer. When the steam stops and the indicator light changes, it’s done. Adult removes the waffle with a fork or silicone tongs.
- Serve with butter, syrup, fruit, or a sprinkle of cinnamon. Let your child add toppings — it makes them proud.
The Surprising Benefits of Cooking Together
Beyond the waffles, you’re building skills that last a lifetime. Parents in the Reddit thread noted that kids who help cook are more willing to try new foods. When your child has stirred the batter and watched it transform into a golden waffle, they own that dish. They’re more likely to take a bite — even if it has spinach hidden inside. (Try adding a handful of finely chopped spinach to the batter. With the syrup, they won’t notice.) Cooking also teaches math (counting eggs, measuring), fine motor skills (pouring, stirring), and patience (waiting for the light). And let’s be honest: those messy mornings become sweet memories. The first time my daughter said, “I made this!” with a face full of syrup, I knew every spilled teaspoon was worth it. So preheat your waffle iron, pull up that step stool, and invite your preschooler in. The kitchen is where families grow together — one waffle at a time.