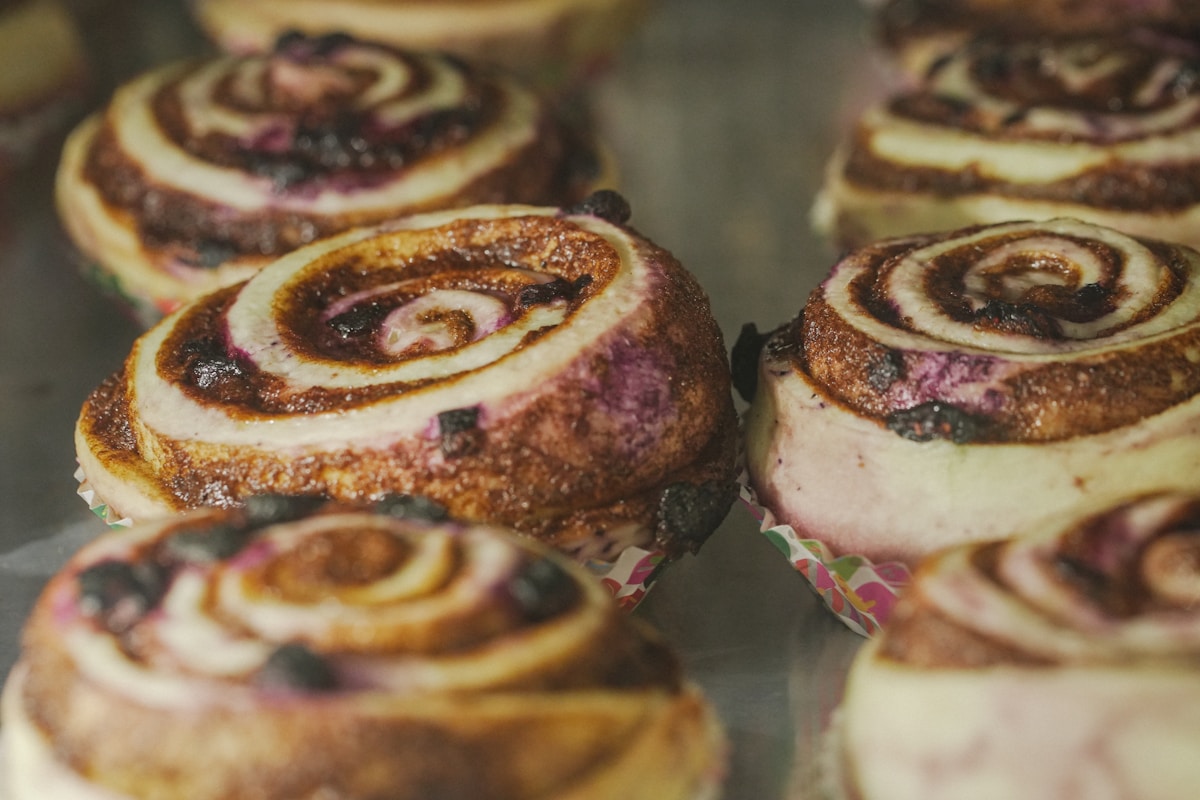
Have you ever scrolled through your social media feed and stopped dead in your tracks, captivated by a photo of the most beautiful cinnamon rolls you’ve ever seen? Not just your average delicious, gooey bun, but one bursting with vibrant, swirling ribbons of color—a true work of edible art. My first thought is always, “How on earth did they do that?” It looks like kitchen magic, but I’m here to tell you it’s a magic you can absolutely master.
Food is so much more than fuel; it’s a way we tell stories, celebrate identity, and share joy. A simple baked good can become a canvas for creativity, whether you’re celebrating Pride month with a rainbow, a baby shower with pastels, or just adding a splash of fun to a Saturday morning. These colorful cinnamon rolls are a perfect example of that spirit, turning a beloved classic into a personal, vibrant statement. So, let’s pull out the mixing bowl and learn how to paint with dough.
The Key Ingredient for Color That Pops
Before we even talk about dough, we need to discuss the single most important element for achieving those deep, beautiful colors: gel food coloring. If you’ve ever tried to color a frosting with the little liquid dropper bottles from the grocery store, you know it can be a frustrating experience. You add drop after drop, only to end up with a pale, washed-out color and a runny mess.
Liquid food coloring is water-based. Adding too much will fundamentally change your dough’s texture, making it sticky, wet, and difficult to work with. Gel food coloring, on the other hand, is highly concentrated with very little liquid. A tiny dab from a toothpick is often all you need to achieve an incredibly rich, saturated hue. (Yes, really.)
For projects like this, I always reach for brands like Americolor or Wilton. Their gel pastes give you precise control and a brilliant finish without compromising your beautiful, pillowy dough. This isn’t just a preference; it’s the foundational secret to getting those sharp, distinct swirls instead of a muddy, blended mess.
Your Step-by-Step Guide to a Rainbow Log
Ready to get your hands colorful? The process involves making a single batch of dough, then dividing and coloring it before the final assembly. It’s an extra step, but the stunning result is more than worth the effort.
1. Prepare Your Master Dough
First, you need a reliable sweet dough. This is my go-to recipe—it’s soft, fluffy, and forgiving.
- For the Dough:
- 1 cup (240ml) whole milk, warmed to about 110°F (43°C)
- 2 ¼ teaspoons (1 packet) active dry yeast
- ½ cup (100g) granulated sugar, divided
- 1 large egg plus 1 egg yolk, at room temperature
- ¼ cup (57g) unsalted butter, melted
- 3 ½ cups (420g) all-purpose flour (like King Arthur), plus more for dusting
- 1 teaspoon salt
In a large bowl or the bowl of a stand mixer, combine the warm milk, yeast, and 2 tablespoons of the sugar. Let it sit for 5-10 minutes until foamy. Whisk in the remaining sugar, egg, egg yolk, and melted butter. Fit the mixer with the dough hook and add the flour and salt. Mix on low speed until a soft dough forms. Increase the speed to medium and knead for 5-7 minutes until the dough is smooth and elastic. Place in a lightly oiled bowl, cover, and let it rise in a warm place for 60-90 minutes, or until doubled in size.
2. Divide and Conquer with Color
Once your dough has risen, gently punch it down and turn it out onto a lightly floured surface. Divide the dough into the number of colors you want. For a classic rainbow, you might do three or four portions. Let’s plan for three: pink, purple, and blue.
Wearing food-safe gloves is a great idea here! (Your future self will thank you.) For each portion of dough, flatten it slightly, add a small dab of gel food coloring to the center, and fold the dough over it. Knead each ball for 3-5 minutes until the color is completely uniform and no streaks remain. If the color isn’t as vibrant as you’d like, you can add a little more gel, but start small.
3. Stack and Fill
Now for the assembly. Roll each colored ball of dough into a thin rectangle of the same size—aim for something around 9x14 inches (23x35 cm). The thinner you roll the dough, the more defined your swirls will be.
- For the Filling:
- ½ cup (115g) unsalted butter, very soft
- 1 cup (200g) packed brown sugar
- 2 tablespoons ground cinnamon
Lay your first rectangle of dough (let’s say blue) on your work surface. Spread it with about one-third of the softened butter, leaving a small border around the edges. Sprinkle with one-third of the cinnamon-sugar mixture. Gently place the next rectangle (purple) directly on top, pressing lightly to adhere. Repeat the butter and cinnamon-sugar layer. Finally, place the last rectangle (pink) on top and cover it with the remaining filling.
4. The Final Roll
Starting from one of the long edges, tightly roll the stacked dough into a single, cohesive log. A tight roll is crucial for getting that perfect spiral shape. Pinch the seam at the end to seal it completely.
Slicing and Baking for the Perfect Reveal
This is the moment of truth! But how do you slice a soft log of dough without squishing your beautiful design? The answer might surprise you.
- Kitchen Hack: Use Dental Floss!
Grab a piece of unflavored dental floss. Slide it under the log to where you want to make your first cut. Bring the ends of the floss up, cross them over the top, and pull in opposite directions. The floss will slice cleanly through the dough, creating a perfect pinwheel with no distortion. It works so much better than a knife. (Trust me on this one.)
Slice the log into 12 even rolls, about 1.5 inches thick. Arrange them in a greased 9x13 inch baking pan. Cover the pan and let the rolls rise for a second time in a warm place for 30-45 minutes, until they look puffy.
Preheat your oven to 375°F (190°C). Bake the rolls for 20-25 minutes, or until they are lightly golden on top and cooked through. The smell of warm cinnamon will be absolutely heavenly.
Frosting The Finishing Touch
You can’t have a cinnamon roll without a luscious cream cheese frosting. The tangy sweetness is the perfect counterpoint to the warm, spicy filling. To let the colors of the rolls be the star, a classic white frosting is the way to go.
- For the Frosting:
- 4 oz (113g) cream cheese, softened
- ¼ cup (57g) unsalted butter, softened
- 1 ½ cups (180g) powdered sugar
- ½ teaspoon vanilla extract
- 1-2 tablespoons milk, as needed
In a medium bowl, beat the cream cheese and butter together until smooth and creamy. Gradually beat in the powdered sugar until fully combined. Mix in the vanilla. Add milk, one tablespoon at a time, until the frosting reaches your desired spreading consistency.
Let the rolls cool for about 10-15 minutes before generously slathering them with the frosting. This slight cool-down period allows the frosting to set up nicely without melting into a soupy puddle.
Seeing those vibrant swirls peek out from under the creamy frosting is a moment of pure kitchen joy. You didn’t just bake; you created something beautiful, personal, and outrageously delicious. Each bite is a celebration of color, flavor, and the simple magic of turning flour and sugar into happiness.