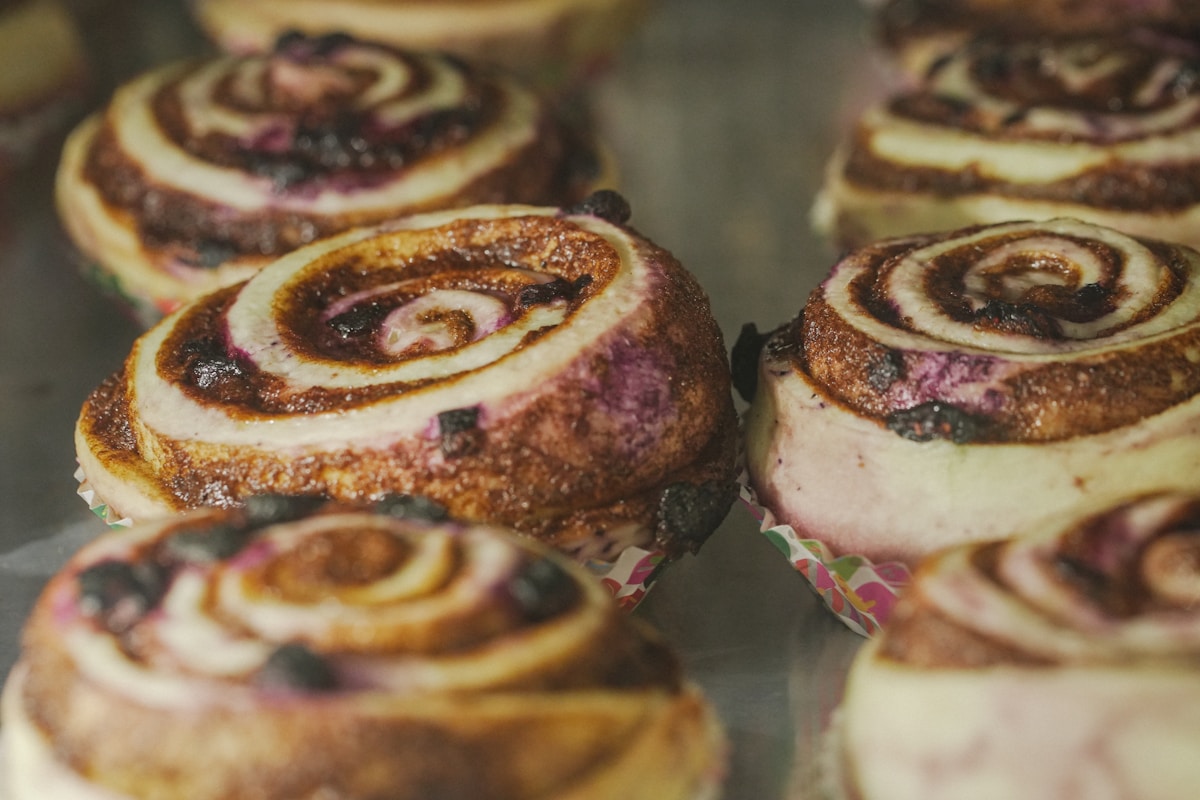
There are few kitchen scents more comforting than that of a classic cinnamon roll baking in the oven. It’s a smell that promises warmth, sweetness, and pure, gooey delight. But what happens when that familiar comfort food becomes a vibrant canvas for creativity? I recently saw a baker online share a stunning creation: cinnamon rolls with perfect, distinct swirls of pink, purple, and blue. It was a beautiful expression of identity, a celebration baked right into the dough. It reminded me that food is so much more than fuel; it’s a story, a form of art, and a way to share a piece of who you are.
That single image sent me on a mission. How could we, as home bakers, achieve those same clean, brilliant lines of color without ending up with a muddy, overworked mess? It turns out the technique is entirely achievable, requiring just a bit of patience and a few key insights. Forget pale, pastel swirls. We’re aiming for bakery-worthy, jaw-dropping color that makes your cinnamon rolls as beautiful as they are delicious. Let’s roll up our sleeves and paint with dough.
The Foundation: A Perfect Canvas Dough
Before we can think about color, we need a dough that can handle it. A standard cinnamon roll recipe is a great start, but we need one that is supple, strong, and forgiving. This dough needs to withstand the extra handling of dividing and kneading in color without becoming tough. A dough enriched with egg and butter provides the perfect structure and flavor.
This recipe creates a soft, pillowy dough that’s a dream to work with. The key is to develop the gluten properly in the initial mix, so the dough has enough strength to hold up later.
Ingredients for the Dough:
- 1 cup (240ml) whole milk, warmed to about 110°F (43°C)
- 2 1/4 teaspoons (1 packet) active dry yeast
- 1/2 cup (100g) granulated sugar
- 1 large egg plus 1 egg yolk, at room temperature
- 1/4 cup (57g) unsalted butter, melted
- 1 teaspoon salt
- 4 cups (480g) all-purpose flour, like King Arthur, plus more for dusting
Instructions:
- Activate the Yeast: In the bowl of a stand mixer, combine the warm milk, yeast, and 2 tablespoons of the sugar. Let it sit for 5-10 minutes until it becomes foamy. (This is how you know your yeast is alive and ready to party!)
- Mix the Dough: Add the remaining sugar, the egg and egg yolk, melted butter, and salt to the yeast mixture. Whisk lightly. Fit your mixer with the dough hook and add the flour. Mix on low speed until a shaggy dough forms.
- Knead to Perfection: Increase the speed to medium-low and knead for 8-10 minutes. The dough should become smooth, elastic, and pull away from the sides of the bowl. If you poke it, it should spring back slowly. This step is critical for building the gluten structure we need.
- First Rise: Transfer the dough to a lightly oiled bowl, cover it with plastic wrap or a damp towel, and let it rise in a warm place for about 60-90 minutes, or until doubled in size.
The Art of Color: Choosing and Kneading
This is where the magic really begins. The most common mistake people make is using liquid food coloring. It adds too much moisture, throwing off the dough’s hydration and resulting in a sticky, difficult texture. The secret weapon here is high-potency gel food coloring. Brands like Americolor or Wilton’s Color Right system provide intense color with just a few drops.
Once your dough has completed its first rise, gently press it down to release the air. Turn it out onto a lightly floured surface and divide it into the number of colors you want to use. For a three-color swirl, you’ll divide it into three equal portions.
The Coloring Process:
- Protect Your Hands and Surfaces: Gel coloring is potent and will stain. I highly recommend wearing disposable kitchen gloves for this step.
- Add the Color: Take one portion of dough and flatten it into a small disc. Add a few drops of your first gel color to the center.
- Knead it In: Fold the dough over the gel to contain it, then begin kneading. Your goal is to work the color through the dough until it’s uniform and streak-free. Try not to knead for more than 2-3 minutes per portion. This is why potent gel is key—less time is needed to incorporate the color, which prevents you from overworking the dough and making it tough.
- Repeat and Rest: Repeat this process for each portion of dough with its respective color. Place each colored dough ball into a separate, lightly oiled bowl, cover, and let them rest for about 10-15 minutes. This allows the gluten to relax after being kneaded again, which will make rolling them out much, much easier.
Stacking the Rainbow: The Assembly Technique
Now we build our layers. This stage requires a bit of precision and a very important kitchen hack: keep everything cold. Warm, soft dough is prone to sticking and smearing, which would muddy your beautiful colors. If your kitchen is warm, don’t hesitate to pop the dough in the fridge for 10 minutes between steps.
Cinnamon-Sugar Filling:
- 1/2 cup (113g) unsalted butter, very soft (but not melted)
- 1 cup (200g) packed brown sugar
- 2 tablespoons ground cinnamon
First, mix your brown sugar and cinnamon together in a small bowl. Have your softened butter ready to go.
Layering the Dough:
- Roll Out the First Layer: Take your first color of dough (this will be the innermost swirl) and place it on a lightly floured surface. Roll it into a long rectangle, aiming for dimensions of roughly 10x18 inches (25x45 cm).
- Apply the Filling: Spread about half of the softened butter evenly over the surface of the rectangle, leaving a small half-inch border along one of the long edges. Sprinkle with half of the cinnamon-sugar mixture.
- Roll and Stack the Second Layer: Roll out your second color of dough to the same 10x18 inch dimensions. Carefully lift and place it directly on top of the first filled layer. Gently press it down.
- Fill the Second Layer: Spread the remaining butter and cinnamon-sugar mixture over this second layer.
- Add the Final Layer: Roll out your third (and final) color of dough to the same size and place it on top. Do not put any filling on this top layer. You should now have a tri-colored stack of dough, ready for the final roll.
The Final Roll, Slice, and Bake
The final steps are what transform your layered creation into individual, beautifully swirled rolls. Precision here will pay off in the final look.
- The Big Roll: Starting from one of the long edges, tightly roll the entire stack of dough into a single, compact log. The tighter the roll, the more defined your swirls will be. Pinch the seam at the end to seal it shut.
- The Perfect Slice (Kitchen Hack!): Don’t use a knife! A knife will squish your perfect log and smear the colors. Instead, use unflavored dental floss or a piece of strong thread. Slide it under the log, bring the ends up, cross them over the top, and pull. This creates a perfectly clean cut every time.
- Slice and Arrange: Slice the log into 12 equal rolls, each about 1.5 inches thick. Arrange them in a greased 9x13 inch baking pan, leaving a little space between each for them to expand.
- The Second Rise: Cover the pan loosely with plastic wrap and let the rolls rise in a warm place for another 30-45 minutes, or until they look puffy and are touching each other.
- Bake to Golden Perfection: Preheat your oven to 375°F (190°C). Bake the rolls for 20-25 minutes, or until the tops are lightly golden and the centers are cooked through. If they start to brown too quickly, you can tent the pan with foil.
A Simple Frosting to Let the Colors Shine
With such a visual masterpiece, you want a frosting that complements, not conceals. A classic cream cheese frosting is the perfect finishing touch, adding a tangy sweetness that cuts through the richness of the rolls.
Classic Cream Cheese Frosting:
- 4 oz (113g) cream cheese, softened
- 1/4 cup (57g) unsalted butter, softened
- 1 1/2 cups (180g) powdered sugar
- 1/2 teaspoon vanilla extract
- 1-2 tablespoons milk, as needed
Beat the cream cheese and butter together until smooth and creamy. Gradually add the powdered sugar and beat until fully combined. Mix in the vanilla. If the frosting is too thick, add milk one tablespoon at a time until you reach a smooth, spreadable consistency.
Let the rolls cool for about 10-15 minutes before slathering them with the frosting. This allows it to melt slightly into all the nooks and crannies. (Your future self will thank you.)
The result is more than just a cinnamon roll. It’s a project, a statement, and an edible piece of art that tells a story of joy and creativity. Every colorful swirl is a testament to the idea that the kitchen truly is a magical place, where even the most familiar recipes can be transformed into something new and spectacular.


