There’s a special kind of magic that happens when you decide to bake for a celebration. Whether it’s a birthday, a holiday, or a moment of community pride, bringing a colorful, handcrafted treat to the table feels like sharing a piece of your heart. I’ve been there myself, dreaming of perfect, vibrant rainbow cinnamon rolls for a Pride Month brunch, only to pull a pan of brownish, indistinct swirls from the oven. The disappointment is real.
That beautiful vision of six distinct, joyful colors can so easily turn into a single, murky shade of beige-purple. But what if I told you the secret to those picture-perfect, vibrant swirls isn’t about some complicated new recipe? It’s all in the technique—a simple, thoughtful method of layering that respects the integrity of each color. Food tells a story, and when we bake a rainbow, we want that story to be clear, bright, and beautiful. Let’s learn how to tell it right.
The Science of the Swirl Why Colors Blend and Bleed
Before we dive into the how, it’s helpful to understand the why. Why do those gorgeous colors you so carefully kneaded in decide to merge into one big mess? There are usually three culprits at play.
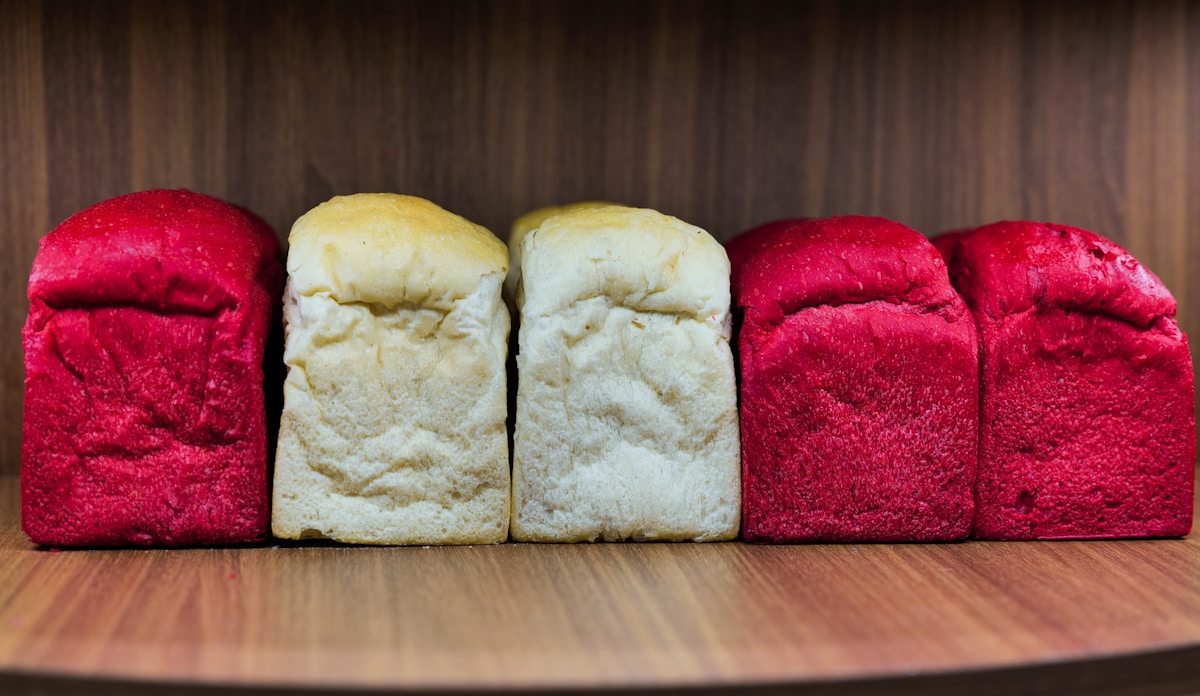
First is the type of food coloring. Liquid food colorings, the kind you find in little dropper bottles at most grocery stores, are mostly water. Adding a significant amount to achieve a vibrant hue can make your dough sticky, weak, and hard to handle. This extra moisture encourages the colors to bleed into one another during the rising and baking process.
Second is the technique of incorporation. If you simply stack different colored balls of dough and roll them out together, the friction and pressure will inevitably smear the layers. The beautiful separation is lost before the dough even sees the inside of the oven.
Finally, over-proofing can be a factor. When the dough rises for too long, the gas bubbles expand and can break down the thin walls of dough separating each color, causing them to merge. A well-timed proof is key to keeping those lines crisp.
Your Rainbow Toolkit The Right Ingredients for the Job
Success starts with setting yourself up properly. You don’t need a professional bakery, just a few key items to ensure your colors stay true. Think of this as gathering your artist’s palette!
-
A Solid Sweet Dough Recipe: You can use your favorite recipe for cinnamon rolls. An enriched dough—one with eggs, butter, and a bit of sugar—works beautifully. A good brioche dough is a fantastic choice as its high fat content helps create a tender crumb and provides a bit of a barrier between the layers. The key is a dough that’s smooth, elastic, and not too sticky to begin with.
-
Gel Food Coloring: This is the most important item on the list. (Yes, really.) Gel-based food colorings from brands like Americolor or Wilton are highly concentrated pigments with very little liquid. You only need a tiny amount to get a deep, saturated color, which means you aren’t altering the texture or hydration of your dough. This is the single biggest upgrade you can make for vibrant results.
-
Melted Butter & A Pastry Brush: This is our secret weapon for creating separation. A very thin layer of fat between the dough sheets acts as a barrier, preventing the colors from bleeding into one another.
-
A Bench Scraper and Rolling Pin: Standard baking tools, but essential for dividing dough evenly and rolling out uniform sheets.
-
Disposable Gloves: Unless you want rainbow-stained hands for days, a pair of food-safe gloves for kneading in each color is a very, very good idea.
The Stacking Secret A Step-by-Step Guide to Vibrant Swirls
This is where the magic happens. By following these steps with care, you’ll create a dough log that holds the promise of a perfect rainbow in every slice. Let’s walk through it together.
-
Prepare and Rise Your Dough: Make your chosen sweet dough recipe as directed. Let it go through its first rise in a warm spot until it has doubled in size, which usually takes 60-90 minutes.
-
Divide and Conquer: Gently deflate the dough and turn it out onto a lightly floured surface. Using a bench scraper or knife, divide the dough into six equal portions. A kitchen scale is your best friend here for ensuring the portions are perfectly even.
-
Color Your World: Now, put on your gloves! Take one portion of dough and add a small dab of gel coloring (e.g., red). Knead the dough until the color is evenly distributed and you have a smooth, uniformly colored ball. Repeat this process for the remaining five colors (orange, yellow, green, blue, purple), using a fresh pair of gloves for each or washing them thoroughly between colors to prevent transfer.
-
Roll Out the Layers: Working with one color at a time, roll each dough ball into a thin rectangle of roughly the same size. A good target is about 9 inches by 12 inches (23 cm x 30 cm). The thinner you roll, the more swirls you will have. Stack the rolled-out sheets on parchment paper as you go to prevent them from sticking to your counter.
-
The Butter-Stack Technique: This is the most crucial step. Lay your first color (let’s say purple) down on a piece of parchment paper. Using your pastry brush, paint a very thin, even layer of melted butter over the entire surface. Don’t drench it; just a light sheen will do. Carefully place the next color (blue) on top, aligning the edges. Brush it with butter. Repeat this process for all the colors, following the rainbow order (Purple, Blue, Green, Yellow, Orange, Red).
-
Roll and Slice: Once your multi-layered stack is complete, start from one of the long edges and roll the entire stack into a tight log. The tighter the roll, the more defined your swirl will be. Now, for the slicing. For the cleanest cut, use a piece of unflavored dental floss or a very sharp serrated knife. Slide the floss under the log, bring the ends up, cross them over, and pull. This slices the dough without squishing the layers. Cut your log into 10-12 individual rolls, about 1 to 1.5 inches thick.
-
Second Rise and Bake: Arrange the sliced rolls in a buttered 9x13 inch baking pan. Cover them loosely and let them rise in a warm place for another 30-45 minutes, or until they look puffy. Bake in a preheated oven at 375°F (190°C) for 20-25 minutes, until they are lightly golden on top. Let them cool slightly before adding a simple powdered sugar glaze or cream cheese frosting.
From Rolls to Braids Celebrating with Color
This beautiful stacking technique isn’t just for cinnamon rolls! Once you’ve mastered it, you can bring a rainbow of color to so many other baked goods. Imagine a six-strand braided challah, with each strand a different color, creating a stunning centerpiece for a celebration table.
You could also use this method to create a rainbow babka, twisting the rolled log before placing it in a loaf pan for a marbled, almost psychedelic effect. Even simple sugar cookies can be elevated by stacking thin layers of colored dough, chilling the block, and slicing and baking for a striped effect.
The kitchen gives us endless ways to express joy, and color is one of the most powerful tools in our apron. These rolls are more than just a sweet breakfast; they are a celebration in edible form. They tell a story of diversity, of community, and of the simple, profound happiness that a little color can bring to our lives. (And your future self will thank you for wearing gloves.)