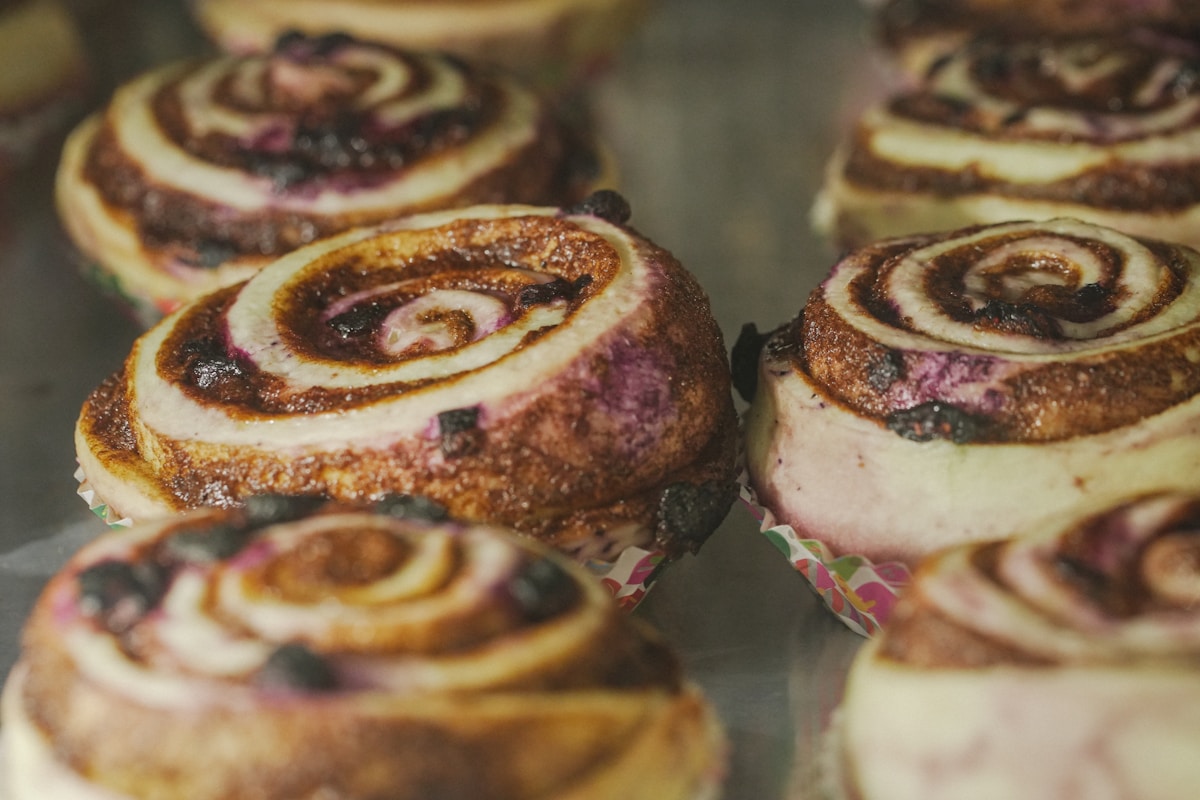
There are few kitchen moments more satisfying than pulling a tray of warm, gooey cinnamon rolls from the oven. The scent alone is a story of comfort and joy. But what if you could take that classic treat and turn it into a breathtaking work of art? I recently stumbled upon a vibrant trend in online baking communities, inspired by a user on Reddit who crafted stunning “Bisexual Cinnamon Rolls” for a Pride celebration. It’s a technique that weaves color directly into the dough, creating mesmerizing spirals that are almost too beautiful to eat. (Almost.)
The wonderful thing is, this impressive result isn’t born from some complicated pastry wizardry. It’s an accessible, joyful project that transforms a beloved recipe into a canvas for your creativity. So, let’s roll up our sleeves and bring some color into our kitchens!
The Foundation A Perfect Dough
Before we can play with color, we need a reliable canvas. Any well-loved sweet roll dough recipe will work, but you’re looking for one that is soft, pliable, and easy to work with. A classic enriched dough—one with milk, butter, and eggs—will give you the richest flavor and most tender crumb.
Here’s a basic ingredient list to get you started:
- 4 cups (about 480g) all-purpose flour
- 1 cup (240ml) warm milk (around 110°F / 43°C)
- 1/4 cup (50g) granulated sugar
- 1 packet (2 1/4 tsp) active dry yeast
- 1 large egg, at room temperature
- 1/4 cup (57g) unsalted butter, melted
- 1 tsp salt
The key is to create one single, large batch of dough. We’ll divide and color it after the initial kneading and before the first rise. This ensures every colored portion has the exact same texture and proofing time.
Gel vs Liquid The Secret to Vibrant Hues
Here is the single most important rule for this project: you must use gel food coloring. I can’t stress this enough! While you might have little bottles of liquid food coloring in your pantry, they simply won’t work here.
Liquid food coloring is mostly water. Adding it to your dough will throw off the hydration, making it sticky, difficult to handle, and potentially affecting the rise. Worse, the colors will bake out into pale, washed-out suggestions of what you intended. (A baker’s worst nightmare.)
Gel food coloring, like the kind made by brands such as Wilton or Americolor, is highly concentrated. You only need a tiny amount—a toothpick’s dip is often enough to start—to achieve deep, saturated colors that stay true even after baking. It mixes into the dough beautifully without altering its perfect consistency.
A Step-by-Step Guide to Colorful Spirals
Ready for the fun part? This process is all about precision and patience. Take your time, and the results will be spectacular.
-
Prepare & Divide: Once your master dough has been kneaded until smooth and elastic, divide it into equal portions. For a three-color roll, use a kitchen scale to divide the dough into three identical balls. This ensures your final stripes will be even.
-
Color the Dough: Now, for the messy-but-magical part. Put on some food-safe gloves. (Trust me on this one.) For each dough ball, flatten it slightly, add a small dab of gel coloring to the center, and fold the dough over it. Begin kneading the color in. It will look streaky and chaotic at first, but keep kneading until the color is completely uniform. Repeat with a new pair of gloves for each color to avoid transfer.
-
The First Proof: Place each colored dough ball into a separate, lightly oiled bowl. Cover them and let them rise in a warm spot for about 60-90 minutes, or until they’ve doubled in size.
-
Roll Out the Layers: Working one color at a time on a lightly floured surface, roll each dough ball into a thin rectangle of the exact same size. Using a ruler can be a huge help here! Aim for something like a 9x12 inch (23x30 cm) rectangle. Consistency is key for a clean final look.
-
Stack & Fill: Lay your first colored rectangle down. Brush it lightly with melted butter, leaving a small border around the edges. Sprinkle generously with your cinnamon-sugar filling. Now, carefully place the second colored rectangle directly on top, lining it up perfectly. Repeat the butter and filling process. Finally, add your last layer of dough, but don’t put filling on the very top layer.
-
The Grand Roll: Starting from one of the long edges, roll the entire stack of dough into a tight log. A tight roll is crucial for creating those sharp, defined spirals. Pinch the seam at the end to seal it shut.
-
Slice & Second Proof: Using a sharp knife or a piece of unflavored dental floss for the cleanest cut, slice the log into 1 to 1.5-inch thick rolls. Place them in a greased baking dish, leaving a little space between each one. Cover and let them rise for another 30-45 minutes until they look puffy.
Baking to Perfection
Preheat your oven to 375°F (190°C). Once the rolls have completed their second proof, it’s time to bake.
Slide them into the preheated oven and bake for about 15-20 minutes. The tops should be a light golden brown, and the colors will have deepened beautifully. The smell will be absolutely intoxicating! Let them cool in the pan for a few minutes before moving them to a wire rack.
For the finishing touch, a simple cream cheese glaze is perfect. You don’t want a heavy frosting that will hide your beautiful color work. Just a light drizzle allows the vibrant spirals to be the star of the show.
This technique isn’t just for rainbow patterns. Imagine festive red and green for the holidays, pastel pink and blue for a baby shower, or your favorite team’s colors for a game day celebration. The kitchen is your studio, and the dough is your medium. It’s a wonderful reminder that the food we make can tell a story, celebrate an occasion, or simply be an expression of pure, colorful joy.