Hello my dears! Beatrice here, with a little flour on my nose and a story in my heart. Do you ever have those Saturday mornings where everyone’s a bit sleepy, the usual cereal just won’t do, and you’re craving something special… but not something that requires hours of work?
I’ve been there more times than I can count. You want to make a memory, not a mountain of dishes. You want to see your little ones’ eyes light up, but you don’t have the energy for a five-tiered cake before 9 AM. Well, I have the most wonderful, simple, and downright delightful solution for you: The Giant Toaster Pastry.
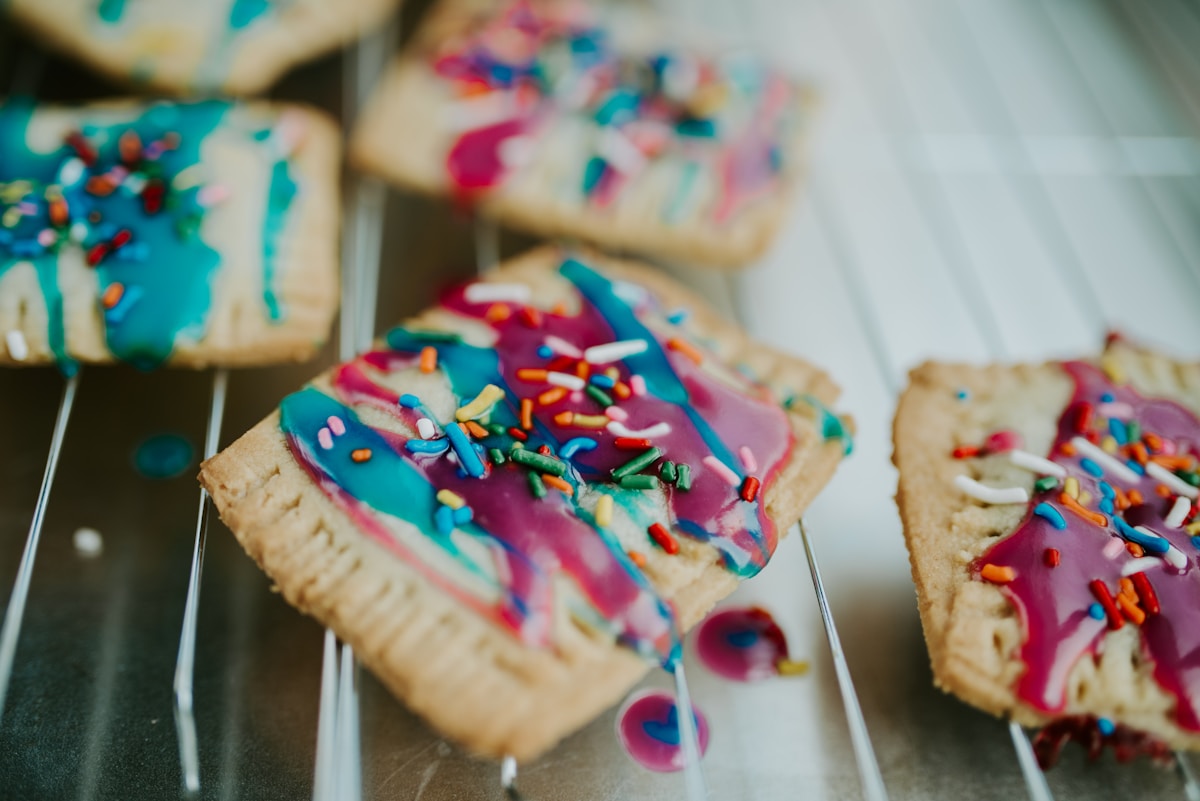
That’s right. One single, enormous, shareable pastry, filled with bubbly jam, baked to golden perfection, and drizzled with a sweet glaze. It’s part breakfast, part art project, and all fun. It takes a familiar treat and turns it into an event, a centerpiece for your family’s breakfast table. It’s the kind of kitchen magic that says, “Today is a special day.”
Why A Giant Pastry Is Pure Kitchen Magic
Before we roll up our sleeves, let’s talk about why this project is so much more than just a big piece of dough. In my years of cooking with little ones, I’ve learned that scale is everything. A tiny cookie is fun, but a cookie as big as your hand is an adventure. This giant pastry works on that same principle.
When you bring this golden-brown creation to the table, the reaction is pure joy. It’s unexpected, impressive, and feels like a celebration. For kids, participating in making something so grand builds an incredible sense of accomplishment. They didn’t just stir some batter; they helped construct a breakfast masterpiece!
This is also a fantastic project for teamwork. One child can roll the dough (with a little help), another can be the official jam-spreader, and everyone can get in on crimping the edges. It’s a low-pressure way to teach kitchen skills like measuring, careful spreading, and the importance of sealing edges. Every step is a lesson wrapped in fun.
Gathering Your Simple Supplies
The beauty of this recipe is its simplicity. You likely have most of what you need already. There’s no need for fancy equipment, just a bit of counter space and a whole lot of enthusiasm.
For the Dough: You have two wonderful options here. You can make your own buttery, flaky pie dough, or you can grab a box of refrigerated pie crusts (like the ones from Pillsbury) from the store. Both work beautifully! The goal here is fun, not stress, so choose the path that makes you happiest.
If you’re making your own, a simple recipe is best:
- 2 ½ cups all-purpose flour (King Arthur is my go-to for its reliability)
- 1 teaspoon salt
- 1 cup (2 sticks) very cold, unsalted butter, cut into small cubes
- ½ cup ice-cold water
For the Filling & Topping:
- ¾ cup of your favorite thick jam or preserves (Strawberry, raspberry, or apricot are classic choices. A good, thick jam like Smucker’s Natural works well because it won’t get too runny.)
- 1 egg, beaten with 1 tablespoon of water (this is your egg wash for a shiny crust)
- 1 cup powdered sugar
- 1-2 tablespoons milk
- ½ teaspoon vanilla extract
- Sprinkles! (These are non-negotiable, according to my little helpers.)
Equipment:
- A large baking sheet
- Parchment paper (Your best friend for easy cleanup!)
- A rolling pin
- A fork
- A pastry brush
The Step-by-Step Giant Pastry Adventure
Alright, aprons on? Hands washed? Let’s begin! Remember, the journey is just as important as the destination. Laugh at the spills and celebrate the crooked edges.
-
Prepare Your Dough: If you’re using store-bought dough, let it sit on the counter for about 15 minutes to become pliable. If you’re making it from scratch, combine your flour and salt, then cut in the cold butter until it resembles coarse crumbs. Slowly add the ice water until the dough just comes together. Don’t overwork it! Form it into a disc, wrap it in plastic, and chill for at least 30 minutes.
-
Roll It Out: Lightly flour your work surface and your rolling pin. Roll your dough into a large rectangle, roughly 10x14 inches. It doesn’t have to be perfect! Just aim for an even thickness, about ⅛-inch thick. Carefully transfer your beautiful dough rectangle to a parchment-lined baking sheet.
-
Fill ‘Er Up: This is a perfect job for a little assistant. Spoon your jam onto one half of the dough, leaving a 1-inch border all around the edges. (This is our most important rule!) Spreading the jam evenly is a great motor skills exercise. Don’t go too thick, or it will all bubble out the sides.
-
The Fold & Crimp: Gently fold the empty half of the dough over the jam-covered half, like closing a book. Press down gently on the edges to seal them. Now, for the fun part! Take a fork and press down firmly along all three sealed edges. This crimping not only looks classic, but it’s crucial for keeping that yummy filling inside.
-
Finishing Touches: Brush the entire top of your pastry with the beaten egg wash. This will give it a gorgeous, glossy, golden-brown finish. Then, using a sharp knife, cut 3 or 4 small slits in the top. These are steam vents, and they are essential for preventing your pastry from puffing up into a giant pillow and exploding in the oven. (It sounds dramatic, but it can happen!)
-
Time to Bake: Pop your masterpiece into a preheated oven at 400°F (200°C). Let it bake for 20-25 minutes, or until the crust is a deep golden brown and you can see the filling bubbling gently through the vents. The smell that fills your kitchen will be absolutely heavenly.
Let’s Get Creative with Frosting and Fillings
While classic strawberry is always a winner, don’t be afraid to experiment! This giant pastry is your canvas.
- Brown Sugar Cinnamon: Mix ½ cup brown sugar, 1 tablespoon of flour, and 1 teaspoon of cinnamon. Spread this mixture over the dough, dot with a few small pieces of butter, then fold and bake as directed.
- Apple Pie: Use a thick apple pie filling. You can even add a sprinkle of nutmeg and cinnamon for that cozy flavor.
- Chocolate Hazelnut: A layer of Nutella is always a crowd-pleaser. Add some thinly sliced bananas for an extra treat!
Once your pastry has cooled for at least 20 minutes (this is important, as hot jam is like lava!), it’s time to decorate. Whisk together the powdered sugar, vanilla, and 1 tablespoon of milk. If it’s too thick, add more milk, a tiny bit at a time, until it’s a nice, drizzly consistency. Let the kids go wild with the drizzle and, of course, the sprinkles.
Beatrice’s Tips for Mess-Free Fun
A little mess is part of the memory-making process, but we can still be smart about it!
-
Parchment Paper is King: I mentioned it before, but it bears repeating. It ensures your pastry won’t stick and makes cleanup as simple as sliding the paper into the trash. (Your future self will thank you.)
-
The Border is Your Best Friend: I can’t stress this enough. That 1-inch empty border you leave before folding is the dam that holds back the river of jam. Respect the border!
-
Embrace the Imperfect: Will there be a little jam leakage? Maybe! Will the rectangle be perfectly symmetrical? Probably not! And that is what makes it yours. A homemade treat is full of character.
-
Cool It Down: The hardest part of this whole process is waiting for the pastry to cool before icing and slicing. Explain to your little ones that the jam is incredibly hot and needs time to set. It’s a great lesson in patience.
Serving this is a joy. You can slice it into squares or wedges and watch as everyone digs in. The combination of the flaky, buttery crust, the warm, sweet filling, and the fun, sugary topping is pure comfort.
More than that, it’s a moment you created together. It’s a story you can tell. It’s proof that the best times are often the simplest ones, baked with love, right in the heart of your home. Happy baking!