Oh, my dears, come gather ‘round my kitchen counter for a moment. Do you remember that little silver packet? The crinkle of the foil, the satisfying pop of the toaster, and that first bite of a warm, sugary pastry filled with jammy goodness. It’s a taste of childhood, isn’t it?
Now, imagine taking that beloved memory and making it larger than life. I’m not talking about just a slightly bigger version. I’m talking about a magnificent, sprawling, sheet-pan-sized toaster pastry that becomes the centerpiece of your party table. Picture the look on the little ones’ faces when you bring out a dessert that’s as big as their wildest dreams!
Recently, I saw a wonderful teacher share this very idea, and the joy it sparked was just too good not to share with all of you. It turns a simple treat into a communal, interactive experience. It’s a dessert, a decoration, and a memory in the making, all in one. So, roll up your sleeves, grab your aprons (and the kids’ aprons, too!), because we’re about to bake something truly special.
Your Grand Ingredient Gathering
Before we can build our masterpiece, we need the right building blocks. The secret to a giant pastry that doesn’t fall apart or turn into a soggy mess is a sturdy, reliable dough and a thick, luscious filling. This isn’t the time for delicate, fussy pastry. We need something with character!
For the All-Butter Pastry Dough (Sturdy & Delicious):
- 2 ½ cups (320g) all-purpose flour, plus more for dusting
- 1 teaspoon fine sea salt
- 1 tablespoon granulated sugar
- 1 cup (226g or 2 sticks) very cold, unsalted butter, cut into ½-inch cubes
- ½ cup (120ml) ice-cold water
(A little tip from my kitchen: I like to pop my butter cubes in the freezer for about 15 minutes before I start. It’s the key to an unbelievably flaky crust!)
For the Luscious Strawberry Filling:
- 2 cups (about 300g) frozen strawberries
- ½ cup (100g) granulated sugar
- 2 tablespoons cornstarch
- 1 tablespoon fresh lemon juice
- A pinch of salt
(Why frozen strawberries? They break down beautifully and release their juices, which is perfect for making a thick, jammy filling. And the cornstarch is our non-negotiable insurance against a soggy bottom!)
For the Sweet & Simple Icing:
- 1 ½ cups (180g) powdered sugar, sifted
- 2-3 tablespoons milk or cream
- ½ teaspoon pure vanilla extract
- An absolute mountain of colorful sprinkles (this is not the time for restraint!)
Building Your Pastry Masterpiece Step-by-Step
This is where the fun really begins. The kitchen is about to be filled with the wonderful scent of baking and the happy sounds of a project coming together.
1. Prepare the Filling: In a medium saucepan, combine the frozen strawberries, sugar, cornstarch, lemon juice, and salt. Cook over medium heat, stirring frequently, until the mixture thickens and bubbles. This should take about 8-10 minutes. The berries will break down, and it will look like a thick, glorious jam. Set it aside to cool completely. (This is a crucial step! Putting hot filling on cold dough is a recipe for a melted mess.)
2. Make the Dough: While the filling cools, let’s make our pastry. In a large bowl, whisk together the flour, salt, and sugar. Add your ice-cold butter cubes. Using a pastry blender or your fingertips, cut the butter into the flour until the mixture resembles coarse crumbs with some pea-sized butter pieces still visible. This is what creates those wonderful flaky layers. Gradually drizzle in the ice water, tossing with a fork until the dough just starts to come together. Don’t overwork it! Tip the dough onto a clean counter, divide it in half, and gently pat each half into a flat disk. Wrap each disk in plastic wrap and chill in the refrigerator for at least one hour.
3. The Grand Roll-Out: Preheat your oven to 375°F (190°C). Line a large baking sheet with parchment paper. On a lightly floured surface, roll one disk of dough into a large rectangle, roughly 10x14 inches. Don’t worry about perfection! Rustic is charming. Carefully transfer this rectangle to your prepared baking sheet. This will be your base.
4. Fill and Seal: Spread the cooled strawberry filling over the dough base, leaving a 1-inch border all around the edges. Now, roll out the second disk of dough to a slightly larger rectangle. Gently lay it over the top of the filling. Press down firmly around the edges to seal, then take a fork and crimp the edges all the way around, just like you would with a pie crust. This is a perfect job for little hands!
5. Prepare for Baking: Use a sharp knife to cut a few small slits in the top crust to allow steam to escape. For a beautiful, golden-brown finish, beat one egg with a tablespoon of water and brush it lightly over the entire top crust.
Solving the Big Bake Conundrum
The number one question I get about a project like this is, “Beatrice, how do I make sure the bottom crust is cooked through and not a soggy disappointment?” It’s a fair question, and I have a few tricks up my sleeve.
The key is direct, steady heat on the bottom of the pan. Place your oven rack in the lower third of the oven. This ensures the bottom gets a head start on crisping up before the top gets too brown.
Bake for 30-35 minutes at 375°F (190°C). You’re looking for a pastry that is deeply golden brown, puffed up, and you might see a little bit of that gorgeous red filling bubbling happily through the steam vents. Don’t be tempted to pull it out too early! A pale pastry often means a soft bottom.
Once it’s baked to perfection, let it cool on the baking sheet for about 10 minutes before carefully sliding the whole thing (parchment and all) onto a wire rack to cool completely. And I mean completely. Icing a warm pastry will only lead to a transparent, melted glaze. Patience is a baker’s best friend.
The Joyful Decoration Finale
Alright, the moment everyone has been waiting for! Once your giant pastry is fully cooled, it’s time to bring it to life.
In a small bowl, whisk together the sifted powdered sugar, vanilla, and 2 tablespoons of milk. If it’s too thick, add more milk, one teaspoon at a time, until it’s a smooth, pourable consistency. You want it thick enough to stay on top but thin enough to spread easily.
Pour the glaze over the center of the pastry. Using the back of a spoon or a small offset spatula, gently spread the icing toward the edges, letting it drip whimsically down the sides.
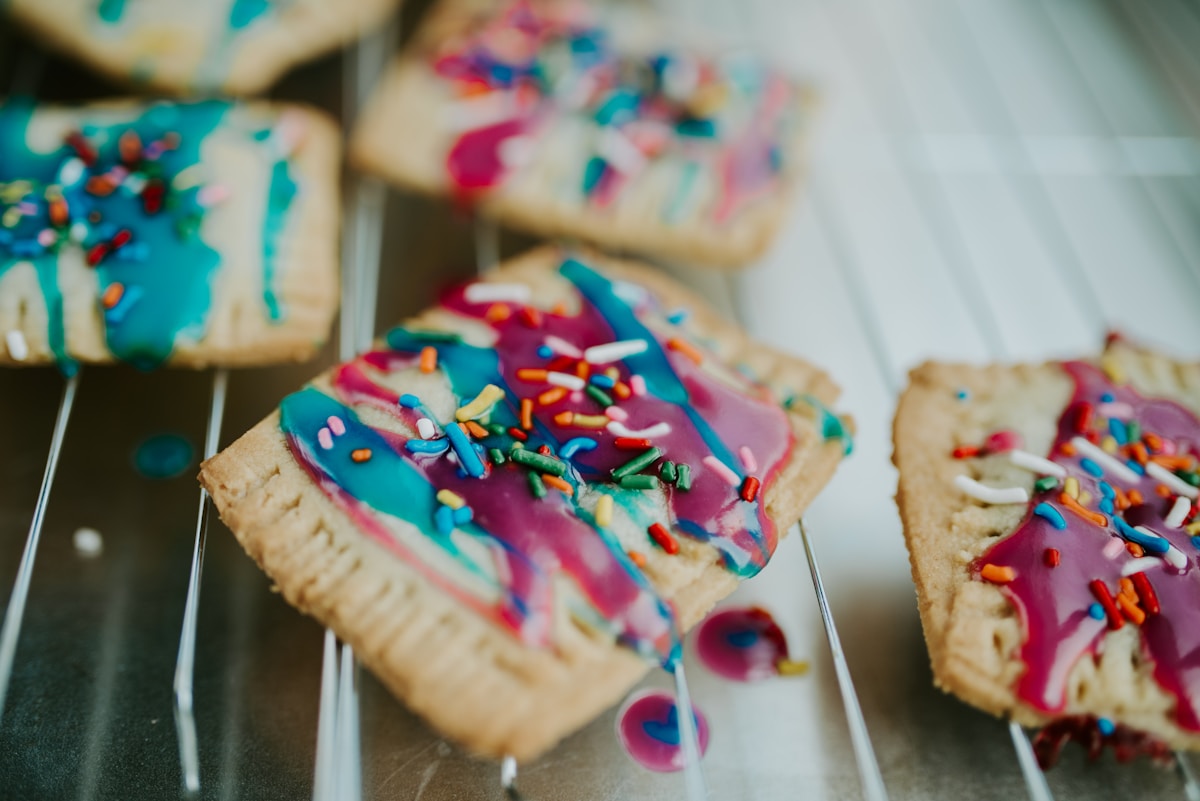
And now… release the sprinkles! Let the kids go to town. Rainbow nonpareils, fun-shaped quins, crunchy jimmies—more is more! This is the part that makes it a true party.
Tips from Aunt Beatrice’s Apron Pocket
Every baking adventure teaches us something new. Here are a few little gems to ensure your giant pastry is a roaring success.
- Thicker is Better: When it comes to the filling, never skip the cornstarch or other thickener. A runny filling is the enemy of a crisp crust.
- Chill Out: Cold dough is happy dough. If at any point your dough becomes soft and difficult to work with, just pop it back in the fridge for 15 minutes to firm up.
- Serving Secret Weapon: How on earth do you serve this behemoth? My favorite tool is a pizza cutter! It slices through the pastry cleanly and is so much fun for the designated server to use.
- Flavor Adventures: Don’t be afraid to switch up the filling! Blueberry with a hint of cinnamon, or maybe a brown sugar and apple compote in the fall? The possibilities are endless.
Creating this giant toaster pastry is more than just baking a dessert. It’s about crafting a moment of pure, unadulterated joy. It’s about the collective gasp of delight when you bring it to the table. It’s the fun of everyone grabbing a piece and sharing in the sweet, flaky, wonderful mess. Because that, my dears, is what kitchen magic is all about.


