Hello, my dears! Beatrice here. I was just cleaning up a little dusting of flour from the counter—a happy reminder of yesterday’s baking adventure—and it got me thinking. Do you remember that look? The one your child gets when they see something so unexpectedly wonderful their eyes go as wide as saucers? It’s a look of pure, unfiltered delight.
We spend so much time planning parties and special occasions, fussing over dozens of little cupcakes or countless tiny cookies. But what if I told you there’s a simpler, more magical way? What if you could capture that wide-eyed wonder with one single, spectacular, giant treat?
I recently heard a story from a friend who teaches a children’s cooking class. While the little ones were busy making their own small toaster pastries, she pulled a giant, platter-sized version out of the oven. She said the room fell silent for a moment, and then erupted in cheers. That’s the power of scale! It transforms a familiar snack into an unforgettable event. The kitchen is where families grow together, and sometimes, growing your food (in size, at least!) is the best way to grow a beautiful memory.
So, let’s put away the tiny cookie cutters for a day. It’s time to think big, get a little messy, and create a showstopper that will have your little ones talking for weeks.
The Ultimate Giant Pizza Pan Chocolate Chip Cookie
Let’s start with a true classic. A warm, gooey chocolate chip cookie is a hug in food form. Now, imagine one that’s the size of a pizza! It’s the perfect centerpiece for a birthday party, a sleepover, or just a dreary Tuesday that needs a dose of deliciousness. The secret here is baking it a little lower and slower than a normal cookie to make sure the middle gets perfectly cooked without the edges turning into charcoal. (A lesson I learned the hard way once upon a time!)
You Will Need:
- A 12-inch pizza pan or a 10-inch cast-iron skillet (a Lodge skillet works beautifully for this)
- Parchment paper
- 1 cup (227g) unsalted butter, softened to room temperature
- ¾ cup (150g) packed brown sugar
- ½ cup (100g) granulated sugar
- 2 large eggs
- 2 teaspoons of pure vanilla extract
- 2 ½ cups (300g) all-purpose flour (I’m partial to King Arthur for its consistency)
- 1 teaspoon baking soda
- ½ teaspoon salt
- 2 cups (about 340g) semi-sweet chocolate chips
Let’s Get Baking!
- Prep Your Pan: Preheat your oven to 350°F (175°C). Trace the bottom of your pizza pan on a sheet of parchment paper, cut it out, and place it in the bottom of the pan. This little step is your secret weapon for getting the cookie out in one glorious piece.
- Cream the Fats and Sugars: In a large bowl with an electric mixer (a stand mixer like a KitchenAid is great, but a hand mixer works just fine), beat the softened butter with the brown sugar and granulated sugar until it’s light and fluffy, about 2-3 minutes. This step whips air into the dough, which is key for a tender cookie.
- Add the Wet Ingredients: Beat in the eggs one at a time, mixing well after each addition. Then, stir in the vanilla extract. Scrape down the sides of the bowl to make sure everything is incorporated.
- Combine the Dry Ingredients: In a separate bowl, whisk together the flour, baking soda, and salt. This ensures you don’t get a salty or bitter bite from a clump of baking soda. Gradually add the dry mixture to the wet mixture, mixing on low speed until just combined. Please, please don’t overmix here! Overmixing develops the gluten and can make your cookie tough.
- Fold in the Treasure: Gently fold in those lovely chocolate chips with a spatula. Feel free to add a little more if your heart tells you to. (Mine always does.)
- Press and Bake: Scoop the dough into your prepared pan and use your hands or a spatula to press it into an even layer. It will seem like a lot of dough, but trust the process. Bake for 25-30 minutes. The edges should be golden brown, and the center should look set, but still soft. It will continue to cook a bit in the hot pan after you take it out.
- Cool and Serve: Let the giant cookie cool in the pan for at least 20 minutes before even thinking about moving it. This is the hardest part—the smell will be incredible! Once it’s firmed up, you can carefully slide it onto a cutting board. Slice it into wedges like a pizza and serve it warm, maybe with a scoop of vanilla ice cream on top. Utterly heavenly.
The Crowd-Pleasing Colossal Rice Krispie Treat
Looking for a no-bake option that the littlest hands can help with? The giant Rice Krispie treat is your answer. It’s sweet, crunchy, chewy, and requires absolutely zero oven time. The only tricky part is handling the hot marshmallow mixture, which is strictly a grown-up’s job.
You Will Need:
- A 13x18-inch half-sheet pan
- 10 tablespoons (140g) salted butter, plus extra for the pan and your hands
- Two 10-ounce bags of mini marshmallows (Jet-Puffed are my go-to)
- 12 cups of Kellogg’s Rice Krispies cereal
- Sprinkles, melted chocolate, or other candies for decorating
Let’s Get Mixing!
- Prepare Your Pan: Generously butter your half-sheet pan. Don’t be shy! This will prevent a sticky disaster later.
- Melt the Goodness: In a very large pot or Dutch oven over low heat, melt the butter. Once it’s fully melted, add the marshmallows. Stir constantly until they are completely melted and smooth. The key here is low heat; if it gets too hot, your final treats will be hard instead of chewy.
- The Big Mix (Grown-Ups Only!): Remove the pot from the heat. Immediately pour in all 12 cups of the Rice Krispies cereal. Stir quickly but gently with a large, buttered spatula until the cereal is evenly coated with the marshmallow mixture.
- Press it Out: Now for the fun part! Pour the mixture into your prepared sheet pan. Here’s my favorite kitchen hack: rub a little butter on your clean hands or on a flat spatula. This allows you to press the sticky mixture into the pan without it becoming a part of you. Press firmly enough to create an even layer, but don’t compact it too much, or the treats will be dense.
- Let the Kids Decorate: This is where your little helpers can really shine! While the treat is still a bit warm and sticky, let them go to town with sprinkles. Once it has cooled for about 10-15 minutes, you can drizzle it with melted chocolate or add other candies. Let it set completely at room temperature for about an hour.
- Cut and Enjoy: You can cut this into massive squares or fun shapes with cookie cutters. It’s a work of art that’s almost too fun to eat. Almost.
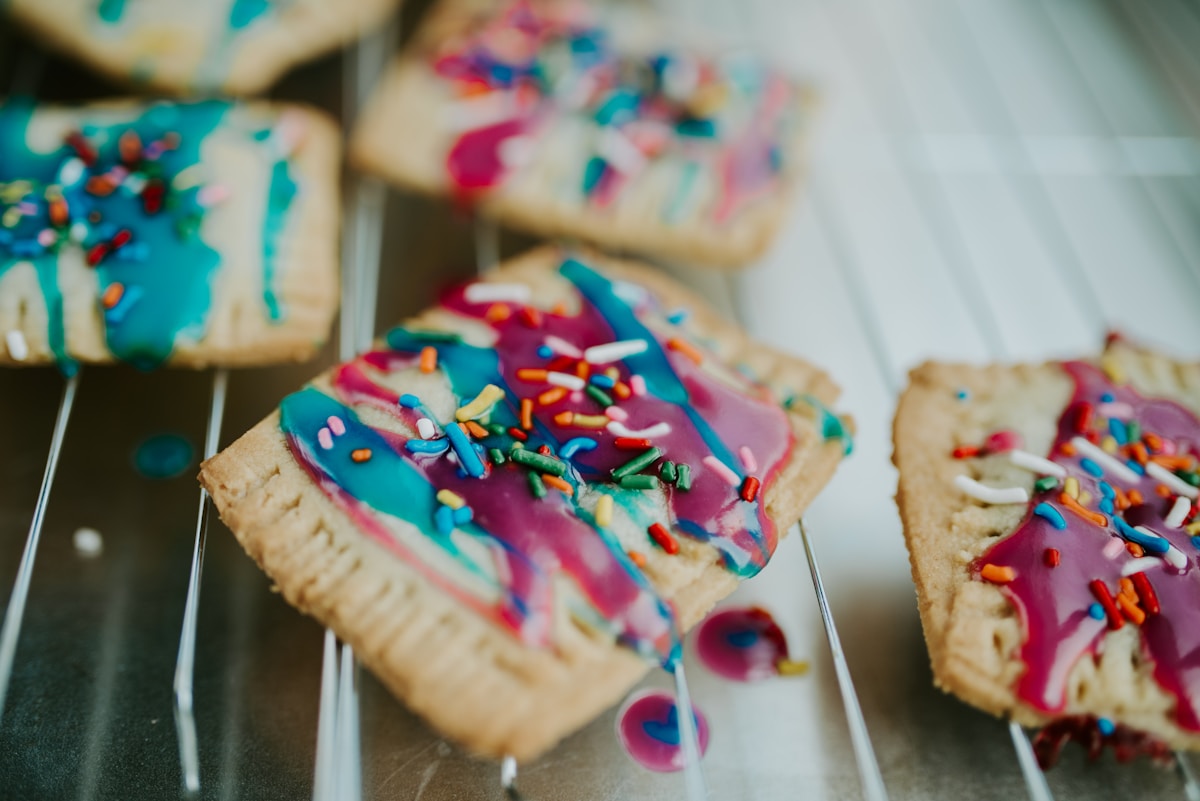
Your Very Own Giant Frosted Toaster Pastry
This one takes a little more effort, but the payoff is enormous. A homemade toaster pastry is worlds away from the store-bought kind—flaky, buttery, and filled with real fruit flavor. Making a giant one is pure, whimsical joy. For the dough, you can absolutely use a high-quality store-bought pie crust (like Pillsbury’s) to save time. No one will ever know!
You Will Need:
- 2 sheets of refrigerated pie dough (or your favorite homemade recipe for a double-crust pie)
- ¾ cup strawberry jam
- 1 teaspoon cornstarch
- 1 egg, beaten with 1 tablespoon of water (for an egg wash)
- For the glaze: 1 cup powdered sugar, 2-3 tablespoons milk, ½ teaspoon vanilla extract, and sprinkles!
Let’s Get Assembling!
- Preheat and Prep: Preheat your oven to 375°F (190°C). Line a large baking sheet with parchment paper.
- Make the Filling: In a small bowl, mix the strawberry jam and cornstarch together. The cornstarch will help the filling thicken as it bakes so it doesn’t all ooze out. (A little ooze is okay, though. It looks delicious!)
- Shape the Dough: Unroll one sheet of pie dough onto your parchment-lined baking sheet. If it’s round, you can gently use a rolling pin to shape it into more of a rectangle. Don’t worry about perfection!
- Fill it Up: Spread the jam mixture over the dough, leaving a 1-inch border all the way around.
- Top it Off: Unroll the second sheet of dough and place it directly on top of the first. Use your fingers to press down the edges firmly. Then, take a fork and crimp the edges all the way around to create that classic toaster pastry look and a super-secure seal.
- Finishing Touches: Brush the entire top of the pastry with the egg wash. This will give it a beautiful, shiny, golden-brown finish. Use a sharp knife to poke a few steam vents in the top.
- Bake to Golden Perfection: Bake for 20-25 minutes, or until the pastry is a deep golden brown and puffed up. Let it cool completely on the baking sheet. This is important, as it will be too fragile to move while hot.
- Frost and Decorate: Once cool, whisk together the powdered sugar, 2 tablespoons of milk, and vanilla. If the glaze is too thick, add another tablespoon of milk until it’s a nice, spreadable consistency. Spread the glaze over the top of your giant pastry and immediately shower it with sprinkles. Let the glaze set, then slice and serve to your adoring fans.
A Few Tips for Giant Success
Embarking on a giant-snack adventure is exciting, but a few words of wisdom can make the journey smoother.
- Choose the Right Tools: A sturdy sheet pan, a well-seasoned cast-iron skillet, or a simple pizza pan are your best friends here. Make sure they’re clean and ready to go before you start mixing.
- Respect the Oven: As we discussed with the cookie, larger items need more time for heat to penetrate to the center. Lowering the temperature slightly and increasing the baking time is often the best strategy for even cooking.
- Involve the Kids (Safely!): The whole point is to have fun together. Give them age-appropriate jobs. Toddlers are excellent at dumping pre-measured ingredients and sprinkling. Older kids can help measure, mix, and press dough into pans. Always supervise around hot stoves and ovens.
- Embrace Imperfection: Will your giant cookie be a perfect circle? Maybe not. Will some sprinkles end up on the floor? Almost certainly. But that’s okay. The kitchen is a place for learning and laughter, not for stress. Every spill is just a little reminder of the fun you had.
These recipes are more than just instructions; they are blueprints for joy. They are a chance to slow down, create something delightful with your hands, and watch your family’s faces light up. So go ahead, think big.
Happy Baking, from my kitchen to yours, Beatrice