Have you ever been scrolling through social media or watching a baking competition and stopped dead in your tracks? A cake so perfect, so glossy, it looks more like a sculpture than dessert. That, my friends, is likely an entremet. It’s the pinnacle of French pâtisserie, a multi-layered marvel of textures and flavors that seems impossibly complex.
The immediate thought is often, “I could never make that.” But I’m here to tell you that you can. The secret to an entremet isn’t magic; it’s method. It’s about understanding the science behind each layer and embracing the process. Baking is chemistry you can eat, and an entremet is the most beautiful experiment you’ll ever conduct in your kitchen. Let’s break it down, step by step.
The Anatomy of a Perfect Entremet
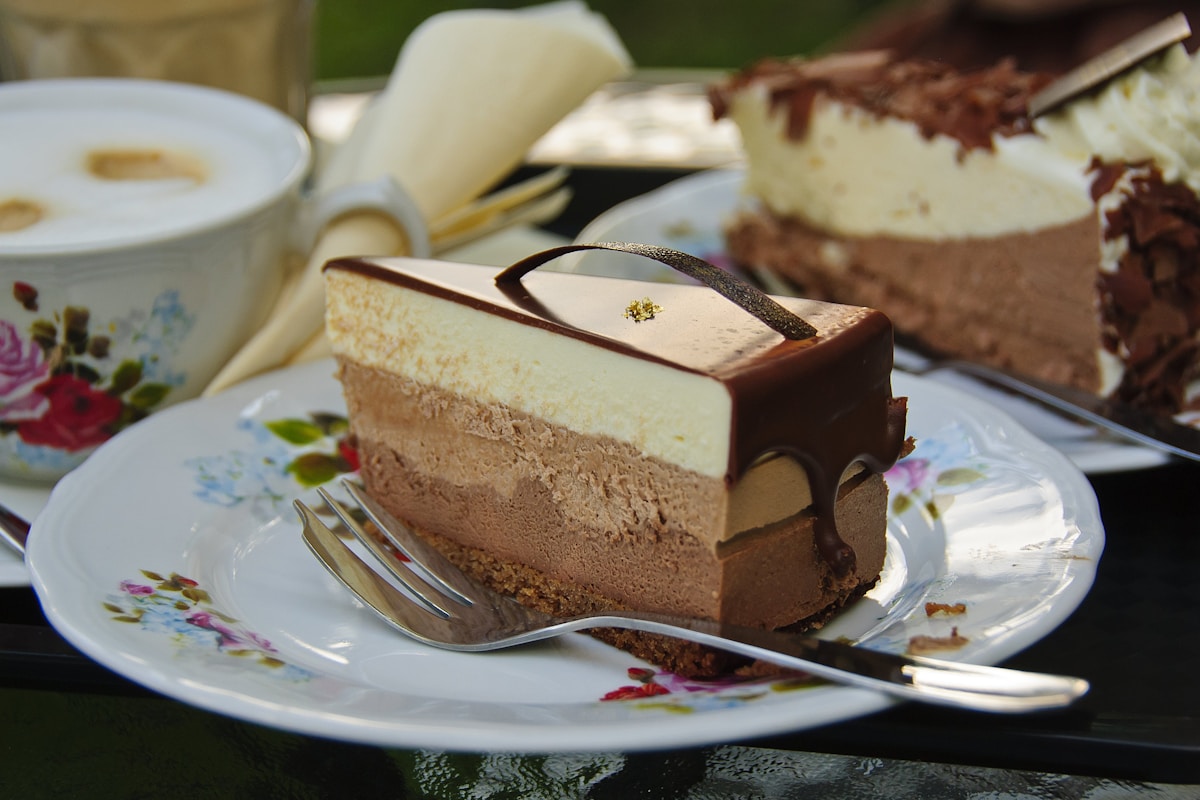
First, let’s establish what an entremet is not: it’s not your typical American layer cake of sponge and buttercream. An entremet is an architectural creation, designed so that every single spoonful delivers a symphony of contrasting sensations. Think silky, crunchy, creamy, and chewy all in one perfect bite.
While the combinations are endless, a classic entremet is built from four fundamental components:
- The Base (Le Biscuit): This is your foundation. It needs to provide structure and, most importantly, texture. It’s often something with a bit of crunch or chew, like a nutty dacquoise (a meringue-based cake), a crunchy streusel, or a soft joconde sponge.
- The Insert (L’insert): This is the surprise flavor bomb at the heart of the cake. It provides a sharp contrast to the main mousse. It could be a vibrant fruit gelée, a rich and decadent crémeux (a type of pudding-custard hybrid), a soft caramel, or even a smaller baked cake component.
- The Mousse (La Mousse): This is the star of the show, the element that encases everything else. It must be light and airy but also stable enough to hold its shape. Chocolate, fruit, or coffee mousses are common, and their stability often comes from gelatin or a cooked egg base like a pâte à bombe.
- The Finish (La Finition): This is the jaw-dropping exterior. The most famous is the impossibly shiny mirror glaze (glaçage miroir), but it could also be a velvet-like chocolate spray, a coating of finely chopped nuts, or a simple dusting of high-quality cocoa powder.
The magic happens during assembly. Each component is prepared separately, and the entremet is built upside down in a mold, with each layer being frozen before the next is added. This ensures those perfectly clean, distinct layers you see in a professional pâtisserie.
Your Essential Entremet Toolkit
Precision is the name of the game, and having the right tools makes the process less of a challenge and more of a joy. You don’t need a professional kitchen, but a few key items are non-negotiable.
- A Digital Kitchen Scale: This is the most important tool. Professional baking relies on weight (grams), not volume (cups), for accuracy. For the chemistry to work, your ratios must be exact.
- Silicone Molds or Pastry Rings: You’ll need at least two sizes: a larger one for the final entremet and a smaller one for the insert. Brands like Silikomart make fantastic, intricate molds, but simple round silicone cake pans or stainless steel pastry rings work perfectly.
- Acetate Cake Collars: If you’re using pastry rings, you’ll need acetate sheets to line them. This is the secret to getting super smooth, perfect sides and easily removing the ring from your frozen cake.
- A Digital Thermometer: So much of this process, from cooking a crémeux to tempering a mirror glaze, depends on precise temperature control. An instant-read thermometer is your best friend.
- An Immersion Blender: This is essential for creating a silky-smooth, bubble-free mirror glaze. (Trust me on this one.)
A Beginner’s Guide to a Raspberry Chocolate Entremet
Ready to try? This recipe is a classic combination and a great entry point. We will build a 7-inch (18 cm) entremet. Plan to do this over two days to allow for proper freezing time.
Component 1: The Raspberry Crémeux Insert
(You’ll need a 6-inch / 15 cm round mold for this)
- 150g Raspberry Purée (seedless)
- 50g Granulated Sugar
- 60g Egg Yolks (about 3 large yolks)
- 3g Powdered Gelatin (bloomed in 15g cold water)
- Bloom the Gelatin: Sprinkle the gelatin over the cold water in a small bowl and let it sit for 5-10 minutes until it becomes a solid mass.
- Make the Custard: In a small saucepan, gently heat the raspberry purée. In a separate bowl, whisk together the egg yolks and sugar until pale.
- Temper: Slowly pour the warm raspberry purée into the egg yolk mixture while whisking constantly. This prevents the eggs from scrambling. Return the entire mixture to the saucepan.
- Cook: Cook over medium-low heat, stirring constantly with a spatula, until the mixture thickens and reaches 180°F (82°C). Do not let it boil. It should be thick enough to coat the back of a spoon.
- Finish: Remove from heat and stir in the bloomed gelatin until it completely dissolves. Pour the crémeux into your 6-inch mold and freeze until rock solid, at least 4 hours.
Component 2: The Chocolate Dacquoise Base
- 65g Egg Whites (about 2 large whites)
- 65g Granulated Sugar
- 65g Almond Flour
- 20g Powdered Sugar
- 15g Unsweetened Cocoa Powder
- Preheat & Prep: Preheat your oven to 350°F (175°C). On a piece of parchment paper, trace a 6-inch (15 cm) circle. Flip the parchment over.
- Make the Meringue: In a clean bowl, whip the egg whites until foamy. Gradually add the granulated sugar and continue whipping until you have a stiff, glossy meringue.
- Fold Dry Ingredients: Sift the almond flour, powdered sugar, and cocoa powder together. Gently fold the dry ingredients into the meringue in two or three additions, being careful not to deflate the mixture.
- Bake: Spread the batter into the traced circle on your parchment-lined baking sheet. Bake for 15-18 minutes, until firm to the touch. Let it cool completely.
Component 3: The Dark Chocolate Mousse
- 200g High-Quality Dark Chocolate (65-70% cacao), chopped
- 100g Whole Milk
- 6g Powdered Gelatin (bloomed in 30g cold water)
- 300g Heavy Cream, cold
- Melt Chocolate: Place the chopped chocolate in a heatproof bowl.
- Heat Milk & Gelatin: Heat the milk in a small saucepan until it’s just simmering. Remove from heat and stir in your bloomed gelatin until dissolved.
- Create Ganache: Pour the hot milk mixture over the chocolate. Let it sit for one minute, then stir from the center outwards until you have a smooth, glossy ganache. Let it cool to lukewarm (around 95-100°F / 35-38°C).
- Whip Cream: In a separate bowl, whip the cold heavy cream to soft peaks. (Don’t overwhip!)
- Fold: Gently fold about one-third of the whipped cream into the lukewarm ganache to lighten it. Then, fold in the remaining cream until just combined. You want to maintain as much air as possible.
The Grand Assembly: Building Your Masterpiece
- Prepare the Mold: Prepare your 7-inch (18 cm) mold. If using a ring, place it on a flat plate lined with plastic wrap and line the inside with an acetate collar.
- First Mousse Layer: Pour about half of the chocolate mousse into the mold.
- Add the Insert: Carefully unmold your frozen raspberry crémeux and press it gently into the center of the mousse.
- Second Mousse Layer: Pour the remaining mousse on top, leaving about a 1/4 inch (0.5 cm) of space at the top.
- Add the Base: Gently press the chocolate dacquoise base on top of the mousse. The base will become the bottom when you flip the cake over.
- FREEZE: Cover with plastic wrap and freeze until absolutely solid. This is not a step to rush. Give it a minimum of 8 hours, but overnight is best. (Your future self will thank you.)
Troubleshooting and Finishing Touches
Once frozen solid, it’s time for the final glaze. A mirror glaze is a whole recipe in itself, but the key is pouring it at the correct temperature (usually around 95°F / 35°C) over the completely frozen cake. Place the frozen cake on a wire rack with a sheet pan underneath to catch the drips.
Common Problems & Fixes:
- Glaze is too thin: You poured it when it was too hot. Wait for it to cool to the target temperature.
- Glaze has bubbles: You were too aggressive when mixing. After blending, tap the container on the counter and let it rest to allow bubbles to rise. You can also strain it.
- My layers smushed together: The previous layer wasn’t frozen solid. Patience is a virtue in pâtisserie. There are no shortcuts for freezing time.
- My mousse is grainy: The temperature difference between your ganache and whipped cream was too extreme, causing the chocolate to seize. Make sure the ganache has cooled sufficiently before folding in the cream.
Making an entremet is a project, a weekend adventure in precision and patience. But when you slice into that finished cake and see those perfect, clean layers, you’ll understand the magic. You didn’t just follow a recipe; you engineered a delicious experience. And that is the true joy of baking.


