There’s a special kind of magic that swirls around a birthday cake. It’s more than just sugar, flour, and eggs; it’s the centerpiece of a celebration, the keeper of wishes, the sweet culmination of another year gone by. And every year, as a special day approaches, you might find yourself standing in the bakery aisle, contemplating the rows of perfectly polished, store-bought cakes. They’re convenient, yes. But do they tell a story?
For many of us, the idea of baking our own birthday cake is tangled in a web of anxiety. We picture lopsided layers, crumb-filled frosting, and a finished product that looks nothing like the glossy photo we pinned online. But what if I told you that creating a beautiful, delicious, and deeply personal birthday cake is not only achievable but can be one of the most rewarding kitchen projects you ever undertake? The secret isn’t in becoming a professional pastry chef overnight. It’s in knowing a few simple, game-changing techniques that turn potential stress into pure joy. Let’s walk through them together.
Start with a Recipe You Know and Love
This might be the single most important piece of advice I can offer. When the pressure of a celebration is on, it is not the time to experiment with a ten-layer, multi-component French patisserie recipe you’ve never attempted before. The goal here is a delicious, heartfelt success, not a high-stakes baking challenge.
Think about the cakes that bring you comfort. Is it a classic, moist chocolate cake? A light-as-air vanilla sponge? Perhaps a rich red velvet? Choose a recipe that is well-tested and familiar. If you have a go-to chocolate cake recipe from your grandmother, use that one. Its story is already part of your family. If you’re looking for a new-to-you but reliable option, turn to trusted sources like King Arthur Baking or Sally’s Baking Addiction, and read the comments! Real-world reviews from other home bakers are invaluable.
Your mission is to find a straightforward recipe with clear instructions. A simple buttercream frosting is far more forgiving than a delicate Swiss meringue or a finicky ganache. By choosing a recipe that’s comfortably within your skill set, you free up your mental energy to focus on the small details that make a big difference—details we’re about to cover.
Your Secret Weapon The Art of Baking Ahead
Imagine this: it’s the day of the party. Instead of frantically baking, cooling, and frosting a cake from start to finish, you are calmly assembling perfectly chilled, easy-to-handle cake layers. This peaceful scenario is entirely possible, and it’s the secret weapon of bakers everywhere. Splitting the work across two days is the ultimate kitchen hack for a stress-free experience.
Day One: The Bake. On the day before you plan to decorate, bake your cake layers. Follow your trusted recipe to the letter. Once the cakes are out of the oven, let them cool in their pans on a wire rack for about 15-20 minutes. Then, carefully turn them out onto the rack to cool completely. And I mean completely. A slightly warm cake is a fragile, crumbly cake. This can take a couple of hours at room temperature.
Once the layers are at room temperature, level them if needed (using a long serrated knife to carefully slice off any domed tops), then wrap each layer tightly and securely in two layers of plastic wrap. You can leave these wrapped layers on your counter overnight, or if your kitchen is particularly warm or you’re using a perishable filling, pop them in the refrigerator. This rest period does something wonderful: the cake’s structure settles and firms up, making it sturdier and significantly less prone to crumbling when you start to handle and frost it.
Day Two: The Assembly. Now you can focus entirely on the fun part: decorating! Your future self will thank you for this brilliant bit of planning.
The Crumb Coat Your Path to a Flawless Finish
Have you ever tried to frost a cake, only to find that pesky crumbs keep getting dragged into your beautiful, smooth frosting, creating a messy, speckled finish? There is a professional, yet incredibly simple, technique to prevent this forever: the crumb coat.
A crumb coat (or ‘crumbing’) is a thin, sacrificial layer of frosting that acts as a primer for your cake. Its sole purpose is to trap all the loose crumbs, sealing them in so your final coat of frosting remains pristine.
Here’s how you do it:
-
Place Your First Layer: Put your first chilled cake layer on your cake stand or serving plate. If you want, you can put a dollop of frosting down first to act as ‘glue’ and keep the cake from sliding.
-
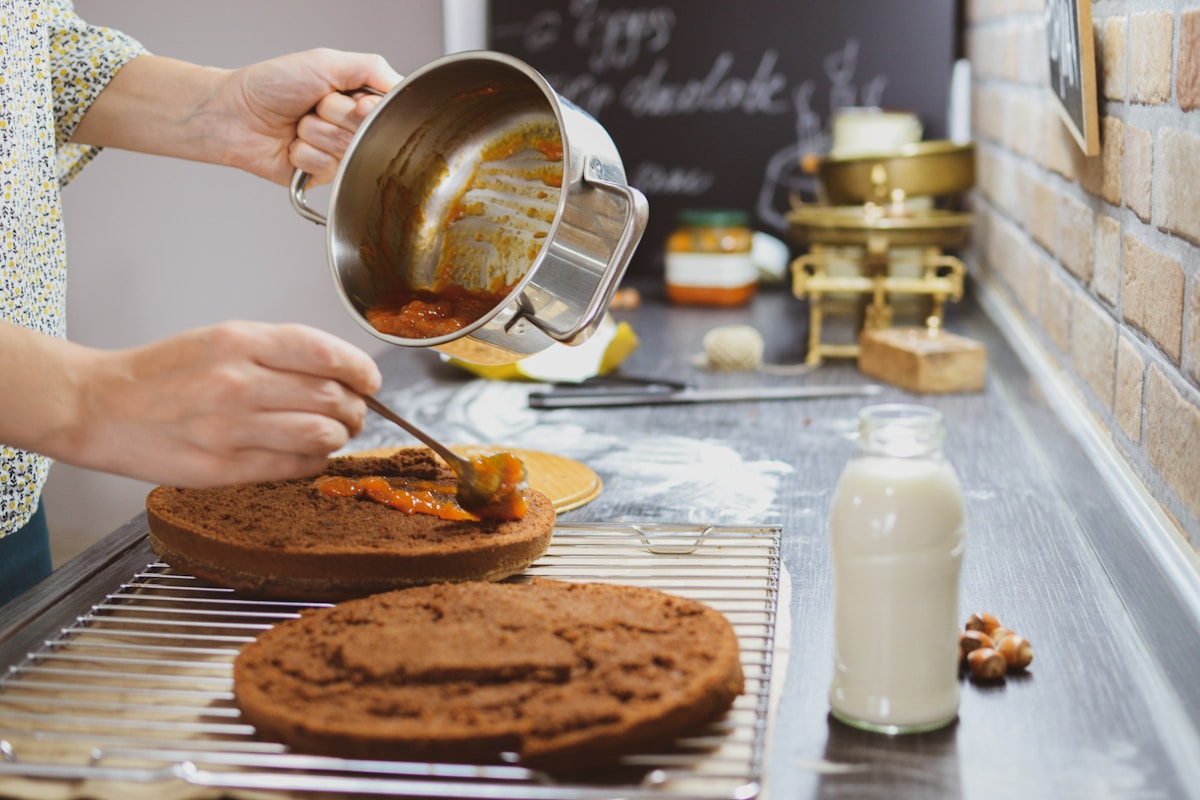
Add Filling: Add your filling or a layer of frosting, spreading it evenly.
-
Stack and Apply: Place your next cake layer on top and continue until your cake is stacked. Now, take a small amount of your frosting and, using an offset spatula or the back of a spoon, spread a very thin layer over the entire cake—the top and all the sides. It should be almost transparent in places. You’re not trying to make it look perfect; you’re just trying to cover the cake’s surface.
-
The Crucial Chill: This is the most important step. Place the crumb-coated cake into the refrigerator (around 4°C / 40°F) for at least 30 minutes. You want the frosting to become firm to the touch. This locks the crumbs in place.
-
The Final Frost: Once chilled, you can apply your final, generous layer of frosting. You’ll be amazed at how smoothly it glides on, with not a single crumb in sight. It’s a simple step that yields incredibly professional-looking results. (Yes, really.)
Embrace the Beauty of ‘Homemade’ Decorations
Social media can set an impossibly high bar for cake decorating. But a homemade cake’s greatest strength isn’t its flawless fondant or intricate piping; it’s the love and personality baked into it. The most beautiful cakes are often the ones that are decorated with simple, elegant, and natural touches.
Forget the pressure to be perfect and have fun with these low-stress decorating ideas:
-
Fresh Berries: A generous pile of fresh, vibrant berries—raspberries, blueberries, sliced strawberries—creates a stunning, rustic look. The pop of color and freshness is a perfect contrast to a sweet cake.
-
Chocolate Shavings: Take a good-quality bar of chocolate and a simple vegetable peeler. Run the peeler along the side of the bar to create delicate, beautiful chocolate curls and shavings. Sprinkle them over the top and around the base of the cake for an effortlessly chic look.
-
A Simple Sprinkle: Never underestimate the pure joy of sprinkles! A fun, colorful mix can instantly make a cake feel festive and celebratory. You can press them into the sides or cover the top entirely.
-
Edible Flowers: For a truly show-stopping effect, adorn your cake with a few carefully placed edible flowers like pansies, violas, or rose petals. Just be absolutely sure they are food-grade and free of pesticides.
Remember, the story of this cake is that you made it. A slightly imperfect swirl in the frosting isn’t a flaw; it’s your signature. It’s a testament to the time and care you put into creating something special for someone you love.
That is the real magic of a birthday cake—a tangible, delicious expression of affection. When the candles are lit and the song is sung, no one will be counting the crumbs or judging the smoothness of your buttercream. They will be tasting the love, and that is a flavor no store can ever replicate.