There’s a unique kind of magic that happens when you present a cake. It’s more than just dessert; it’s the centerpiece of a celebration, the vessel for birthday wishes, the sweet conclusion to a memorable meal. But sometimes, a standard bakery cake, however delicious, feels a little… impersonal. You want to create something that speaks directly to the person you’re celebrating—a cake that tells their story.
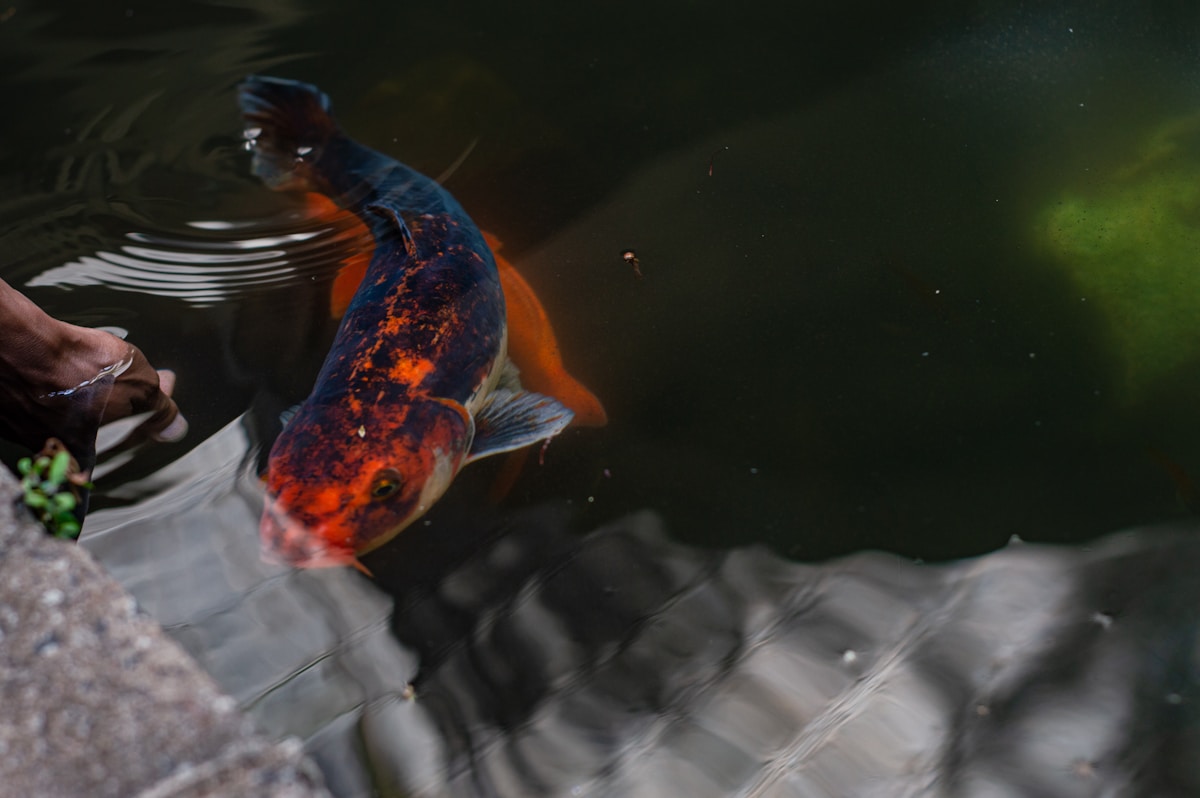
I recently saw a beautiful example of this: a cake lovingly designed to look like a koi pond for a partner who adores them. It wasn’t just a cake; it was a diorama of their passion, complete with shimmering blue “water” and tiny, detailed fish. That’s the power of a themed cake. It transforms a simple sponge into a heartfelt narrative.
The thought of creating something so detailed might seem daunting, reserved only for professional pastry chefs with years of training. But I’m here to tell you a secret: creating a deeply personal, story-driven cake is more about heart and clever planning than it is about advanced technical skill. You can absolutely do this. Let’s explore how to turn a personal passion into an edible masterpiece, one that tastes as wonderful as it looks.
Deconstructing the Dream Your Themed Cake Blueprint
Before you even touch a bag of flour or a tub of frosting, the most crucial ingredient is your idea. A great themed cake starts with a story. What is the narrative you want to share? Forget about what’s trending on Pinterest for a moment and think about the person.
- What are their passions? Think beyond the obvious. Instead of just “gardening,” is there a specific flower they love or a funny memory of them battling a pesky squirrel? For the pond cake, it was a specific love for koi and pond-building.
- What are your inside jokes? A cake celebrating a shared, funny memory can be incredibly powerful. Maybe it’s a nod to a favorite movie, a disastrous vacation, or a quirky habit.
- What milestones are you celebrating? A graduation cake could feature a stack of edible books in their field of study. An anniversary cake might recreate the place you first met.
Once you have a core concept, grab a pencil and paper. Sketch it out. This doesn’t need to be a work of art! A simple diagram helps you visualize the placement of elements. Where will the “pond” go? Where will the “path” be? How many “fish” do you need? This simple step helps you move from a vague idea to a concrete plan, preventing that mid-decoration panic. (We’ve all been there.)
Your blueprint should also include flavors. Think about how the taste can complement the theme. For a garden-themed cake, maybe a lemon-thyme sponge or an Earl Grey-infused buttercream. For a cozy, book-themed cake, a spiced chai or rich chocolate cake would be perfect. The story should be told from the inside out.
The Baker’s Palette Assembling Your Edible and Non-Edible Elements
With a plan in hand, it’s time to gather your tools and materials. This is where you decide how to bring your vision to life, and it’s where you can get incredibly creative by mixing homemade elements with clever shortcuts.
The Foundation: A Sturdy Canvas Your cake is the base for everything, so it needs to be reliable. A light, airy chiffon is lovely to eat but can struggle under the weight of fondant or heavy decorations. Opt for a sturdier cake like:
- Pound Cake: Dense, moist, and easy to carve if you need to create different levels or shapes. Its tight crumb provides a smooth surface for decorating.
- A Sturdy Butter or Oil-Based Cake: A classic vanilla or chocolate cake from a trusted recipe (like one from King Arthur Flour or a similar reliable source) works beautifully. These cakes are flavorful and have enough structural integrity for decorating.
The “Paint”: Frosting and Finishes Your choice of frosting will define the cake’s texture and overall look.
- American Buttercream: Made from butter, powdered sugar, and a little milk or cream. It’s sweet, crusts over slightly, and is fantastic for creating texture. It’s perfect for piping grass (using a Wilton #233 tip), rustic swirls, or rough ocean waves.
- Fondant: This smooth, pliable sugar paste gives a flawless, almost porcelain-like finish. It’s ideal for covering a cake to create a clean canvas or for sculpting figures. It can be intimidating, but buying pre-made fondant (from brands like Wilton or Satin Ice) makes it much more accessible.
- Piping Gel: This is the secret to realistic water effects! It’s a transparent, jelly-like gel that you can tint with food coloring (Americolor gels are fantastic for vibrant shades). Spoon it into a recessed area on your cake, and you have an instant, shimmering pond or pool.
The Details: Bringing the Story to Life Here’s where you can really have fun. Think like a set designer!
- Edible Soil: Pulse Oreo cookies (without the cream filling) in a food processor until they resemble fine dirt. It’s perfect for garden beds, paths, or construction sites.
- Rocks and Boulders: Use chocolate rocks, gray-colored fondant molded into pebbles, or even Maltesers.
- Textures and Sprinkles: A simple dusting of cocoa powder, a sprinkle of edible glitter, or carefully placed sprinkles can add immense depth and visual interest.
And now for the most important tip: It is perfectly okay—in fact, it’s brilliant—to use non-edible toppers! The creator of the pond cake used custom figurines. This is not cheating; it’s working smart. You can focus on making a delicious, beautifully frosted cake and let a professionally made topper provide the “wow” factor. Marketplaces like Etsy are a treasure trove for custom, laser-cut toppers, and tiny figurines that can represent any hobby imaginable, from fishing to knitting to video games.
Building the Pond A Step-by-Step Guide
Let’s walk through creating a simple pond-themed cake to see how these elements come together. Imagine we’re making an 8-inch round cake.
-
Bake and Level: Bake your chosen sturdy cake and let it cool completely. Using a long serrated knife, level the top so you have a flat surface to work on.
-
The Crumb Coat (Your Best Friend): This is the non-negotiable kitchen hack for clean decorating. Apply a very thin layer of buttercream over the entire cake. This traps all the loose crumbs. Pop the cake in the refrigerator for at least 30 minutes until the frosting is firm to the touch.
-
Landscaping the Cake: Apply your final, thicker coat of buttercream. Let’s say we’re using green for grass. Smooth it around the sides. On top, use the back of a spoon or a small offset spatula to create a shallow, organic-shaped depression in the center. This will be your pond.
-
Filling the Pond: Take your piping gel and mix in a drop or two of blue food coloring. Don’t overmix if you want a slightly variegated look. Gently pour or spoon the blue gel into the depression you made. Use the tip of a toothpick to swirl it gently to create the illusion of ripples on the water.
-
Adding Natural Details: Sprinkle your crushed Oreo “dirt” to create a path leading to the pond. Use a piping bag with a grass tip to add some textural tufts of grass around the pond’s edge. Place a few chocolate rocks or fondant pebbles along the bank.
-
Placing the Centerpiece: Now, gently place your non-edible toppers. The tiny koi fish figurines in the water. A miniature frog on a fondant lily pad. Perhaps a small bench on the grassy bank. This is the moment your scene truly comes to life.
Sparking Your Imagination Beyond the Pond
Once you master this mix-and-match technique of a solid cake base, simple frosting textures, and strategic toppers, the possibilities are endless. Here are a few ideas to get you started:
- The Mountain Hiker’s Cake: A chocolate cake with chocolate buttercream swirled to look like a mountain peak. Dust the top with powdered sugar for “snow” and add a path of crushed nuts. Top with a custom hiker figurine.
- The Knitter’s Basket: A round cake covered in a basketweave piping pattern. On top, place two clean knitting needles and several neatly rolled balls of fondant “yarn” in various colors.
- The Stargazer’s Galaxy: Cover a cake in dark blue and black buttercream. Swirl in hints of purple and pink. Dip a clean, stiff-bristled brush in white food coloring diluted with a tiny bit of vodka (it evaporates), and flick the bristles with your finger to create a splatter of stars. Add some store-bought planet or astronaut toppers.
Ultimately, a themed cake is an act of love. It’s a way to show someone you see them—you see their passions, you celebrate their quirks, and you’ve put your time and heart into creating something just for them. Don’t worry about perfection. The slight imperfections are what make it clear that it was made by hand, with care. Embrace the process, tell a beautiful story, and watch their face light up. That’s the real magic of a themed cake.