You’ve done it. You spent hours carefully stacking alternating strips of vanilla and chocolate dough, pressing them into a perfect, geometric log. You have visions of crisp, sharp checkerboard cookies dancing in your head. You slice, you bake, and you pull out… a tray of blurry, indistinct blobs. The sharp lines have bled into each other, and your beautiful design looks like a watercolor painting left out in the rain.
It’s a uniquely frustrating moment for a baker. That precision and effort, seemingly undone in 12 minutes by the heat of the oven. What went wrong? I can tell you with scientific certainty: the issue isn’t your design, it’s the temperature of your fat. Baking is chemistry you can eat, and understanding the molecular state of your butter is the key to unlocking perfectly patterned slice-and-bake cookies.
The Science of a Sharp Slice
Let’s talk about the star ingredient in most of these doughs: butter. At room temperature, butter is soft and pliable because the milk fats within it are in a semi-solid state. They can be easily smeared, which is great for spreading on toast, but disastrous for a clean knife cut through two contrasting dough colors. When you slice a warm or even cool dough log, the knife doesn’t just cut; it drags. It pulls microscopic streaks of chocolate dough into the vanilla and vice-versa, creating that initial blur.
Then, the oven heat exacerbates the problem. The soft, smeared fats melt instantly and spread rapidly, further distorting the pattern before the cookie’s structure has a chance to set.
This is where chilling becomes your most powerful tool. When you refrigerate the dough for an extended period, you’re not just making it firm—you’re causing the fat to solidify and crystallize. Properly chilled butter is hard and brittle. When a sharp knife passes through a log of dough with solidified fat, it fractures the fat crystals cleanly instead of smearing them. The result is a sharp, distinct line between your colors that holds its shape beautifully during the crucial first few minutes of baking.
Chilling also allows the gluten you developed during mixing to relax. Tense gluten strands can cause the cookie to shrink or spread irregularly. A relaxed dough is a more stable dough. Finally, a long, slow chill allows the flavors in the dough to deepen and mature, a wonderful bonus known as hydration.
The Unbreakable Chilling Protocol
To achieve that crucial fat solidification, you must treat chilling as a core recipe step, not an optional suggestion. Here is the protocol I follow for guaranteed sharp patterns.
Step 1: The Initial Firm-Up (1 Hour) After you’ve formed your log (whether it’s a swirl, checkerboard, or flag pattern), wrap it tightly in plastic wrap. The goal here is to prevent it from developing a dry skin and to hold its shape. Place it in the refrigerator. Here’s a brilliant tip I picked up from a baking forum: for the first hour, set a timer and rotate the log a quarter turn every 15 minutes. This prevents gravity from creating a flat side on your log, ensuring perfectly round or square cookies. (Your future self will thank you for this.)
Step 2: The Deep Chill (2 Hours Minimum, Overnight is Better) After the first hour of rotation, let the dough rest. The absolute minimum chill time from this point is two hours. However, I strongly advocate for an overnight chill. A full 8-12 hours in the refrigerator ensures the butter fat is solidified to its very core, not just on the surface. This deep chill is the single biggest factor in achieving professional-looking results.
Step 3: The Post-Slice Chill (15-30 Minutes) This is my secret weapon. Once your log is thoroughly chilled, slice it into your desired thickness (I recommend 1/4-inch or about 6mm). Place the sliced cookies on your parchment-lined baking sheet. Now, slide the entire baking sheet back into the refrigerator for another 15 to 30 minutes. This re-chills any fat that may have softened from the heat of your hands or the friction of the knife. Putting rock-solid, cold cookies into a fully preheated oven gives them the best possible chance of setting their edges before the butter has a chance to melt and spread.
Perfect Slicing Technique and a Reliable Dough
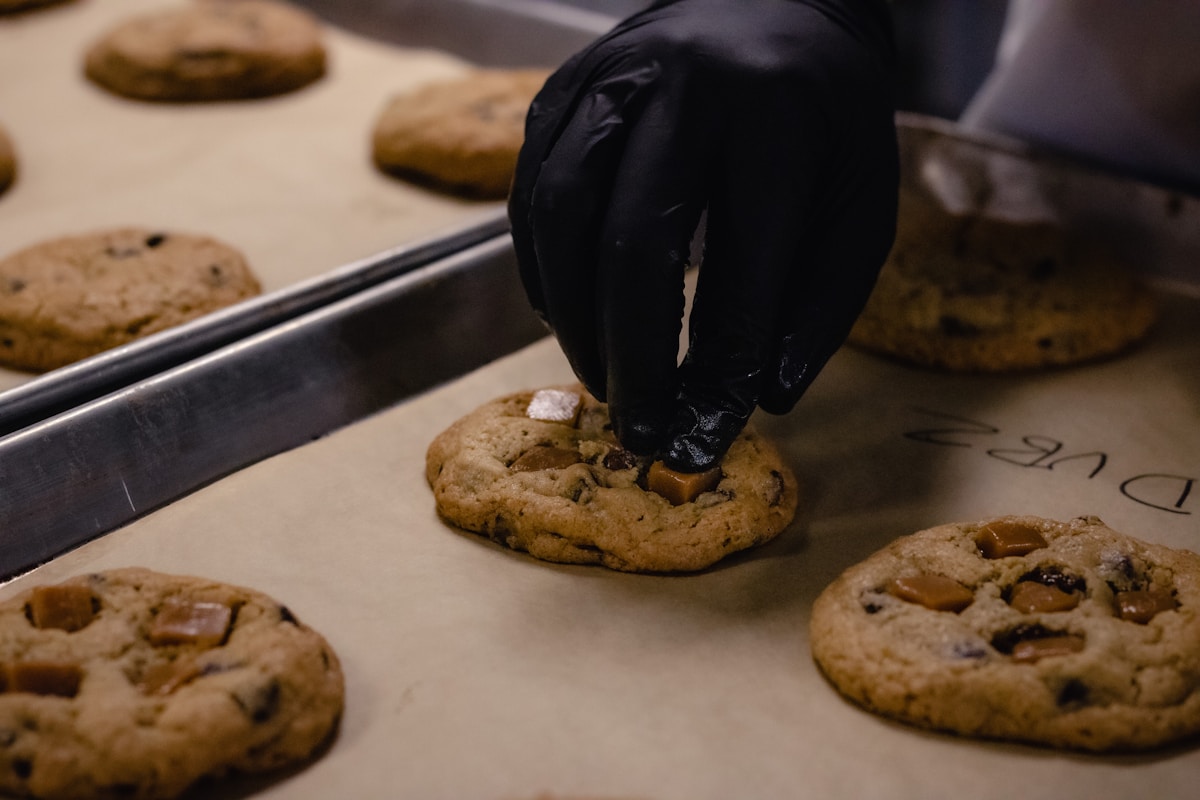
Your chilling protocol can be perfect, but it can be undermined by poor slicing technique. Use a long, very sharp, non-serrated knife. A thin chef’s knife is ideal. Don’t use a sawing motion. Position the blade and press down in one firm, fluid motion. After every two or three cuts, wipe the blade clean with a damp paper towel. This prevents color-drag and keeps your vanilla dough from getting smudged with chocolate.
Of course, you also need a dough that’s built for the job. A good slice-and-bake dough is what’s known as a “low-moisture, high-fat” recipe. It’s sturdy and less prone to spreading than a drop cookie dough.
Here is my go-to base recipe:
Ingredients:
- 227g (1 cup) Unsalted Butter, softened but still cool
- 200g (1 cup) Granulated Sugar
- 1 large Egg, room temperature
- 1 tsp Vanilla Extract
- 300g (2 1/2 cups) All-Purpose Flour (King Arthur is a reliable choice)
- 1/2 tsp Salt
For the Chocolate Dough:
- 30g (1/4 cup) Unsweetened Dutch-process Cocoa Powder
Instructions:
- In the bowl of a stand mixer, cream the butter and sugar until light and fluffy, about 3 minutes.
- Beat in the egg and vanilla until just combined.
- In a separate bowl, whisk together the flour and salt.
- Add the dry ingredients to the wet ingredients in two batches, mixing on low speed until just combined. Do not overmix.
- Divide the dough in half. Return one half to the mixer and add the cocoa powder, mixing on low until fully incorporated.
- You now have your two colors. Form them into your desired pattern, wrap tightly, and begin the chilling protocol.
When ready to bake, preheat your oven to 350°F (175°C). Bake the chilled, sliced cookies for 10-13 minutes, or until the edges are just beginning to turn golden brown. Let them cool on the baking sheet for 5 minutes before transferring to a wire rack.
Troubleshooting Common Problems
Even with the best technique, things can sometimes go awry. Here’s how to fix common issues.
-
Problem: My cookies still spread and lost their shape.
-
Possible Causes: Your oven may not be hot enough (an oven thermometer is a baker’s best friend), your dough wasn’t chilled enough, or you might have accidentally used baking powder instead of salt. This style of cookie needs very little, if any, chemical leavening.
-
The Fix: Verify your oven temperature. Always chill longer than you think you need to. Double-check your recipe ingredients.
-
Problem: The dough log is too hard and cracks when I try to slice it.
-
Cause: It’s a little too cold, likely borderline frozen.
-
The Fix: This is an easy one. Just let the log sit on your counter at room temperature for 5-10 minutes. That’s all it needs to become sliceable without cracking.
Stop letting blurry blobs disappoint you. By understanding the simple science of fat and temperature and embracing the power of a proper chill, you can transform your slice-and-bake game. Those sharp, stunningly precise cookie patterns are not magic—they’re just good chemistry.


