That Heartbreaking Crackle
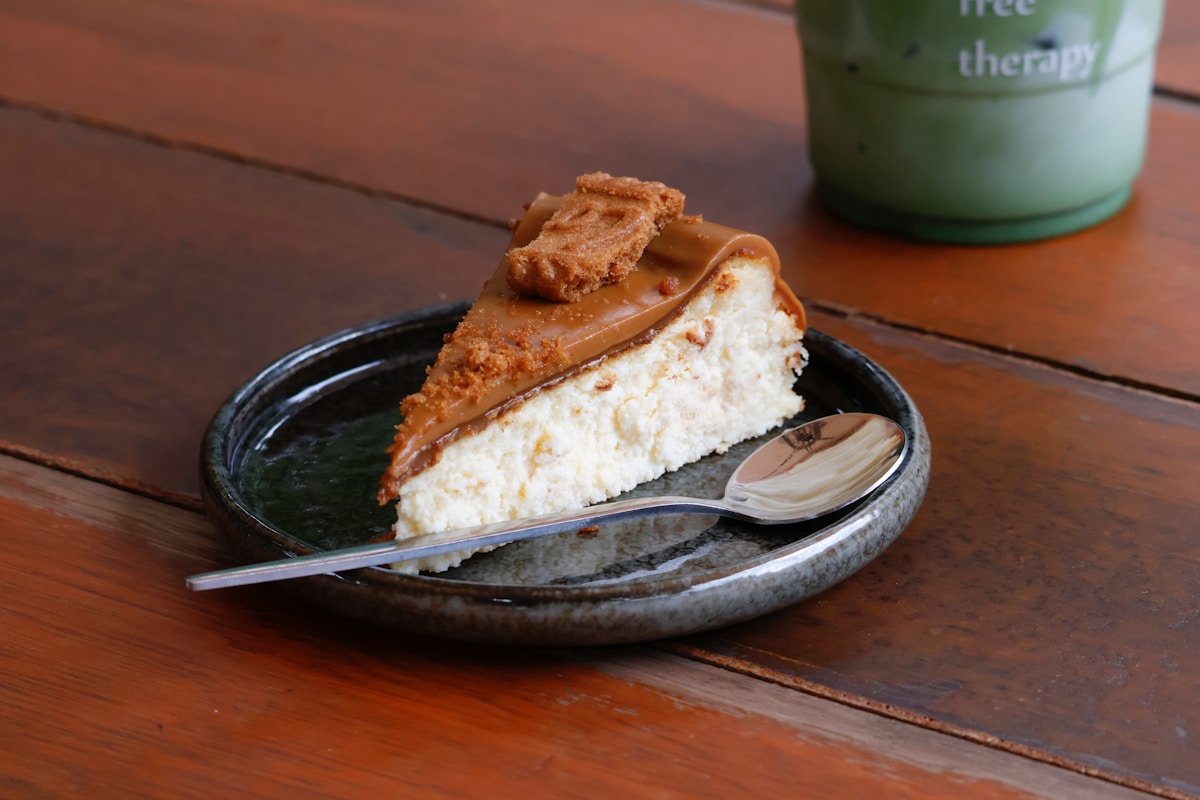
You’ve done it. You’ve created a masterpiece: a Millionaire’s Cheesecake. The buttery shortbread crust is perfect, the creamy cheesecake filling is set beautifully, and the top is a glistening, golden-brown sheet of homemade caramel. You pull it from the refrigerator, slice into it with anticipation, and then you hear it… crack. The caramel shatters like glass, and the fork struggles to push through a topping that has become tough, chewy, and stubbornly hard. The perfect dessert, marred by a single textural flaw.
If this sounds familiar, you’re not alone. This is one of the most common frustrations in multi-layered dessert assembly. The cold environment of the refrigerator, so essential for setting the cheesecake, is the very thing that works against a luscious caramel topping. But fear not. The solution isn’t magic; it’s chemistry. And once you understand the why, you can control the how and guarantee a perfectly soft, yielding caramel every single time.
The Science of a Stubborn Caramel
So, what’s actually happening to your beautiful caramel in the cold? It comes down to two words: sugar crystallization.
When you make caramel, you’re melting sugar crystals into a liquid state, creating what’s known as a super-saturated sugar solution. As this solution cools, the sugar molecules want to do one thing: find each other and snap back into their rigid, crystalline structure. The colder the temperature, the faster this process happens. Your refrigerator is basically a high-speed crystallization chamber for sugar.
Fats, like the butter in your caramel, also play a role. At room temperature, butterfat is soft and pliable. But once chilled to refrigerator temperatures of around 40°F (4°C), it becomes solid and firm. When you combine this firming fat with the recrystallizing sugar, you create a substance that is less a sauce and more a hard candy. It’s the same principle that makes a caramel apple have a hard shell. For a cheesecake, however, we want the exact opposite. We need a caramel that stays soft and scoopable, even when chilled.
Recipe First The Formula for a Foolproof Soft Caramel
The best way to combat a hard caramel is to build a better one from the start. We need to introduce ingredients that actively interfere with sugar’s desire to crystallize. In baking science, these are called “interfering agents.” The best ones for our purposes are fat and liquid, primarily from butter and heavy cream. A higher ratio of these ingredients to sugar is your secret weapon.
Many recipes for caramel intended for candy-making are heavy on sugar and light on cream. For a cheesecake topping, we need to flip that thinking. This is my go-to recipe for a caramel sauce that is specifically designed to stay soft and luscious, even after refrigeration.
Ingredients:
- 1 cup (200g) granulated sugar
- 6 tablespoons (85g) salted butter, cut into 1/2-inch pieces
- 1/2 cup (120ml) heavy cream, at room temperature (This is critical!)
- 1 teaspoon pure vanilla extract
Instructions:
- Melt the Sugar: In a heavy-bottomed saucepan over medium heat, melt the sugar. You can stir it gently with a heatproof spatula as it begins to melt in clumps. Continue heating until all the sugar has melted and turned a beautiful amber color, like a copper penny. Watch it carefully; it can go from perfect to burnt in seconds.
- Add the Butter: Once the sugar is amber, immediately remove it from the heat and stir in the pieces of butter. The mixture will bubble up violently—this is normal. Keep stirring until the butter is completely melted and incorporated. This step adds fat and also helps to cool the sugar down slightly before the next step.
- Emulsify with Cream: Now, very slowly, drizzle in the room-temperature heavy cream while whisking constantly. Adding cold cream to hot sugar can cause the sugar to seize and harden instantly. Room temperature cream minimizes this shock. Continue whisking until the sauce is smooth. (If it does seize, don’t panic! Just return the pan to low heat and keep stirring gently until the hardened bits melt back into the sauce.)
- Finish: Stir in the vanilla extract and a pinch of salt if you used unsalted butter. Let the caramel cool in the pan for about 10-15 minutes before pouring it over your chilled cheesecake. It will thicken as it cools.
This recipe creates an emulsion where fat and water molecules from the butter and cream physically get in the way of the sugar molecules, preventing them from forming large, hard crystals. It’s a caramel engineered for softness.
The 30-Minute Rule The Secret to the Perfect Serve
Even with our chemically superior caramel, temperature still plays a huge role in the final texture. A cheesecake pulled straight from the 40°F (4°C) fridge will always have a firmer topping. The fix is remarkably simple and requires nothing more than a little patience.
It’s called tempering. (Not the chocolate kind, but the principle is similar.)
Simply remove your finished cheesecake from the refrigerator about 20-30 minutes before you plan to serve it. Let it sit on the counter at room temperature. This short amount of time is not nearly enough to compromise the safety or structure of the cheesecake filling—it will remain perfectly cool, firm, and dense.
However, it is enough time to gently warm the caramel layer. The butterfat in the sauce will soften, and the sugar structure will relax. When you slice into it, your fork will glide through a velvety, luscious caramel that offers no resistance, creating the perfect textural harmony with the creamy filling and crisp crust. It’s the single most effective trick to elevate the eating experience.
The Ultimate Hack Separate and Conquer
If you’re a true perfectionist or need to make your cheesecake more than a day in advance, there’s one final strategy that offers total control: assemble at the last minute.
Instead of pouring the caramel over the entire cheesecake before storing, pour the cooled caramel sauce into a separate airtight container, like a glass jar, and store it in the refrigerator alongside your plain cheesecake.
When it’s time for dessert, you have two options:
- By the Slice: Cut a slice of cheesecake and spoon the cold caramel sauce over it. Then, you can either let the individual slice temper for 10 minutes, or (my favorite trick) pop it in the microwave for just 5-7 seconds. This is just enough to make the caramel fluid and slightly warm without affecting the chilled cheesecake.
- For the Whole Cake: Gently warm the entire jar of caramel sauce in the microwave in 15-second intervals, stirring in between, until it is pourable but not hot. Then, pour it over the chilled cheesecake right before you present it at the table.
This “separate and conquer” method guarantees that every single serving has the absolute best texture. The contrast between the cool, dense cheesecake and the soft, flowing caramel is truly sublime. It takes a tiny bit of extra effort, but the results are absolutely worth it. You’ll never go back to fighting with a hard-set topping again.


