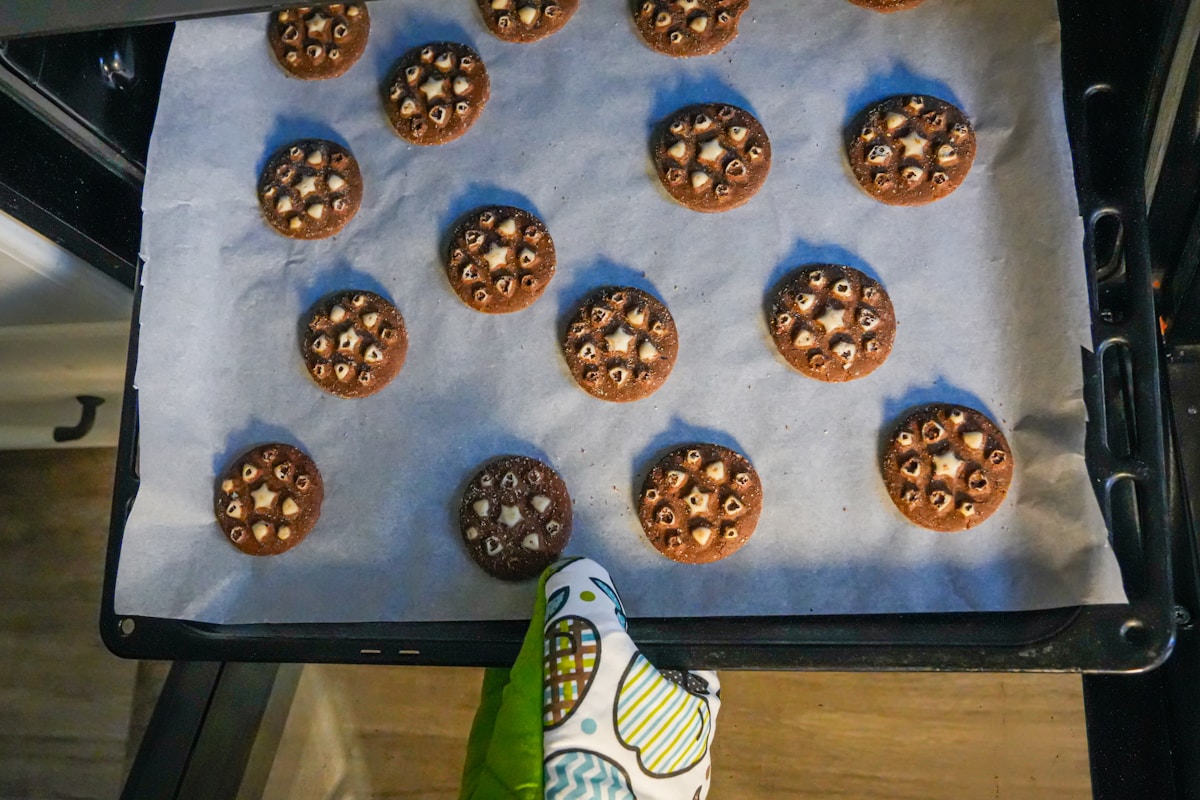
You know the feeling. The timer goes off, and you pull a tray of what should be perfect chocolate chip cookies from the oven. But it’s a scene of culinary tragedy. The cookies in the back are dark brown, with crispy, almost-burnt edges. The ones in the front look pale and doughy, clearly needing more time. Or maybe it’s the birthday cake that looks gloriously golden on top, but a tester comes out coated in wet batter from the center.
It’s one of the most common frustrations in the kitchen, and it’s usually not your fault. Your recipe is probably fine. Your ingredients are fresh. The culprit is almost always your oven itself, specifically its inconsistent, heat-blasted personality flaws known as hot spots.
I’ve tested dozens of ovens over the years, from basic apartment models to high-end convection behemoths. The truth is, almost every single one has them. But you don’t need to throw out your oven or spend a fortune on a new one. You just need to understand your oven’s unique quirks and arm yourself with a few smart techniques and tools. Let’s diagnose the problem and get you back to baking things that are perfectly and evenly cooked, every single time.
First Things First What Exactly Are Oven Hot Spots?
Before we can fix the problem, you need to understand why it happens. An oven isn’t a magical box of perfectly uniform heat. It’s a metal container with heating elements, and those elements are the source of the trouble.
In a conventional electric oven, the main heating elements are usually at the bottom and a broiler element is at the top. In a gas oven, the flame is at the bottom. This means the heat originates from a specific location and then has to fill the rest of the space. It naturally creates zones of intense, direct (radiant) heat near the elements and the oven walls, and cooler zones farther away.
Think of it like a bonfire. You’re much hotter standing right next to the flames than you are 10 feet away. Your oven works on the same principle. The back corners are often hotter because heat gets trapped there, while the area near the door is often cooler due to heat loss every time you peek. (Stop peeking, by the way.)
Even fancy convection ovens, which use a fan to circulate hot air, aren’t immune. While the fan helps a lot by creating more even, convective heat, the airflow itself can create new issues, sometimes browning the side of your food facing the fan more quickly.
So, in short: hot spots are predictable areas inside your oven that are significantly hotter or cooler than the temperature you set on the dial. Your mission is to find them and manage them.
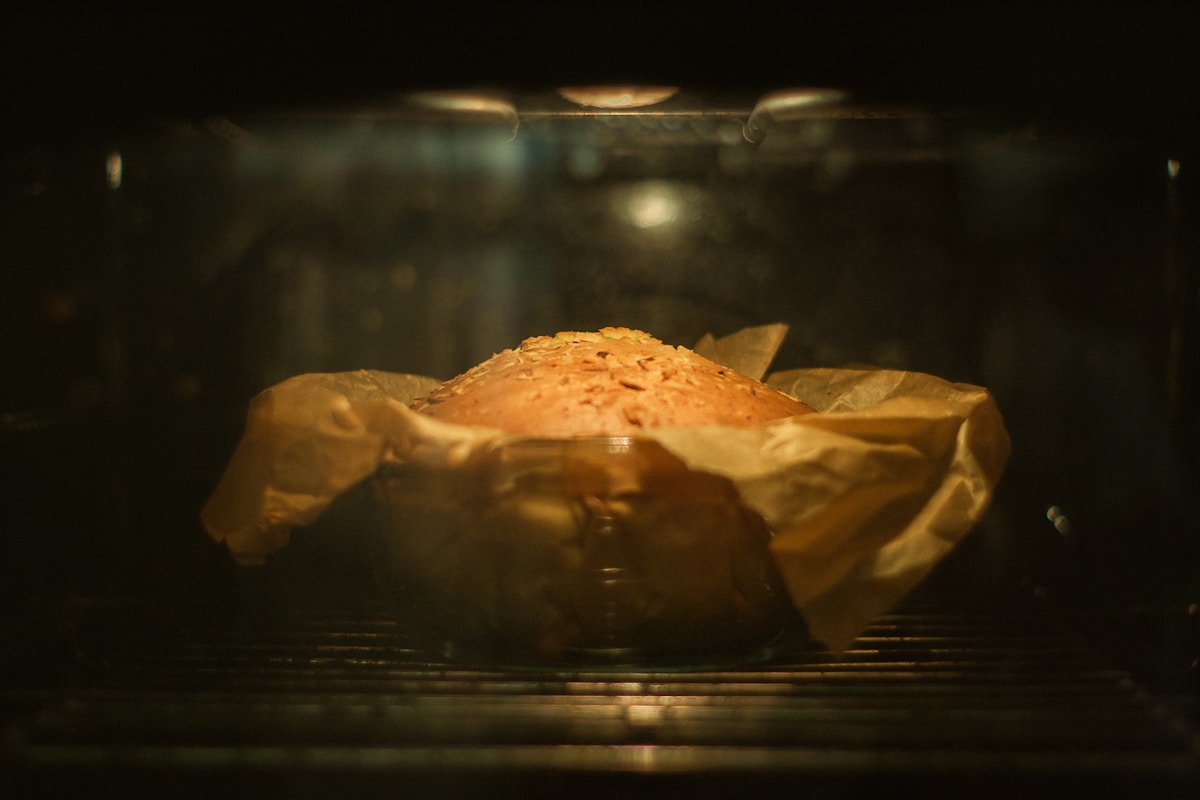
The Ultimate Diagnostic The Bread Test
Forget guesswork. There’s a cheap, easy, and almost foolproof way to create a literal map of your oven’s heating patterns. I call it the “toast map,” and all you need is a loaf of the cheapest white sandwich bread you can find.
Here’s how you do it:
- Position Your Rack: Place one oven rack in the center position, which is where most baking happens.
- Preheat Your Oven: Set your oven to 350°F (175°C) and let it come fully to temperature. Give it a good 15-20 minutes.
- Create the Grid: Cover the entire surface of the oven rack with slices of white bread. Place them edge to edge so they form a complete grid. You want to cover as much of the rack as possible.
- Bake and Observe: Place the rack in the oven and let the bread “toast” for about 8 to 10 minutes. Stay close and keep an eye on it. You’re not making perfect toast; you’re conducting a science experiment.
- Analyze Your Map: Pull the rack out and arrange the slices on your counter in the same pattern they were in the oven. You will immediately see your oven’s secrets. The slices that are dark brown or even burnt are your major hot spots. The slices that are still pale and soft are your cool zones.
I highly recommend taking a quick photo of your toast map with your phone. Now you have a visual reference for where your oven runs hot and cold. This knowledge is your most powerful weapon.
Your First Line of Defense Simple Technique Fixes
Before you spend a single dollar, you can dramatically improve your results with two simple changes to your baking habits. These are non-negotiable for even cooking.
1. Rotate, Rotate, Rotate!
This is the single most effective free fix. Knowing where your hot spots are (thanks to the bread test), you can now counteract them. The rule is simple: halfway through the cook time, open the oven and rotate your pan 180 degrees. That pale side that was facing the cooler door is now facing the hotter back wall.
- For Cookies & Sheet Pan Meals: Halfway through the bake time, spin the sheet pan around.
- For Cakes, Pies, & Casseroles: Give the circular or square pan a 180-degree turn.
- For Multiple Racks: If you’re baking two trays of cookies at once, not only should you rotate each pan 180 degrees, but you should also swap their rack positions. The top tray moves to the bottom, and the bottom moves to the top. (Yes, really.)
This simple act ensures that every side of your food gets its fair share of time in the oven’s hot and cool zones, promoting much more even cooking and browning.
2. Give Your Food Some Space
Overcrowding is another common mistake. Hot air needs room to circulate to do its job. If you cram too many pans into your oven, you create air dams that block heat flow and create massive cool spots.
Always leave at least an inch of space between pans and between the pans and the oven walls. If you’re baking a large turkey or a big bundt cake, make sure it’s centered on the rack to allow air to move all around it. It’s better to bake in batches than to overcrowd the oven and get poor results.
Gear That Fights Back The Tools for Total Control
Once you’ve mastered the techniques, a couple of key pieces of gear can take your oven from unruly beast to a predictable partner. This is where a small investment pays huge dividends.
The Must-Have Tool: An Oven Thermometer
If you buy one thing after reading this article, make it this. The temperature dial on your oven is, to put it politely, an optimistic guess. I’ve seen ovens that were off by as much as 50°F (about 28°C)! Baking is chemistry, and chemistry requires accurate temperatures. A 325°F oven is very different from a 375°F oven.
Get a simple, dial-style, stainless steel oven thermometer. A model like the Taylor Precision Products Classic Series costs less than $10 and is worth its weight in gold. Just hang it from a bar on your center rack or have it stand on the surface. Let it preheat with the oven. When the oven beeps to tell you it’s at 350°F, look at what your thermometer actually says. If it reads 325°F, you know you need to turn your oven dial up to 375°F to get the real temperature you need. (Your future self will thank you.)
The Heavy Hitter: A Baking Steel or Stone
This is the next level of oven control. A large, thick slab of steel or stone placed on a lower rack acts as a massive heat battery. It absorbs a huge amount of thermal energy during preheating and then radiates it steadily and evenly throughout the cooking process. This helps buffer the temperature swings that happen when the oven’s heating element cycles on and off.
- Baking Steel: This is my top recommendation. A product like The Original Baking Steel (around $120) is a quarter-inch slab of solid steel. It’s virtually indestructible and conducts heat more effectively than stone. It gets screaming hot and stays hot, giving you incredible oven-spring on bread and perfectly crispy pizza crusts. It also helps stabilize the overall oven temperature for more even roasting and baking.
- Pizza Stone (Cordierite): This is a more affordable option, typically in the $30-$60 range. A good cordierite stone does a wonderful job of absorbing and radiating heat. The main downside is durability; they can crack if they experience thermal shock (e.g., placing a cold item on a hot stone or spilling water on it). They also take a bit longer to preheat than steel.
To use either one, place it on a lower rack and let it preheat with the oven for at least 45 minutes to an hour. The stored thermal energy will create a powerful, even heat source from the bottom that helps eliminate the dreaded soggy bottom on pies and ensures your cakes cook through from below.
Is It My Oven’s Fault? Quick Mechanical Checks
If you’ve tried everything and are still getting wildly inconsistent results, there are two last things to check before calling a repair technician.
- Check the Gasket: Open your oven door and inspect the rubber or mesh seal running around the perimeter. Is it brittle, cracked, or falling off? A faulty gasket allows heat to pour out of the oven, making it impossible to maintain a consistent temperature, especially near the front.
- Read Your Manual for Calibration: Some (especially newer) ovens allow you to calibrate the thermostat yourself. The user manual will have instructions, which usually involve pressing a combination of buttons and setting a temperature offset. Using your trusty new oven thermometer, you can calibrate your oven to be more accurate.
By systematically working through these steps—diagnosing with bread, fixing with technique, and upgrading with a few key tools—you can tame even the most stubborn oven. You’ll gain the confidence that comes from predictable, repeatable results, turning baking frustration back into kitchen fun.