You did everything right. You measured the flour perfectly, brought your eggs to room temperature, and creamed the butter and sugar until it was impossibly light and fluffy. You divided the batter with painstaking precision between two identical cake pans. You slid them into the preheated oven, set the timer, and waited for the magic to happen.
Then, the timer dings. You pull them out, and your heart sinks. One cake is a beautiful golden brown with a slight dome, but the other one is pale, a little sunken, and definitely not done in the middle. The one on the left has a darker edge than the one on the right. It’s frustrating, and it’s a story I hear all the time. You followed the recipe to the letter, so what went wrong? The recipe wasn’t the problem. Your oven was.
Don’t worry, you don’t need to run out and buy a new thousand-dollar appliance. The solution is simpler, cheaper, and will make you a fundamentally better baker. Let’s get to the bottom of uneven baking.
Your Oven Is Lying to You (Sort Of)
The biggest myth in home baking is that when you set your oven to 350°F, the entire oven cavity becomes a perfect, uniform 350°F. That’s just not how they work. Every single home oven—gas, electric, convection, brand new, or 30 years old—has hot spots and cool spots.
Here’s why:
- Heating Element Location: In a conventional oven, the primary heating elements are usually at the bottom and a broiler element is at the top. The heat radiates from these sources, creating intense heat zones nearby. The back of the oven, near where the heat source often originates, is frequently hotter than the front near the door.
- Thermostat Inaccuracy: Your oven’s thermostat is just one small sensor in one specific spot, usually on the back or side wall. It’s doing its best, cycling the heat on and off to maintain an average temperature around that single point. It has no idea that the top right corner might be 375°F (190°C) while the bottom left corner is languishing at 325°F (163°C).
- Airflow Blockages: When you place pans inside, you’re creating obstacles. Large baking sheets or multiple cake pans can block the natural circulation of hot air, creating cooler, shielded zones and hotter, exposed ones.
So, how do you fight back against your oven’s secret life? You get your own data. The single most valuable, non-negotiable tool for any serious baker is a dedicated oven thermometer. For about $10, a simple dial thermometer like the Taylor Precision Products Classic Series is all you need. Hang it from a rack in the center, preheat your oven, and see what it actually says. You might be shocked to find your oven runs 25 degrees hotter or colder than the dial suggests. You can even move it around to map out your oven’s personal hot spots. (Your future self will thank you.)
The Two-Step Solution The Pros Swear By
Once you know your oven’s true average temperature, you can tackle the issue of uneven heating within the cavity. The pros don’t have magic ovens; they just use a technique that costs nothing and guarantees more even results. It’s all about placement and movement.
Step 1: Strategic Pan Placement
Think of your oven like real estate: location is everything. The most valuable property is the middle of the center rack. This position is the farthest from the direct, intense heat of the primary heating elements and allows for the most even air circulation all around the pan.
When baking with multiple pans, resist the urge to crowd them. Follow the one-inch rule: ensure there is at least one inch of space between the pans themselves, and between the pans and the oven walls. This buffer is crucial for allowing hot air to flow freely. If your pans won’t fit side-by-side on one rack with this much space, you must use two racks.
If using two racks, stagger the pans. Don’t place one directly over the other. Put one on the top rack on the left side, and the other on the bottom rack on the right side. This minimizes the “shadow” effect where one pan blocks heat from reaching the other.
Step 2: The Mid-Bake Rotation
This is the game-changer. No matter how well you place your pans, hot spots will still have an effect. The solution is to move the pans halfway through the designated baking time. This ensures every side of your cake gets its fair share of time in every temperature zone of your oven.
Here’s the exact maneuver:
- Set a timer for halfway through the total bake time. If the recipe says 30-35 minutes, set a timer for 15 minutes.
- When the timer goes off, open the oven door and, working quickly but safely, pull out the racks.
- Turn each pan 180 degrees. The side that was facing the back of the oven should now be facing the front.
- If you are using two racks, also swap their positions. The pan that was on the top rack moves to the bottom rack, and the bottom one moves to the top.
- Slide the racks back in, close the door, and let them finish baking.
Don’t worry about the heat loss from opening the door. A quick, efficient rotation (under 30 seconds) will have a negligible impact compared to the massive benefit of even heat exposure. (Yes, really.)
Putting It to the Test A Simple Yellow Cake Bake-Off
Let’s make this practical. Grab your favorite yellow cake recipe that makes two 8-inch round layers. The ingredients don’t matter as much as the technique.
- Objective: Bake two identical layers that are evenly colored, have a similar rise, and are cooked through at the same time.
- Setup: Preheat your oven to 350°F (177°C), with racks in the upper-third and lower-third positions. Place your trusty oven thermometer in the middle to confirm the temp.
- Procedure: Prepare your batter and divide it evenly between two greased and floured 8-inch pans. Place one pan on the upper-left of the top rack and the other on the lower-right of the bottom rack.
- Bake Time: Let’s say your recipe calls for 30 minutes. Set your first timer for 15 minutes.
- The Rotation: At the 15-minute mark, perform the rotation. The top-left pan gets turned 180 degrees and moved to the bottom-right position. The bottom-right pan gets turned 180 degrees and moved to the upper-left position. Close the door and bake for the remaining 15 minutes.
When you pull them out, the results will speak for themselves. The tops will be a uniform golden brown, not dark on one side and pale on the other. A cake tester inserted into the center of both cakes will come out clean. You’ll have two perfectly level, consistent layers that are a dream to stack and frost.
Beyond Cakes Does This Work for Cookies and Roasts?
This principle isn’t just for cake. It’s a universal law of oven management that applies to almost everything you cook.
- Cookies: This is arguably where rotation is most critical. A single sheet of cookies placed in an oven will almost always have browner cookies at the back and paler ones at the front. Rotating the sheet 180 degrees halfway through is the only way to get a uniformly baked batch.
- Roasts: Roasting a chicken or a pork loin? Rotating the pan ensures all sides get blasted with that hot, dry air needed for crispy skin and a beautiful crust. It prevents one side from burning while the other stays soft.
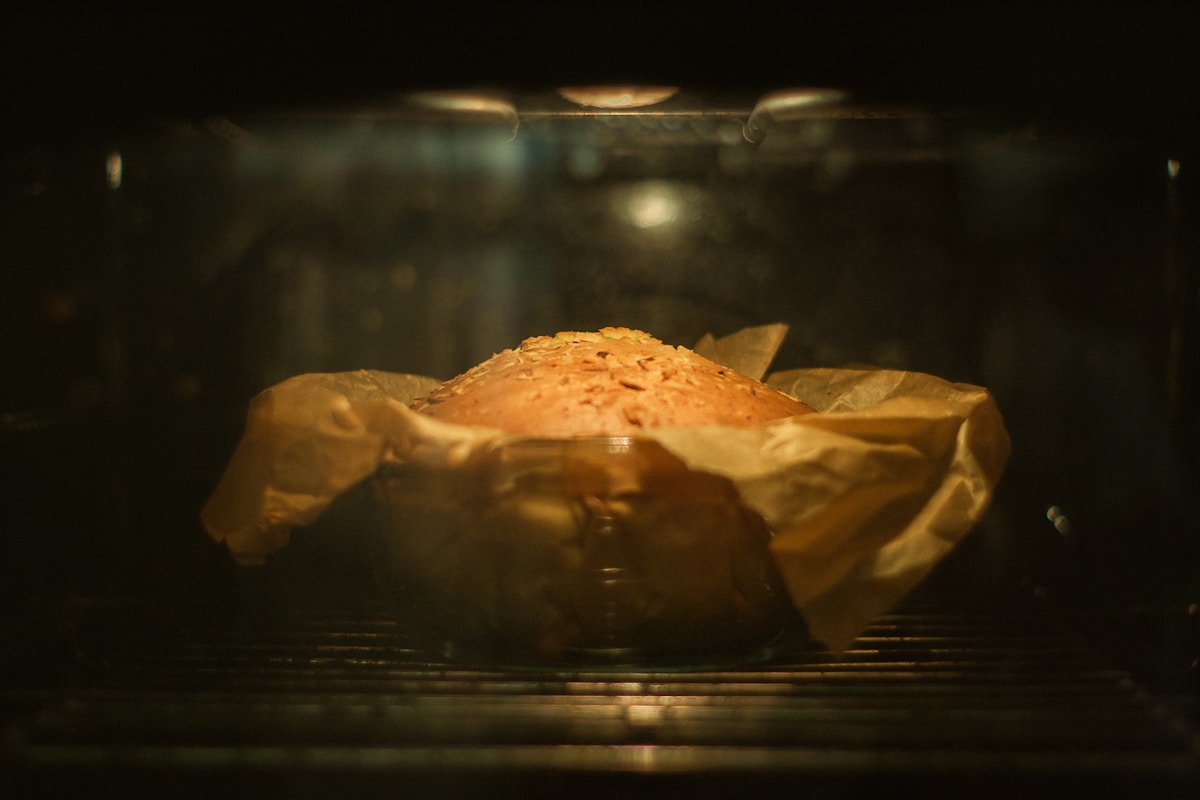
- Casseroles & Breads: A deep-dish lasagna or a loaf of sourdough will benefit from a 180-degree turn to ensure the center cooks through before the back edges get too dark. It promotes an even rise and a consistent crust.
My Final Verdict Is It Worth the Hassle?
I get it. Baking can already feel like a precise science, and adding another step might feel like a chore. But this isn’t just a fussy extra step; it’s a foundational technique. The few seconds it takes to rotate your pans will save you the disappointment of an uneven bake and the frustration of wasted ingredients.
For a total investment of about $10 in an oven thermometer and 30 seconds of your time during baking, you can eliminate one of the most common baking problems for good. You stop fighting your oven and start working with it. Instead of blaming a recipe for failing, you’ll have the skill to make almost any recipe succeed.
So next time you bake, don’t just set it and forget it. Give your pans a turn. It’s the simplest, most effective way to take control of your oven and get the consistent, beautiful results you’ve been working so hard to achieve.


