Have you ever stood in the bakery aisle, staring at a row of perfectly pleasant but ultimately generic birthday cakes? They’re lovely, of course, with their cheerful rosettes and scripted “Happy Birthday.” But sometimes, a celebration calls for something more. Something that says, “I see you. I know you. This is for you.” This is where the magic of the themed cake comes in—a cake that doesn’t just taste good, but tells a story.
I recently had the joy of creating one of these edible stories for my partner’s birthday. He’s a dedicated koi expert, and his passion for these beautiful fish is infectious. A simple chocolate cake wouldn’t do. I envisioned a serene pond, a miniature world crafted from sugar and butter, reflecting his life’s work. The result was a ‘koi pond cake,’ and the look on his face was worth every moment of planning. It was more than a dessert; it was a tribute.
Making a cake like this isn’t about being a professional pastry chef. It’s about being a thoughtful storyteller. And I’m going to share the secrets I learned along the way, so you can turn your next celebration into a delicious, unforgettable narrative.
The Blueprint: Dreaming Up Your Edible Story
Before you even touch a bag of flour, the most important work happens in your mind. A successful themed cake begins with a strong concept—a single, clear idea that captures the essence of the person you’re celebrating.
First, brainstorm. What makes this person unique? Think beyond simple likes and dislikes.
- Professions and Passions: Is she a botanist who loves ferns? Is he a musician who lives for his vintage guitar? My partner’s work with koi was the perfect starting point.
- Favorite Memories: Could you recreate the cozy campsite from your first trip together? Or the beach where he proposed?
- Beloved Media: A cake themed around a favorite book, movie, or video game can be an incredible gift for a true fan. Imagine a cake that looks like a stack of their favorite novels!
Once you have a core idea, start sketching. (Don’t worry, you don’t need to be an artist!) A simple drawing on a piece of paper helps you visualize the placement of elements. Where will the main feature go? How will you use color? For my koi pond cake, I drew a simple circle, marked where the ‘water’ would be, and planned the placement of tiny lily pads and the koi figurines. This simple map prevented me from feeling overwhelmed later.
This is also the time to start your treasure hunt. The best themed cakes often feature unique, non-edible (but food-safe!) elements that truly sell the story. I spent a couple of months browsing Etsy for the perfect miniature koi figurines. Sourcing decorations early takes the pressure off. Look for:
- Specialty Cake Toppers: Websites like Etsy are goldmines for custom or niche toppers.
- Food-Safe Figurines: Think miniature animals, cars, or characters. Just be sure they are made from non-toxic materials.
- Edible Accents: Look for unique sprinkles, edible glitter, or pre-made sugar flowers that fit your theme.
Planning is the soul of a narrative cake. By giving yourself time to dream and gather, you’re setting the stage for a masterpiece.
The Foundation: Building a Cake That Can Withstand a Story
Your beautiful story needs a solid foundation. A wobbly, fragile cake will collapse under the weight of your decorations and your creative ambitions. The structure is just as important as the decoration.
The first choice is the cake itself. This is not the time for an airy, delicate angel food cake. You need a recipe that results in a dense, sturdy crumb. My go-to choices for structural integrity are:
- Chocolate Mud Cake: This cake is dense, moist, and incredibly sturdy. It’s a dream to carve if your design has specific shapes.
- Sturdy Vanilla Bean Cake: A butter-based cake with a tight crumb will hold up beautifully. Look for recipes that use both butter and oil for a moist but firm texture.
- Pound Cake: As the name suggests, this cake is substantial. It’s perfect for tiered designs and can handle heavier fondant or decorative elements.
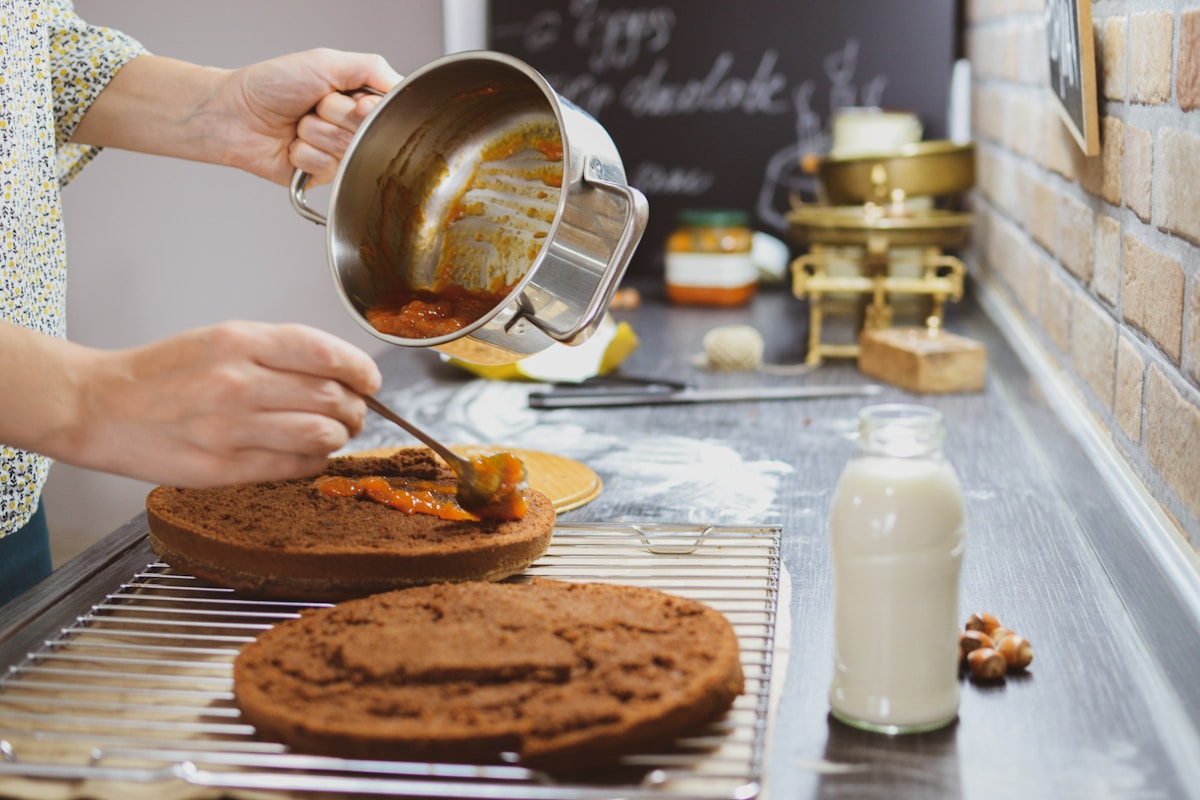
Once you’ve baked your layers (I recommend at least three for good height), proper assembly is key.
- Level Your Layers: A flat surface is non-negotiable. Use a long, serrated knife or a cake leveler to slice off the domed tops of your cooled cakes. (The scraps are the baker’s delicious reward!)
- Use a Cake Board: Always build your cake on a sturdy cardboard cake circle that is the exact same size as your cake layers. This makes it easy to move and handle.
- The Crumb Coat: This is a thin layer of frosting applied all over the cake to trap any loose crumbs. After applying it, chill the cake in the refrigerator for at least 30 minutes. This step is the secret to a perfectly smooth, professional-looking final coat of frosting. Your future self will thank you.
- Dowels for Tiers: If you’re making a multi-tiered cake, support is critical. Use food-safe plastic or wooden dowels cut to the height of the bottom tier to support the weight of the tier above it.
Think of yourself as an architect. A little precision here ensures your edible art remains standing tall until it’s time for the first slice.
The Canvas: Creating Atmosphere with Frosting
Frosting is your paint. It sets the scene, creates texture, and establishes the mood of your story. While American buttercream is a classic, for a cake that needs to be perfectly smooth and hold up well, I wholeheartedly recommend Swiss Meringue Buttercream (SMBC).
Why SMBC? It’s incredibly silky, pipes beautifully, and is much less sweet than traditional buttercream, allowing the flavor of the cake to shine through. It’s made by heating egg whites and sugar over a double boiler, whipping them into a stiff meringue, and then slowly beating in softened butter. The result is a stable, cloud-like frosting that is a dream to work with.
For the koi pond cake, the frosting was the star of the show. Here’s how you can create a similar water effect:
- Color Palette: Use high-quality gel food coloring, like Americolor or Chefmaster. Gels provide intense color without adding too much liquid and altering the frosting’s consistency. For the pond, I used three shades of blue: a pale sky blue, a medium teal, and a touch of deep navy blue.
- Application Technique: After applying a smooth base coat of the lightest blue, I dotted the other two shades randomly around the cake. Then, using an offset spatula or a bench scraper, I smoothed the frosting in one or two clean passes. The colors gently blend and streak, creating the illusion of depth and movement in the water.
- Adding Sheen: For a final touch, you can gently heat a small amount of clear piping gel or corn syrup and brush a very thin layer over the “water” portion of the cake. It creates a beautiful, glossy finish that looks just like the surface of a pond. (Just be sure to do this right before serving, as it can get a bit sticky).
Your frosting technique can transform a simple cake into a dynamic scene. Don’t be afraid to play with textures—a fork can create a wood grain effect, while a spoon can make rustic swirls.
The Details: Bringing Your Narrative to Life
With your foundation built and your canvas painted, it’s time for the most exciting part: adding the details that tell the story. This is where your cake graduates from a dessert to a work of art.
This is where my carefully collected koi figurines came into play. I gently pressed them into the blue frosting, arranging them as if they were swimming gracefully through the water. But you aren’t limited to pre-made items. The world of edible art is vast and exciting!
- Modeling Chocolate & Fondant: These pliable sugar doughs are like edible clay. You can use them to create everything from simple shapes with cookie cutters to intricate, hand-sculpted figures. For the pond cake, I used green fondant to cut out simple lily pad shapes.
- Piping Details: A good set of piping tips is a decorator’s best friend. A small round tip can create delicate writing or borders. A leaf tip can pipe realistic foliage. Practice on a piece of parchment paper first to get the hang of the pressure and motion.
- Isomalt for Effects: Isomalt is a sugar substitute that can be melted and poured to create incredible glass-like or water-like effects. You can pour it into molds to make edible gems or create stunning, clear “splashes” of water. It requires careful handling (it gets very hot!), but the results are show-stopping.
- Textural Elements: Think about using crushed cookies for “dirt,” toasted coconut for “sand,” or rock candy for “crystals.” These simple pantry items can add incredible realism and texture to your scene.
When placing your details, think about composition. Don’t just scatter things randomly. Create focal points. Guide the viewer’s eye around the cake. Does your story have a main character? Place them prominently. Are there supporting elements? Arrange them to create balance and harmony. Every detail, no matter how small, should serve the story you are trying to tell.
The final reveal of the koi pond cake was a moment of pure joy. It wasn’t just a cake; it was a conversation starter, a centerpiece, and a deeply personal expression of affection. Seeing my partner recognize the little world I’d built for him was the sweetest part of the entire experience.
Creating a themed cake is an act of love. It takes time and planning, but the process is incredibly rewarding. You’re not just baking; you’re crafting a memory. So the next time a special occasion comes around, skip the bakery aisle. Dream up a story, gather your tools, and create something that is uniquely, wonderfully, and deliciously theirs. You have everything you need to be an edible storyteller.