You’re standing at the butcher counter, or maybe just staring at the neatly wrapped steaks in the grocery store. You see it: a beautiful, thick-cut New York strip or a marbled ribeye. It looks incredible. You think about the amazing meal you could have. And then, a little knot of fear forms in your stomach. What if I mess it up? What if I spend all this money just to turn it into a tough, gray hockey puck?
Take a deep breath. I’ve been there. Every single person who loves to cook has been there. That fear is completely normal, but I’m here to tell you a secret: cooking a fantastic steak at home is way, way easier than you think. It’s not about magic or years of culinary school. It’s about understanding a few simple, crucial steps. Today, we’re going to walk through them together, and I promise, you’ll feel like a kitchen champion by the end.
Step 1 The ‘Before You Cook’ Prep That Changes Everything
What happens before your steak ever touches a hot pan is arguably more important than the cooking itself. Getting these few things right sets you up for guaranteed success.
First, Let It Chill (Out of the Fridge). Pull your steak from the refrigerator about 30-45 minutes before you plan to cook it. You want to take the deep chill off the meat. A room-temperature steak will cook much more evenly than an ice-cold one, which often ends up with a burnt outside and a raw, cold center. Just let it sit on a plate on the counter. (It’s perfectly safe for this short amount of time.)
Second, and This is CRUCIAL: Get It Bone Dry. Moisture is the mortal enemy of a good sear. If your steak is wet, it will steam in the pan instead of browning. We want a deep, brown, flavorful crust, and that can only happen on a dry surface. So, take a few paper towels and pat the steak completely dry on all sides. Don’t just wipe it; really pat it until the surface feels almost tacky. Your future self will thank you.
Third, Season Generously. Right before you cook, it’s time for seasoning. You don’t need a fancy rub. All you truly need is kosher salt and freshly ground black pepper. Be generous! For a thick steak (about 1 to 1.5 inches), you should use about 1 teaspoon of kosher salt per side. It looks like a lot, but it creates that savory crust and brings out the beef’s natural flavor. Season all sides, including the edges.
Step 2 Your Pan is Your Best Friend (If You Treat It Right)
You don’t need a grill to get a world-class crust on a steak. A good, heavy pan and high heat are your secret weapons. Not all pans are created equal for this task.
Your best choice is a heavy-bottomed skillet that holds heat really well. A cast-iron skillet (like a classic Lodge) is the gold standard for this. It gets screaming hot and stays that way, giving you an even, powerful sear. A heavy stainless-steel pan is also a fantastic option. I would avoid most non-stick pans for this job, as they aren’t designed for the high heat we need and won’t produce the same quality of crust.
Now, let’s talk heat. Place your pan over medium-high heat and let it get hot. I mean, really hot. This can take a few minutes. Don’t rush it. Once the pan is hot, add a tablespoon of a high-smoke-point oil. This is an oil that can get very hot without burning and smoking up your whole kitchen. Good choices are canola oil, grapeseed oil, or avocado oil. Avoid olive oil for this step, as its smoke point is too low.
How do you know when it’s ready? The oil should shimmer and flow like water. If you see a tiny wisp of smoke, that’s your green light. The steak should sizzle LOUDLY the second it hits the pan. If it doesn’t, your pan isn’t hot enough.
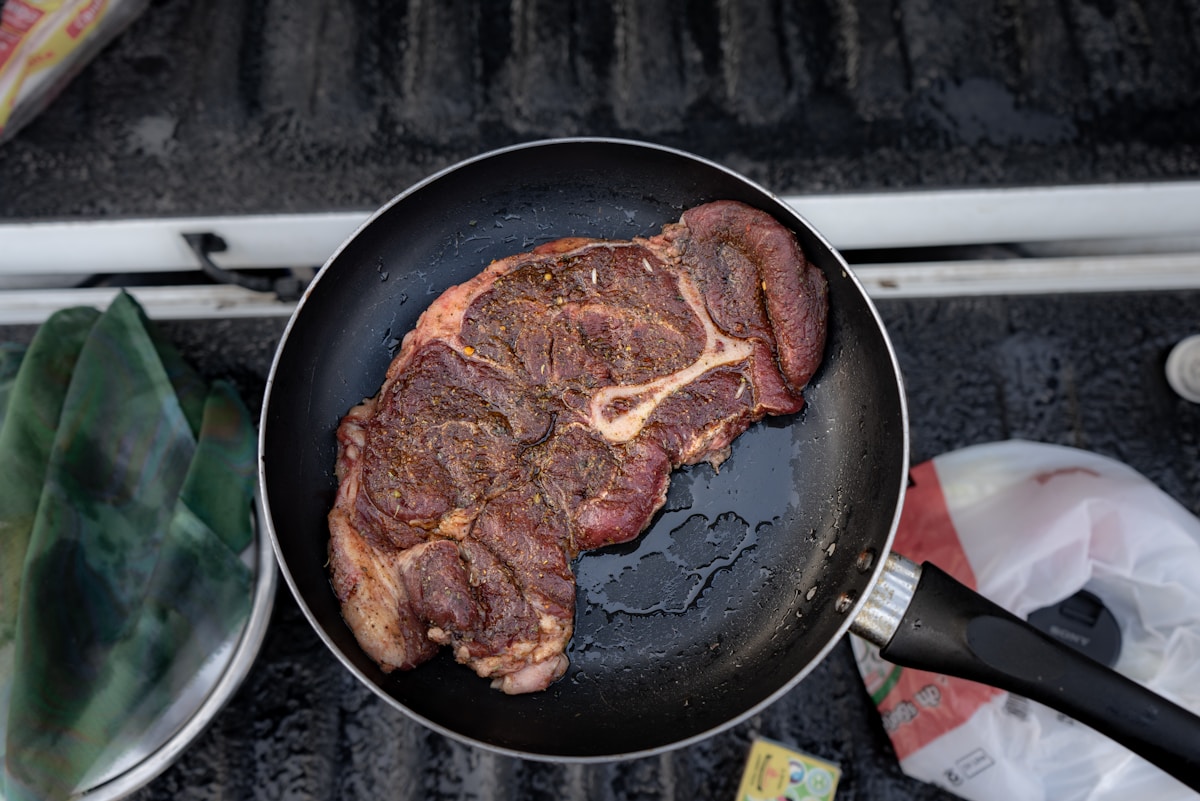
Step 3 The Sizzle and the Sear The Main Event
Okay, your steak is dry, seasoned, and your pan is roaring hot. It’s go time. Using tongs, gently place your steak in the pan, laying it away from you to avoid any oil splashing back.
Hear that sizzle? That’s the sound of success. It’s the sound of the Maillard reaction, a beautiful chemical process that creates hundreds of new flavor compounds and gives browned food its delicious character.
Now, here’s a key tip: Don’t touch it. Leave the steak alone. Let it form a beautiful, uninterrupted crust. For a 1 to 1.5-inch thick steak aiming for medium-rare, here’s a general guideline:
- Sear for 3-4 minutes on the first side.
After that time, use your tongs to peek underneath. You’re looking for a deep, rich brown color. If you see it, flip the steak and cook for another 3-4 minutes on the second side.
If you have a meat thermometer (which is the most reliable way to check for doneness), you’re looking for an internal temperature of about 130-135°F (54-57°C) for a perfect medium-rare. Insert the thermometer into the thickest part of the steak, avoiding any bone.
Step 4 The Easiest Pro-Move Butter Basting
Want to feel like a fancy restaurant chef? Try this simple trick during the last minute or two of cooking. It adds a ton of flavor and richness.
After you’ve flipped the steak and it’s been cooking for a minute on the second side, tilt the pan slightly towards you so the oil and rendered fat pool at the bottom. Add 2 tablespoons of unsalted butter, 2 lightly smashed cloves of garlic, and a sprig of a hardy herb like thyme or rosemary to the pool of fat.
As the butter melts and foams, use a large spoon to continuously scoop that fragrant, bubbling butter over the top of the steak. Do this for about a minute. It infuses the meat with incredible flavor and helps it cook evenly. (Trust me on this one.)
Step 5 The Hardest Part Waiting Is Winning
Your steak is done cooking. It looks and smells divine. The temptation to slice right into it is almost overwhelming. But I’m begging you, please don’t. This next step is the most overlooked and most important rule of cooking meat: You must let it rest.
When you cook a steak over high heat, all the muscle fibers tense up and push the juices toward the center of the meat. If you slice into it immediately, all those precious juices will pour out onto your cutting board, leaving you with a dry, disappointing steak.
By letting it rest on a cutting board or plate for 5-10 minutes, you allow the muscle fibers to relax and reabsorb all those juices. Think of it like a sponge you’ve squeezed; resting lets it plump back up. The result is a steak that is tender, flavorful, and incredibly juicy with every single bite.
A good rule of thumb is to rest the steak for about half the time it cooked. For our 8-minute steak, a 5 to 8-minute rest is perfect.
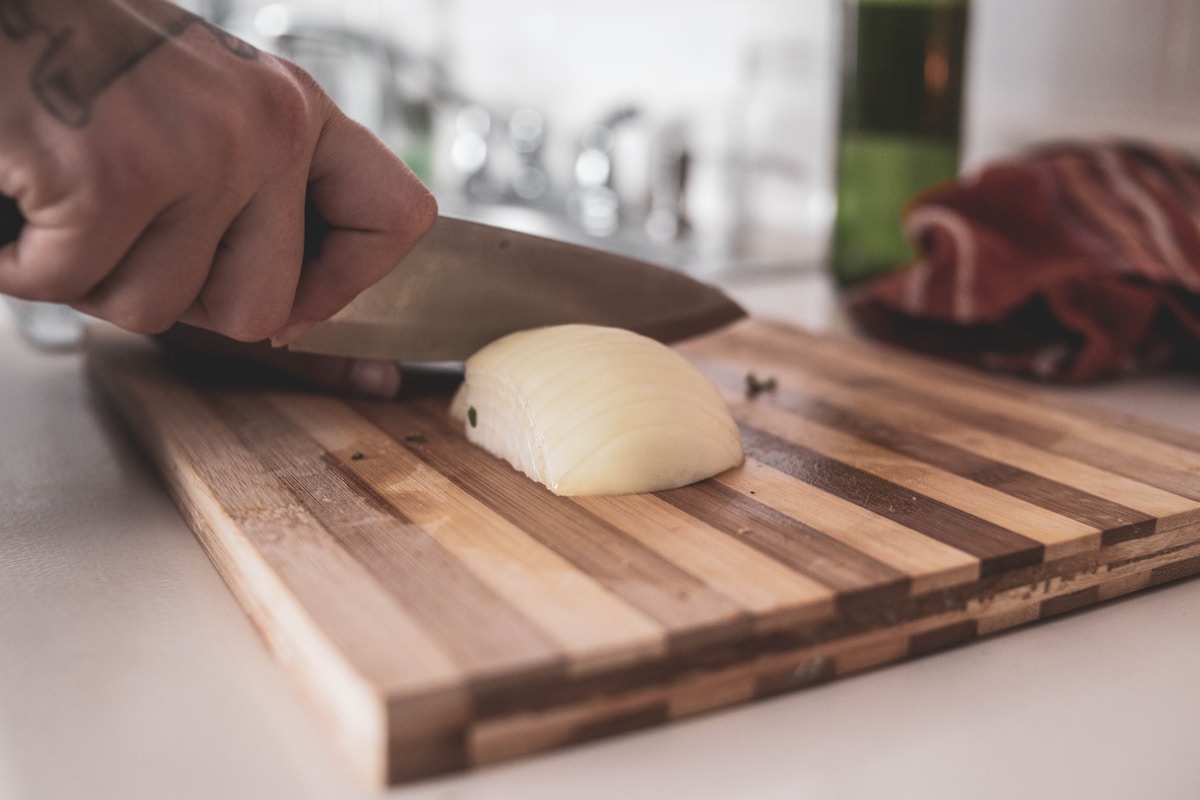
Step 6 Slicing and Serving Like a Pro
After the steak has rested, it’s time for the final touch. Always slice your steak against the grain. Look at the steak closely; you’ll see little lines running in one direction across the meat. Those are the muscle fibers. You want to slice perpendicular to those lines.
Slicing against the grain shortens the muscle fibers, making the meat much more tender and easier to chew. If you slice with the grain, you’ll be chewing on long, tough muscle fibers. It’s a small detail that makes a huge difference in the final texture.
And that’s it. You’ve done it. You’ve cooked a perfect, juicy, flavorful steak right in your own kitchen.
Try This Tonight: Feeling ready? Don’t overthink it. Go to the store and buy just one good-quality New York strip or sirloin steak, about 1-inch thick. Don’t buy a whole family pack. Just one. This is your practice steak. Follow these steps exactly. Pat it dry, season it well, get that pan hot, and most importantly, let it rest. Prove to yourself that you can do this. The kitchen is more forgiving than you think, and this is a skill that will bring you a ton of joy (and delicious meals) for years to come.