Picture this: your third grader bursts through the door waving a permission slip. Show-and-tell day is next week, and the theme is “something that starts with the letter X.” Your mind starts flipping through a mental dictionary: xylophone, x-ray, xenops… then a lightbulb goes off. Why not bake something? After all, the kitchen is where we turn letters into something delicious.
If you have ever tried to bake letter-shaped cookies with kids, you know the struggle. You roll out the dough, press the cutter, and feel a little thrill as the letters emerge. But then you pop them in the oven and—poof! The edges blur, the letters puff up, and your crisp X looks more like a chubby plus sign. Don’t worry. I have been there, flour on my apron and all. Today I will share the exact method to bake perfect, show-and-tell-worthy X-shaped cookies that hold their shape from start to finish.
The Secret to No-Spread Sugar Cookies
A standard sugar cookie recipe spreads like gossip at a family reunion. For letter shapes, you need a dough that stays put. The key is to lower the moisture and butter content just enough to stop spreading, without losing that tender, buttery taste. I use a classic no-spread sugar cookie recipe from King Arthur Flour—it has been my go-to for decades.
Here is the formula that works:
- 2 3/4 cups (330g) all-purpose flour, plus more for dusting
- 1 cup (227g) unsalted butter, softened
- 1 cup (200g) granulated sugar
- 1 large egg
- 1 teaspoon vanilla extract
- 1/2 teaspoon baking powder
- 1/2 teaspoon salt
The magic step: cream the butter and sugar until light and fluffy, then beat in the egg and vanilla. In a separate bowl, whisk the dry ingredients together. Add the dry mixture gradually to the wet. Do not overmix—stop as soon as the dough comes together. Wrap the dough in plastic, flatten it into a disk, and refrigerate for at least 30 minutes. Chilling is non-negotiable (trust me on this one). Chilled dough stays firm and cuts cleanly.
Baking temperature: 375°F (190°C). Bake for 8–10 minutes, rotating the pan halfway, until the edges are just barely golden. The centers will still look pale. Let them cool on the pan for 2 minutes before moving to a wire rack.
Rolling and Cutting with Little Helpers
This is the part kids love—getting their hands in the dough and pressing cutters. But here is a tip that will save your sanity: work with small batches. Keep the rest of the dough in the fridge while you roll out one portion. If the dough gets sticky, dust it lightly with flour or, even better, with powdered sugar. Powdered sugar doesn’t toughen the dough like flour does.
For the letter X, you can use an alphabet cookie cutter set. Wilton makes a durable plastic set that includes all letters. But if you don’t have a letter X cutter, don’t panic. Use a sharp paring knife or a pizza cutter to freehand the X. Just cut two intersecting lines. A ruler can help keep the arms even. For a really clean look, cut the dough while it’s still cold, and re-roll scraps only once. Too many re-rolls make the dough tough.
I love to tell my own kids that letter cookies are like edible puzzles. You can also use the X for more than just cookies: think biscuit letters, shortbread, or even cheese straws in an X shape. But for show-and-tell, sugar cookies are the classic choice because they are sturdy enough to transport.
A Kitchen Hack You Will Use Again and Again
Here is my favorite trick to prevent spread: after cutting the shapes, place them on a parchment-lined baking sheet and pop the sheet in the freezer for 10–15 minutes before baking. Frozen dough takes longer to warm up in the oven, which means the fat melts slowly and the letters stay crisp. It is especially helpful if you are baking in batches or your kitchen is warm. (Your future self will thank you.)
If you are using a dark baking sheet, drop the oven temperature by 25°F (about 15°C) to avoid over-browning. I prefer a light-colored aluminum sheet—Nordic Ware or similar—for even heat distribution.
Decorating for Show and Tell
Now the fun part. You want the cookies to be beautiful, but you also want them to be something your child can help with. A simple royal icing or a dusting of powdered sugar works beautifully. For a no-fuss approach, brush the warm cookies with a light layer of melted butter and sprinkle with colored sanding sugar before baking. The sugar stays sparkly and the X stands out.
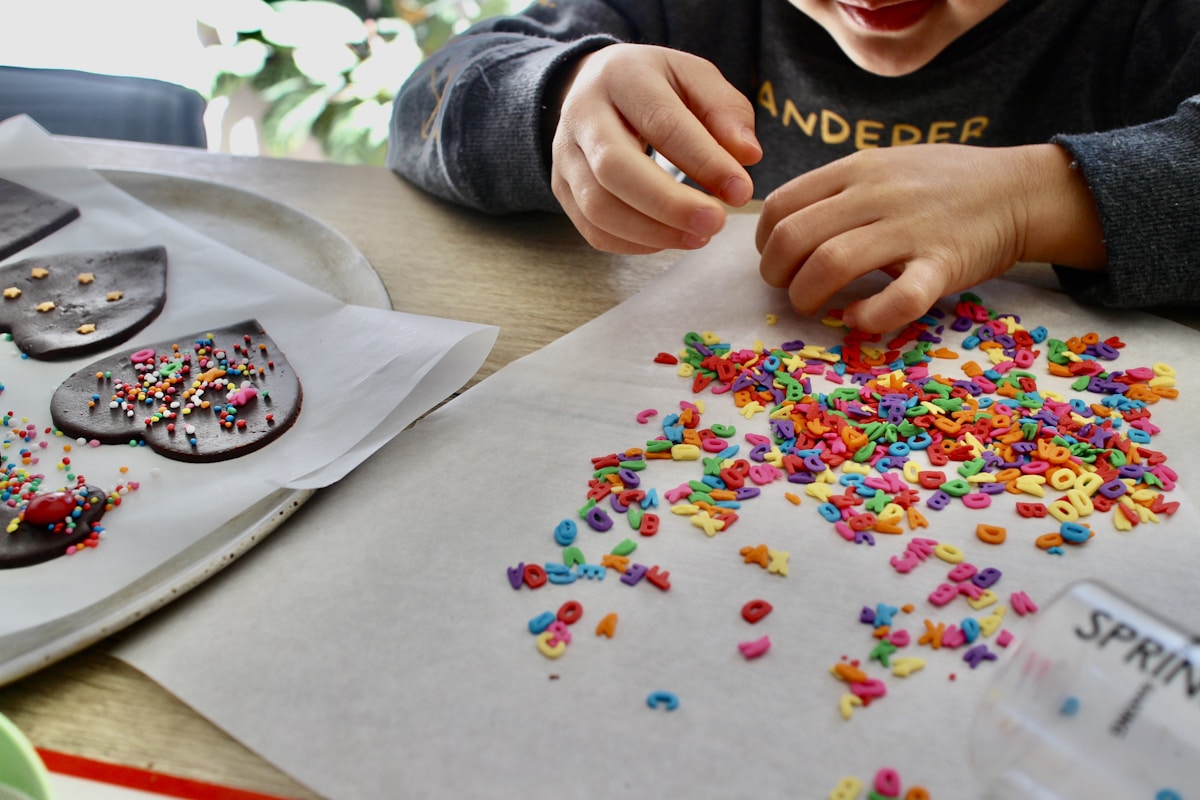
If you want to go all out, make a small batch of royal icing (egg whites or meringue powder, powdered sugar, and lemon juice). Divide it into bowls and let your child add a drop of gel food coloring to each. Use squeeze bottles or small paintbrushes to decorate. Write the word “X” on each cookie, or add dots and zigzags. The slightly imperfect letters made by little hands are what make them special.
Pro tip: for a school event, avoid nuts or heavy allergens unless you confirm the classroom is nut-free. Stick to simple ingredients and clearly label the package.
A Few Pro Tips for Success
- Use a ruler when cutting freehand X’s. Measure the center point and draw guides lightly with a knife.
- If your dough becomes too soft while rolling, slide it on the parchment right into the fridge for 5 minutes.
- Always use parchment paper or a silicone baking mat. Greasing the pan can cause more spread.
- Let the cookies cool completely before stacking or transporting. A tin or a disposable plastic container with a lid works well.
- Make a double batch: one for school, one for the family to taste-test. (Yes, really.)
More Than Just a Letter
Baking X-shaped cookies for show-and-tell is more than a school project. It is a chance to teach measuring, rolling, and patience. Every smudge of flour on the counter is a memory. Every lopsided X is a story. And when your child brings that plate of cookies to class, they won’t just be showing off a letter—they will be sharing something they made with their own hands.
The kitchen is a magic place. It turns a simple letter into a reason to gather, to learn, and to taste. So preheat that oven, roll up your sleeves, and make some X’s. The alphabet has never been so delicious.