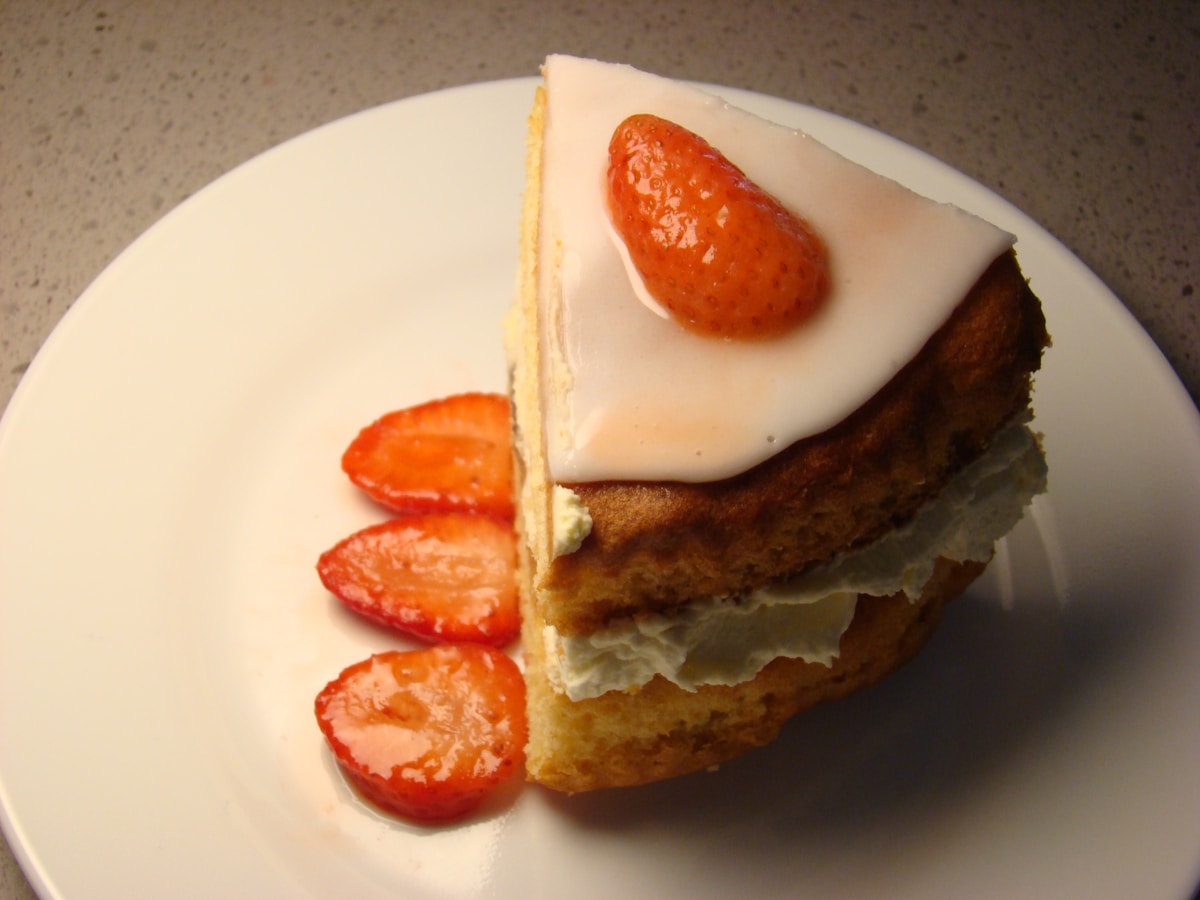
Have you ever taken a bite of a beautiful, fluffy cake and felt that something was missing? The flavor is wonderful, the crumb is tender, but the experience feels… one-note. It’s a common issue in home baking. We master the soft, the airy, and the moist, but often forget one of the most powerful tools in a pastry chef’s arsenal: textural contrast.
That magical moment in a high-end dessert—when your fork glides through a cloud-like mousse and hits a surprising, satisfying crunch at the bottom—isn’t an accident. It’s a calculated, brilliantly executed technique. It’s called a croustillant, and it elevates a simple cake from pleasant to unforgettable. The good news? This professional secret is entirely achievable in your own kitchen. It all comes down to understanding a little bit of food science. (Baking is chemistry you can eat, after all.)
The Science of Textural Contrast in Baking
At its core, a crunchy cake base is a simple composition of three elements: a crunchy component, a fat, and a binder. The magic is in how they work together. Your brain is wired to appreciate contrast. The interplay between the soft, yielding cake and the crisp, crackling base creates a sensory experience that is far more engaging than either texture on its own.
The key to success lies in the fat. Ingredients like melted chocolate, praline paste, or nut butters do more than just add flavor and bind the crunchy bits together. They perform a critical function: waterproofing. When the fat coats your crunchy elements (like crushed cookies, nuts, or feuilletine) and solidifies, it creates a moisture-resistant barrier. This barrier is what prevents the liquid from your cake batter from seeping in and turning your beautiful crunch into a disappointing, soggy layer.
So, the process isn’t just mixing and spreading. It’s about creating a stable, fat-encased structure that can withstand the baking process. When you pour your batter over a properly chilled and solidified base, the two layers remain distinct, baking together but never truly merging. The result is a perfect textural harmony in every single slice.
Building Your Perfect Crunchy Base Four Ways
Here are four reliable formulas for creating a spectacular crunchy base. Each one offers a different flavor profile and texture, perfect for pairing with various cakes. For all of these, you’ll want to spread the mixture in a thin, even layer (about 1/8 to 1/4 inch or 3-6 mm) on parchment paper inside your prepared cake pan.
1. The Classic French Pâtisserie Crunch (Feuilletine)
Feuilletine are delicate, paper-thin shards of baked crêpe batter. They are incredibly light and crispy, and they are the secret to the crunch in many classic French pastries. (You can often find them from brands like Valrhona at specialty baking stores or online.)
- Ingredients:
- 100g (about 2 cups) Feuilletine
- 100g (about 1/2 cup) Praline Paste (hazelnut or almond)
- 60g (about 1/3 cup) high-quality milk chocolate, melted
- Method: Gently melt the milk chocolate. In a bowl, combine the praline paste and melted chocolate until smooth. Carefully fold in the feuilletine until it’s just coated. You want to avoid crushing it. Spread immediately in your prepared pan and chill.
- Pairs Well With: Chocolate mousse cakes, coffee-flavored sponges, or hazelnut dacquoise.
2. The Biscoff & White Chocolate Wonder
This one is pure comfort. The caramelized spice of Biscoff cookies paired with the creamy sweetness of white chocolate is an irresistible combination.
- Ingredients:
- 150g (about 25 cookies) Biscoff cookies, crushed into small crumbs
- 100g (about 1/2 cup) white chocolate, melted
- A tiny pinch of sea salt
- Method: Melt the white chocolate until smooth. Stir in the pinch of salt. Pour the melted chocolate over the cookie crumbs and mix until everything is evenly coated. The mixture will be thick, like wet sand. Press it firmly and evenly into your pan.
- Pairs Well With: Cheesecake, carrot cake, spice cake, or a simple vanilla bean chiffon.
3. The Toasted Nut & Dark Chocolate Praline
For a more robust, sophisticated crunch, nothing beats toasted nuts and rich dark chocolate. Toasting the nuts is not optional; it deepens their flavor immeasurably.
- Ingredients:
- 120g (about 1 cup) almonds or hazelnuts, toasted and roughly chopped
- 90g (about 1/2 cup) 60-70% cacao dark chocolate, melted
- 1 tablespoon (14g) unsalted butter, melted (optional, for richness)
- Method: Toast your nuts in a dry skillet over medium heat or in an oven at 350°F (175°C) for 8-10 minutes, until fragrant. Let them cool completely before chopping. Melt the dark chocolate and butter together. Pour over the chopped nuts and stir to coat. Spread and chill.
- Pairs Well With: Devil’s food cake, flourless chocolate cake, or a rich coffee and walnut cake.
4. The Cereal Milk Inspired Cornflake Crunch
This is a nod to the brilliant Christina Tosi of Milk Bar. It requires an extra step, but the toasty, malty flavor is absolutely worth it. First, you make a ‘crumb,’ then you bind it.
- Ingredients for the Crumb:
- 85g (about 3 cups) cornflakes
- 30g (about 1/4 cup) milk powder
- 20g (about 1.5 tbsp) granulated sugar
- 1/4 teaspoon kosher salt
- 55g (4 tbsp) unsalted butter, melted
- Method Part 1 (Making the Crumb): Preheat your oven to 275°F (135°C). In a bowl, combine the cornflakes, milk powder, sugar, and salt. Pour the melted butter over and toss to coat. Spread on a baking sheet and bake for 20 minutes, until the clusters are lightly golden and smell toasty. Let it cool completely. (You’ll likely have extra, which is delicious on ice cream.)
- Method Part 2 (Making the Base): Take about 150g of the cooled cornflake crumb and mix it with 100g of melted white or milk chocolate. Spread this mixture into your cake pan and chill.
- Pairs Well With: Strawberry shortcake-style cakes, lemon sponges, or any birthday cake needing a nostalgic, fun twist.
The Step-by-Step Application
Once you’ve chosen your recipe, the application is the same for all of them. Precision is key.
- Prepare Your Pan: Take your cake pan (an 8-inch / 20 cm round is a standard size) and line the bottom with a circle of parchment paper. Do not grease the sides if you’re making a delicate cake like a chiffon that needs to climb.
- Mix Your Base: Prepare your chosen crunchy mixture according to the recipes above.
- Spread Evenly: Spoon the mixture onto the parchment paper in your pan. Using a small offset spatula or the back of a spoon, press it into a thin, even layer. Aim for consistency.
- The Critical Chill: This is the most important step. Place the entire pan in the freezer for a minimum of 30 minutes, or in the refrigerator for at least an hour. The base must be completely firm and cold to the touch. (Your future self will thank you for not skipping this.)
- Add Your Batter: Prepare your cake batter while the base is chilling. Once the base is rock solid, gently pour the batter directly on top of it. Use your spatula to spread it to the edges carefully, trying not to press down or disturb the crunchy layer.
- Bake: Bake your cake according to your recipe’s instructions. The chilled base will remain separate and crisp up beautifully as the cake bakes above it.
Troubleshooting Common Crunchy Base Problems
Even with a perfect plan, things can sometimes go sideways. Here’s how to fix the most common issues.
-
Problem: My crunchy layer mixed into the cake batter!
- The Cause: Almost certainly, the base was not chilled enough. The weight and moisture of the batter were enough to break through a semi-soft base, creating a muddled mess.
- The Fix: Be patient. The freezer is your best friend here. It provides a quick, hard chill that a refrigerator can’t match. The layer should feel like a solid disc of chocolate before you even think about pouring batter on it.
-
Problem: The base was soggy after baking.
- The Cause: The ratio of fat-to-crunch was too low. The fat (chocolate, praline paste) is the waterproofing agent. Without a sufficient coating, moisture from the cake crumb will inevitably turn your crunch to mush.
- The Fix: Don’t skimp on the binder. Ensure every piece of your crunchy element is thoroughly coated in the melted chocolate or fat mixture. This protective layer is your only defense against sogginess.
-
A Final Tip: When you invert the cake to cool, the crunchy base will be on top. Let it cool this way for about 10-15 minutes before flipping it right-side up. This allows the base to set up slightly outside the hot pan, ensuring it stays crisp.
Embracing this technique opens up a whole new dimension in your baking. It’s a simple addition that delivers a massive payoff in flavor and, most importantly, texture. Start with one of these recipes, then begin to experiment. Crushed pretzels? Toasted oats? The possibilities are endless. That’s the beauty of the kitchen—it’s a lab where you get to eat your delicious experiments.