You’ve reached the final step. The filling—a perfect mound of spiced apples or silky pumpkin custard—is nestled in its buttery shell. You’ve carefully draped the top crust, and now it’s time for that final, artistic flourish: the crimp. You lean in, ready to flute the edge into a beautiful, uniform pattern, only to find… nothing. There’s barely enough dough to press together, let alone create the bakery-worthy design you envisioned.
If this scenario feels painfully familiar, you are not alone. It’s one of the most common frustrations for beginner and intermediate bakers alike. That perfect pie edge seems elusive, often slumping, shrinking, or simply being too skimpy to begin with. But the solution isn’t a secret technique or a special tool. It’s a simple matter of foresight and a ruler. Baking is chemistry, after all, and a successful experiment requires starting with the right quantities.
Let’s break down the science and geometry of the perfect pie crimp, transforming that moment of frustration into one of complete creative control. You can, and will, create a pie edge that’s both structurally sound and stunningly beautiful.
Why a Pie Crimp Is More Than Just Decoration
Before we discuss how to achieve a great crimp, it’s essential to understand why it matters. In baking, function always precedes form. A decorative pie edge is, first and foremost, a functional seal. Think of it as the gasket of the pie world.
Its primary job is to fuse the top and bottom crusts, creating a barrier that prevents the filling from bubbling over and making a scorched mess on your oven floor. As your pie bakes, the filling heats up, steam builds, and liquids expand. A weak seal will burst under this pressure, leading to leaks.
Furthermore, a well-formed edge provides structural integrity. It acts as a retaining wall, helping the pie maintain its shape as it bakes and cools. A flimsy edge can lead to a slumped, sad-looking pie. So, while we love the aesthetic of a beautifully fluted rim, remember that you’re performing a crucial engineering step. The beauty is a byproduct of good structure.
The Golden Rule The Perfect Overhang Measurement
Here is the single most important number to remember: one inch. For a standard 9-inch pie plate, you should trim your dough so that you have a 1-inch (2.5 cm) overhang all the way around. While some recipes might call for a 1/2-inch, giving yourself a full inch is a foolproof method that provides more than enough material to create a thick, sturdy, and highly sculptable edge.
Why so much? Because you won’t be simply pressing this dough together. The professional technique involves folding the dough to create a robust, raised border that will become the canvas for your crimping. A skimpy overhang makes this impossible, forcing you to pinch together two thin, weak layers of dough that have little chance of holding a defined shape in the oven’s heat.
Err on the side of too much. You can always trim a tiny bit more if needed, but you can never add dough back once it’s been cut too short. (Well, you can try to patch it, but it’s an unsatisfying and often messy affair.)
A Step-by-Step Guide to Trimming and Sealing
Let’s walk through the process with precision. This method works for any double-crust pie, from a classic apple pie to a savory pot pie. For this example, let’s assume you’re using a standard 9-inch pie plate and your favorite all-butter pie dough, like the one from King Arthur Flour.
- Prepare the Bottom Crust: Gently lay your first circle of dough into the pie plate. Let it settle into the corners without stretching it. (Stretching dough activates gluten and will cause it to shrink back during baking.)
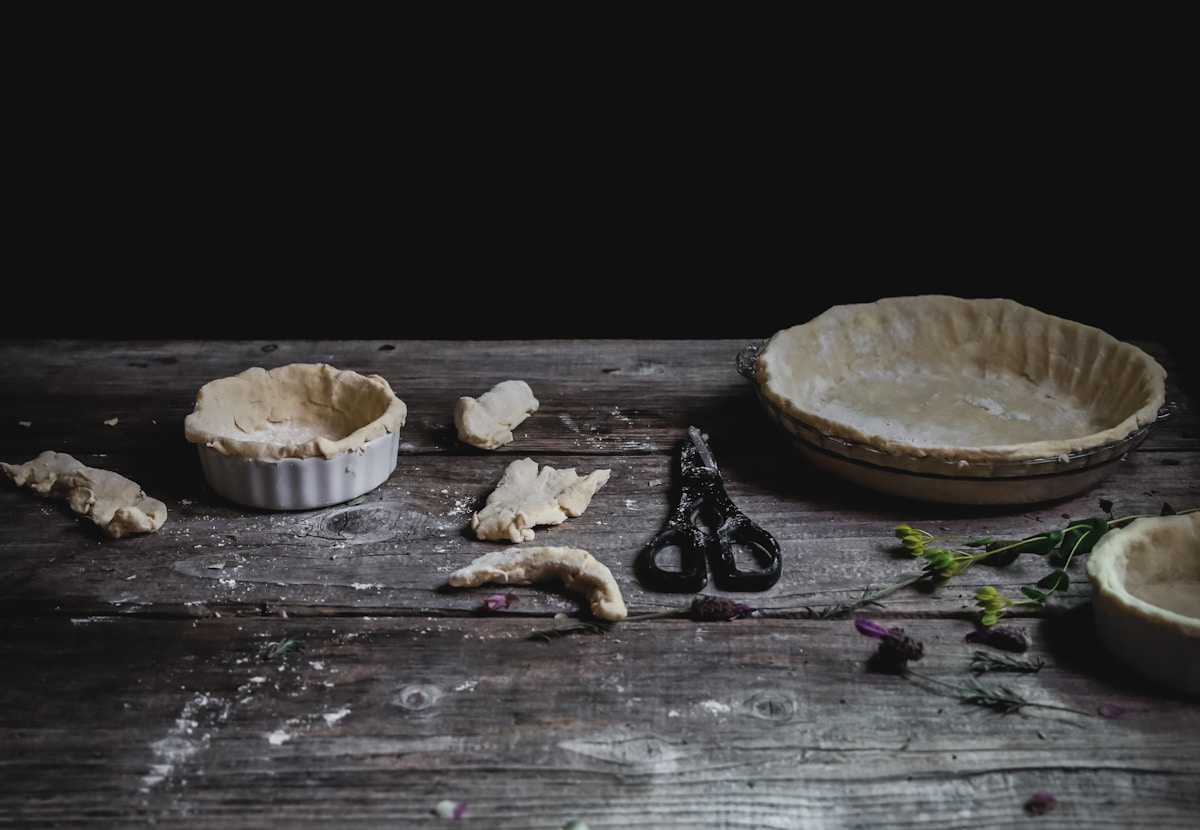
- Trim the Bottom Overhang: Using a pair of kitchen shears or a small, sharp knife, trim the dough around the rim of the plate, leaving a consistent 1-inch overhang.
- Add Your Filling: Pour your prepared filling into the dough-lined plate and spread it evenly.
- Place the Top Crust: Lightly moisten the edge of the bottom crust with a fingertip dipped in cold water; this acts as a glue. Drape your second circle of dough over the filling.
- Trim the Top Overhang: Trim the top crust so it matches the bottom crust. You should now have two layers of dough with a 1-inch overhang.
- Fold and Seal (The Crucial Step): This is the game-changer. Lift the edge of the top crust and gently tuck it under the edge of the bottom crust. Press them together, rolling the folded edge under until it’s resting on the rim of the pie plate. You should now have a thick, rounded, and seamless border of dough. This is your foundation.
By folding the top crust under the bottom, you create a very strong, thick edge that is far more capable of holding a design than simply pinching two flat layers together.
From Seal to Style Classic Crimping Techniques
Now that you have a perfect canvas, the artistry begins. But before you crimp, here is my most important kitchen tip: Chill the pie. Place the entire assembled, but uncrimped, pie in the refrigerator for at least 30 minutes, or in the freezer for 15. Chilling solidifies the butter in the dough. When that cold butter hits the hot oven, it will release steam, creating pockets of air that result in a flaky crust. Critically, it also helps your decorative crimp set and hold its shape instead of melting into an unrecognizable blob.
After chilling, choose your design:
- The Simple Fork Press: The easiest method. Simply press the tines of a fork into the dough all the way around the rim. For a crosshatch pattern, press once, then press again at a 90-degree angle over your first marks.
- The Classic Flute: This creates that iconic wavy pattern. Position your thumb and index finger on the outside of the crust, about an inch apart. Use the index finger of your other hand to push the dough from the inside out, creating a “V” shape between your outside fingers. Continue this motion all the way around the pie.
- The Knuckle Press: A rustic and charming look. Press the side of your index finger knuckle into the dough at a 45-degree angle. Move over about half an inch and repeat, creating a rope-like effect.
Once crimped, you can brush the edge with an egg wash (one egg beaten with a tablespoon of cream or milk) for a glossy, golden-brown finish before baking.
Troubleshooting Common Pie Edge Problems
Even with perfect prep, issues can arise. Here’s how to diagnose and fix them.
-
Problem: My beautiful crimp melted and disappeared in the oven.
- Cause: Your dough was too warm. The butter softened before the crust’s structure had a chance to set in the oven’s heat.
- Fix: Never skip the chilling step. A 30-minute rest in the fridge is non-negotiable. Also, start your pie in a very hot oven, around 425°F (220°C), for the first 15-20 minutes. This intense initial heat rapidly sets the crust’s shape before the fat can fully melt and leak out.
-
Problem: My pie edge is burning before the filling is cooked.
- Cause: The exposed, thinner edge of the crust cooks much faster than the insulated center of the pie.
- Fix: Use a pie shield. You can buy reusable silicone or metal ones (like the popular models from Mrs. Anderson’s Baking), or you can fashion your own from a piece of aluminum foil. Cut a large circle out of the center of a square of foil, leaving a ring that you can gently place over the pie’s edge to protect it. You can put it on from the start or add it when you notice the edge is sufficiently browned.
-
Problem: I messed up and still cut the overhang too short. Is my pie ruined?
- Cause: A moment of distraction or an old habit.
- Fix: It’s not ruined, but it won’t be a showstopper. Your goal now is simply to get a good seal. Press the two edges together as firmly as you can with your fingertips or a fork. You won’t get a decorative edge, but you can prevent a major leak. (And you’ll remember the 1-inch rule next time.)
Creating a flawless pie crust edge isn’t about luck; it’s about method. By understanding the function of the crimp and giving yourself enough material to work with, you replace guesswork with confidence. That generous 1-inch overhang is your insurance policy, the foundation upon which all beautiful designs are built. So next time, grab your ruler, trim with confidence, and get ready to create a pie that tastes as magnificent as it looks.