You’ve just spent hours sandblasting a rusted Lodge Sportsman grill back to bare iron. The surface is clean, gray, and thirsty for oil. You’ve already run it through the oven four times with a thin wipe of oil, and it’s starting to look dark and glossy. But the question nags at you: how many layers of seasoning are enough? Do you need six, eight, or more to get that perfect nonstick finish? I’ve tested dozens of cast iron pieces, from vintage Griswolds to modern Lodges, and I’m here to give you a straight answer.
Understanding Seasoning: What It Actually Does
First, let’s talk about what seasoning really is. It’s not a layer of baked-on oil — it’s a polymerized coating created when oil molecules break down under high heat and bond to the iron. This process, called polymerization, turns liquid oil into a hard, plastic-like surface that protects the metal from rust and provides a natural nonstick finish. Each time you apply a thin layer of oil and heat it past its smoke point, you add another thin coat of this polymer. The key word here is “thin.” Thick layers will pool, bubble, and eventually flake off, leaving you with a sticky mess. (I learned that the hard way with a too-generous coat of canola oil.)
Seasoning is not a one-and-done deal. It’s a cumulative process. Even a single well-applied layer can make a pan functional for cooking eggs or searing steak. But for a restored piece that’s been stripped to bare metal, you want a sturdy foundation. The goal is to build enough of that polymer so the surface becomes smooth, dark, and slightly glossy — not sticky, not blotchy.
How Many Layers Do You Really Need
The short answer: four to six thin layers is the sweet spot for a restored cast iron piece. That’s based on my own experience and what I’ve seen work in the r/castiron community, where users regularly debate this exact question. After four rounds in a 450–500°F (232–260°C) oven, the iron should have a dark, even color and a smooth feel. At that point, you can start cooking with it. The truth is, even two or three layers will protect the iron from rust, but they won’t give you that slick, nonstick surface you’re after. More layers improve durability and release, but there’s a diminishing return.
Why not just do ten layers? Because excessive layers can become brittle. Each coat of seasoning is only a few microns thick, but if you pile on too many without proper curing, you risk flaking. The polymer needs time to fully harden between coats. I’ve seen pans with eight layers that looked gorgeous but started chipping after a few months of heavy use. Stick to four to six, then let the cooking do the rest.
The Best Oils and Temperatures for Layering
The oil you choose matters far more than the exact number of layers. In the r/castiron discussion, users recommended Crisco (vegetable shortening), grapeseed oil, and flaxseed oil. Let’s break them down:
- Crisco: This is my go-to for the first few layers. It has a high smoke point (around 490°F) and polymerizes into a hard, durable coating. It’s cheap, easy to find, and forgiving. Apply a very thin layer, then wipe it off as if you made a mistake (seriously, you want barely a sheen). Bake at 450–475°F for one hour, then let it cool in the oven.
- Grapeseed oil: Also excellent, with a smoke point around 420°F and a reputation for creating a slick surface. It’s a bit more expensive but works beautifully for finishing coats. I’ve used it on a restored Lodge skillet and got a mirror-like shine after four coats.
- Flaxseed oil: This became trendy a few years ago because it polymerizes quickly and gives a deep black color. But here’s the catch: it’s brittle. Many users (myself included) have had flaxseed seasoning flake off after a few months. It looks amazing initially, but it doesn’t hold up to heavy scraping or thermal shock. I’d skip it for a workhorse piece.
Temperature is critical. You need to be above the oil’s smoke point to trigger polymerization. For Crisco and grapeseed, that means 450–500°F. Too low, and the oil stays sticky. Too high (over 500°F), and you risk burning the oil into a carbonized mess. Use an oven thermometer to verify your oven’s actual temperature — most home ovens run hot or cold by 25–50 degrees.
Beyond the Oven: How Cooking Builds Your Seasoning
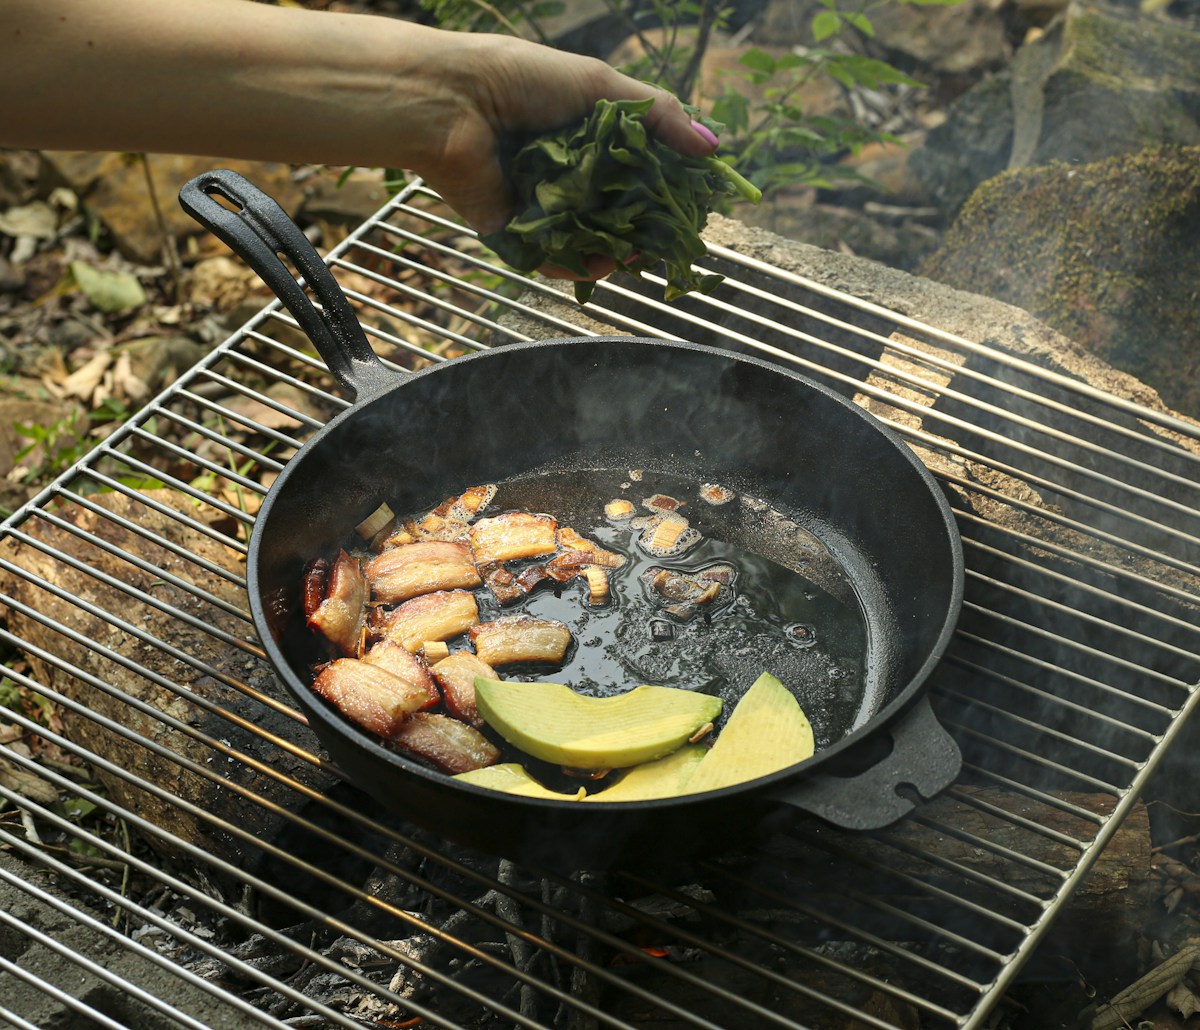
Once you’ve done four to six oven layers, it’s time to let real cooking take over. Fatty foods like bacon, fried chicken, or seared steaks naturally deposit new layers of oil onto the iron every time you cook. Each time you heat the pan with oil, you’re essentially seasoning it again. This is why vintage pans that have been used for decades have such deep, black seasoning — it’s built from thousands of meals, not just a few hours in the oven.
After your initial seasoning, cook fatty foods for the first few uses. Avoid acidic ingredients like tomato sauce or wine, which can strip the fresh seasoning. Stick to things like:
- Bacon (render the fat, then use it to fry eggs)
- Cornbread (the butter and oil help build the coating)
- Pan-fried chicken or potatoes
- Grilled cheese sandwiches
Each time you cook, clean the pan with a stiff brush and hot water (no soap needed if the seasoning is good), dry it thoroughly over low heat, and apply a tiny smear of oil before storing. This maintenance keeps the seasoning healthy and prevents rust.
A Step-by-Step Layering Routine for Your Restored Cast Iron
Here’s a practical routine I’ve used on a sandblasted Lodge Sportsman grill that worked flawlessly:
- Clean the bare iron with warm water and a scrub brush to remove any sandblasting dust. Dry it completely and place it in a warm oven (200°F) for 15 minutes to drive off any moisture.
- Apply a thin layer of Crisco using a lint-free cloth or paper towel. Rub the oil all over the inside and outside, then take a clean towel and try to wipe it all off. You should only see a faint shine.
- Bake upside down on the middle rack with a foil-lined baking sheet on the lower rack to catch drips. Set the oven to 475°F and bake for one hour.
- Turn off the oven and let the pan cool inside for at least an hour. This prevents thermal shock that could crack the seasoning.
- Repeat steps 2–4 for a total of four to six times. After the third coat, you should notice the pan turning dark brown. By coat six, it’ll be nearly black and have a semi-gloss sheen.
- Start cooking with fatty foods. For the first few uses, avoid high-heat searing or acidic sauces. Just fry bacon, make cornbread, or cook a simple omelet with plenty of butter.
One practical tip: if you notice the seasoning looking uneven or patchy after a few coats, don’t panic. Just do another thin layer. It’s better to have a slightly uneven seasoning that’s well-bonded than a thick uniform coat that flakes off.
The Bottom Line
So how many layers of seasoning does cast iron really need? For a restored piece, aim for four to six thin layers in a 450–500°F oven using Crisco or grapeseed oil. That’s enough to create a durable foundation that will only improve with use. More layers aren’t necessary — cooking fatty foods will naturally build the rest. Remember: patience beats perfection. Take your time, use thin coats, and let the iron do its job. Before you know it, that rusty grill will be cooking like a champ for years to come. (Your future self will thank you.)
Happy cooking — and keep that iron seasoned!