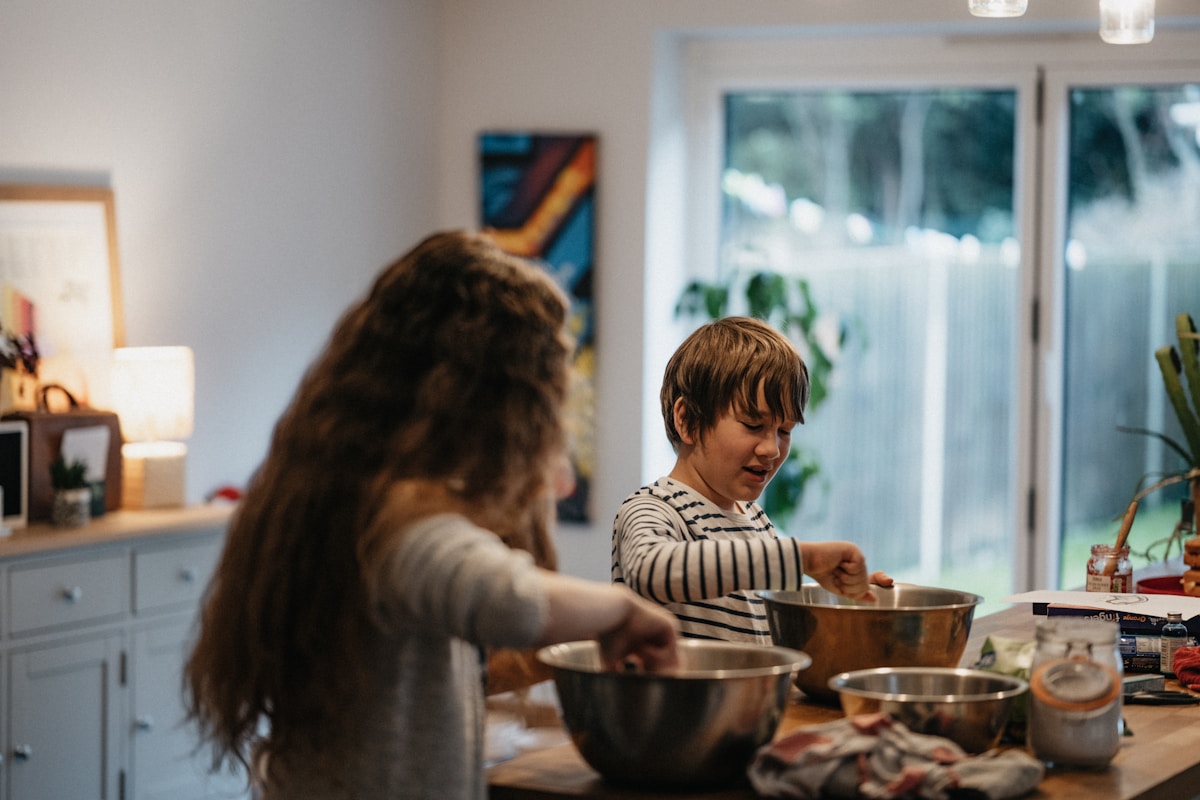
The kitchen smells incredible. Your child stands proudly next to a golden pie they made mostly on their own. But when you slice into it, the filling spreads across the plate like soup, and their face falls. This is a classic first-pie moment, and it happens to so many families. The good news is that with a few simple adjustments, that next pie will be a triumph. Let’s walk through exactly how to help your child bake their first pie successfully, from crust to cooling rack.
Key Takeaways
- Choose forgiving fruits like apples or peaches for the first attempt.
- Use enough thickener (cornstarch, flour, or quick-cooking tapioca) and let the filling rest 15 minutes before baking.
- Bake until the crust is deep golden and filling bubbles; aim for an internal temperature around 175°F.
- Cool the pie completely on a wire rack for at least 2 hours — cutting early causes runny filling.
- Pre-made crusts are a great confidence builder; focus on the fun of filling and assembly.
Choosing the Right Fruit Pie for a First Attempt
Start with a fruit that forgives mistakes. Apples and peaches are excellent choices for a child’s first pie. They hold their shape during baking and don’t release as much liquid as berries or rhubarb. A standard 9-inch single or double-crust pie made with apples or peaches will give your child a confidence boost.
Look for a recipe with a short ingredient list and straightforward instructions. Avoid recipes that call for blind baking, lattice tops, or precooking the filling. You want the steps to be clear: mix fruit, add sugar and thickener, fill crust, top with second crust or crumble, and bake.
If your child is set on a different fruit, that’s fine. Just know that very juicy berries may require extra thickener or a longer cooling time. For the first attempt, stick with a classic apple or peach pie. Many home bakers find these the easiest to manage.
Building a Sturdy, Kid-Friendly Pie Crust
Pie crust can be intimidating, but it doesn’t have to be. For a child’s first pie, use a recipe with a higher fat-to-flour ratio. That extra butter or shortening makes the dough more forgiving and less likely to crack.
Let your child help cut cold butter into the flour using a pastry blender. This is a fun, hands-on task that builds connection with the process. Make sure the butter and water are very cold. You can even chill the mixing bowl for a few minutes beforehand.
If your child gets frustrated with rolling or the dough tears, here’s a secret: use a premade refrigerated crust. There is no shame in that. Many experienced bakers use them regularly. The goal is a successful pie that tastes wonderful, not a crust made entirely from scratch. A store-bought crust lets your child focus on the filling and the fun of assembly.
If you do make dough from scratch, show your child how to roll it out gently from the center outward, turning the dough a quarter turn after each roll. Aim for an even thickness of about 1/8 inch. If the dough cracks, just press it back together with your fingers. It will bake just fine.
To transfer the dough to the pie plate, roll it loosely around the rolling pin, then unroll it over the dish. Let your child help press it into the corners and trim the edges. Imperfections are part of the charm of a homemade pie.
Thickening the Filling to Avoid a Runny Mess
This section addresses the exact problem your child encountered. Runny pie filling happens when there isn’t enough thickener or when the pie is cut too soon. The solution is straightforward.
For a 9-inch fruit pie made with 4 to 5 cups of fruit, use 2 to 3 tablespoons of cornstarch, or 4 to 5 tablespoons of all-purpose flour. Quick-cooking tapioca is another reliable option; use about 3 tablespoons. Cornstarch gives a clear, glossy sheen, while flour produces a more opaque, slightly matte filling.
Have your child mix the fruit with the sugar and thickener in a large bowl. Then let the mixture sit for 15 minutes. This resting time allows the thickener to begin absorbing the fruit’s juices. Do not skip this step. It makes a real difference.
Taste the fruit mixture for sweetness, but be careful not to add too much sugar. Extra sugar can draw out more liquid and actually make the filling thinner. Let your child decide on the sugar amount within a reasonable range. This gives them ownership of the flavor.
Another tip: add a tablespoon of lemon juice or vinegar to brighten the fruit flavors, especially for peaches or apples. It won’t affect the thickness.
Baking to Perfection: Doneness and Temperature
Preheat your oven to 375°F to 400°F. Place the pie on the lower rack to help the bottom crust brown and crisp. If your oven runs hot, start at 375°F. Every oven is different, so watch the pie closely during the last 20 minutes of baking.
Bake until the crust is a deep golden brown and the filling is bubbling through the vents. Those bubbles are a sign that the thickener has activated and the filling is cooked. If the crust edges brown too quickly, gently tent them with strips of foil or a foil ring.
For fruit pies, a safe internal temperature is around 175°F. Use an instant-read thermometer inserted through a vent into the center of the filling. This temperature ensures the fruit is fully cooked and the thickener has done its job. It’s a good habit to teach your child how to use a food thermometer safely.
If the pie still looks pale after the recommended time, give it another 10 to 15 minutes. A well-baked crust is a sign of a good pie. Don’t pull it out early because the timer goes off.
The Crucial Wait: Cooling and Slicing
This is where patience really matters. Many first pies are ruined by being cut too soon. The filling needs time to set after baking. Plan on a cooling period of at least 2 hours, and sometimes 3 to 4 hours for very juicy fillings.
Place the pie on a wire rack to allow air to circulate. Do not place it directly on a cold surface, as that can trap steam and make the bottom crust soggy.
Teach your child to test for doneness after cooling: gently shake the pie pan. If the center wobbles like liquid, it’s not ready. If it moves like jello, it’s set. This visual cue is more reliable than the clock.
When it’s time to slice, use a sharp serrated knife and use a gentle sawing motion. This cuts cleanly through the crust without dragging the filling. For safety, an adult should handle the knife if the child is not comfortable or coordinated enough. Slicing hot pie can be dangerous if the knife slips.
If you must serve the pie warm, cut it first and then reheat individual slices in the microwave for 15 seconds. That way the filling stays together on the plate.
Kitchen Safety Tips for Young Bakers
Baking with kids should be joyful, not stressful. A few safety rules help everyone relax.
Always use oven mitts when handling hot pans. Show your child how to hold the pie plate with both hands, supporting the bottom. Place the pie on a baking sheet before putting it in the oven. This catches any drips and makes it easier to slide in and out.
Supervise knife use carefully. Let your child measure, mix, roll, and crimp, but handle the sharp blades and the hot oven yourself. This division of tasks keeps the child engaged without putting them at risk.
Keep the work area clean. Spills on the floor can be slippery. Flour and sugar on countertops can attract pests. Involve your child in cleaning up as part of the baking experience.
Talk about hot oven surfaces. Set a rule that only the adult opens the oven door. This avoids accidental burns from steam or heat.
FAQ
1. Why is my pie filling runny even after baking?
The most common causes are under-thickening, slicing the fruit too thin (which releases extra juice), or cutting the pie before it has fully cooled. Always use enough thickener, let the fruit sit with it for 15 minutes, and wait at least 2 hours after baking to slice. If the pie is still runny, next time increase the thickener by half a tablespoon.
2. How can I tell if my fruit pie is fully baked?
A fully baked fruit pie will have a deep golden-brown crust, bubbling filling visible through the vents, and an internal temperature around 175°F. If the center still looks liquid or the crust is pale, bake for another 10 to 15 minutes, covering the edges with foil if they are browning too fast.
3. Is it okay to use a pre-made pie crust for a child’s first pie?
Absolutely. Pre-made or refrigerated crusts are a great starting point. They reduce stress and let the child focus on the filling, assembling, and baking. Many home bakers use them regularly. The goal is a successful, delicious pie that builds your child’s confidence in the kitchen.
Remember, the first pie doesn’t need to be perfect. Every runny slice is a lesson in patience and technique. With these child first pie tips, you and your child can turn a near-miss into a repeat success. The most important ingredient is time spent together in the kitchen.