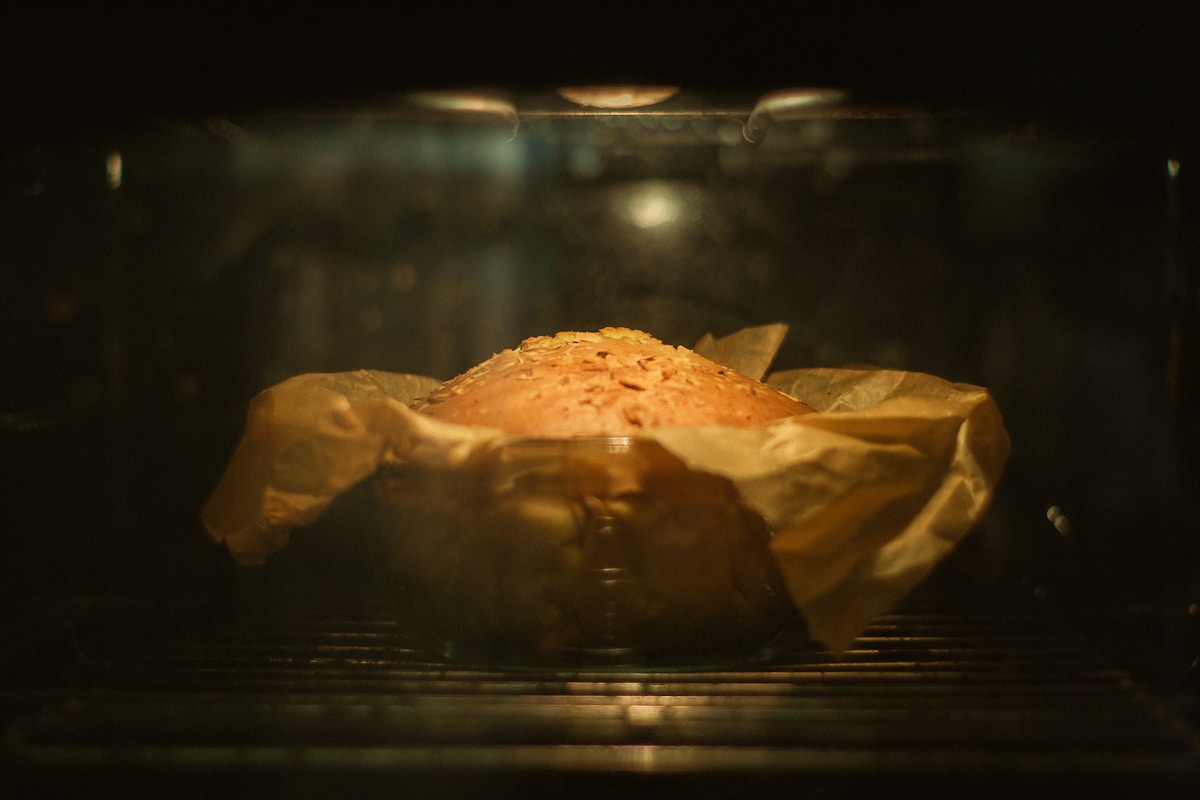
You did everything right. You measured the flour perfectly, brought your eggs to room temperature, and followed the recipe to the letter. You pull your beautiful cake layers from the oven, only to feel that familiar sinking feeling. The edges are dark, almost crisp, and pulling away from the sides, while a toothpick inserted in the center comes out with a smear of wet batter. What went wrong?
Before you blame your oven’s hot spots or the recipe itself, look at the tool in your hands. The culprit might just be your cake pan.
It sounds almost too simple to be true, but the color and material of your bakeware have a massive impact on the final result. This isn’t some old baker’s tale; it’s simple science. And understanding it is the key to unlocking consistent, beautiful cakes every single time. Here at kitchen-fun.com, we believe the right tool makes all the difference, and today we’re going to demystify the cake pan.
The Simple Science of Pan Color and Heat
Think about wearing a black t-shirt on a hot, sunny day versus a white one. The black shirt absorbs the sun’s energy and you feel hotter, faster. The white shirt reflects that energy, keeping you cooler. Your oven works on the exact same principle. It’s a hot box full of radiant heat, and your cake pan is sitting right in the middle of it.
- Dark-Colored Pans: Pans with a dark, matte, or nonstick finish act like that black t-shirt. They are excellent absorbers of radiant heat. This means they get hotter and transfer that heat to your batter more aggressively.
- Light-Colored Pans: Shiny, light-colored aluminum or stainless steel pans act like the white t-shirt. They reflect a significant amount of heat. This leads to a gentler, slower, and more even transfer of heat to the batter.
This single difference in heat absorption is responsible for that dreaded dark, almost-burnt ring around a cake that’s still underbaked in the middle. The aggressive heat from a dark pan cooks the exterior batter so quickly that it sets long before the center has had a chance to cook through and rise properly.
Dark Pans vs Light Pans The Showdown
So, is one type of pan “bad” and the other “good”? Not exactly. They’re just different tools for different jobs. But for most standard cakes, especially delicate butter cakes, sponges, and vanilla layers, one has a clear advantage. Let’s break it down.
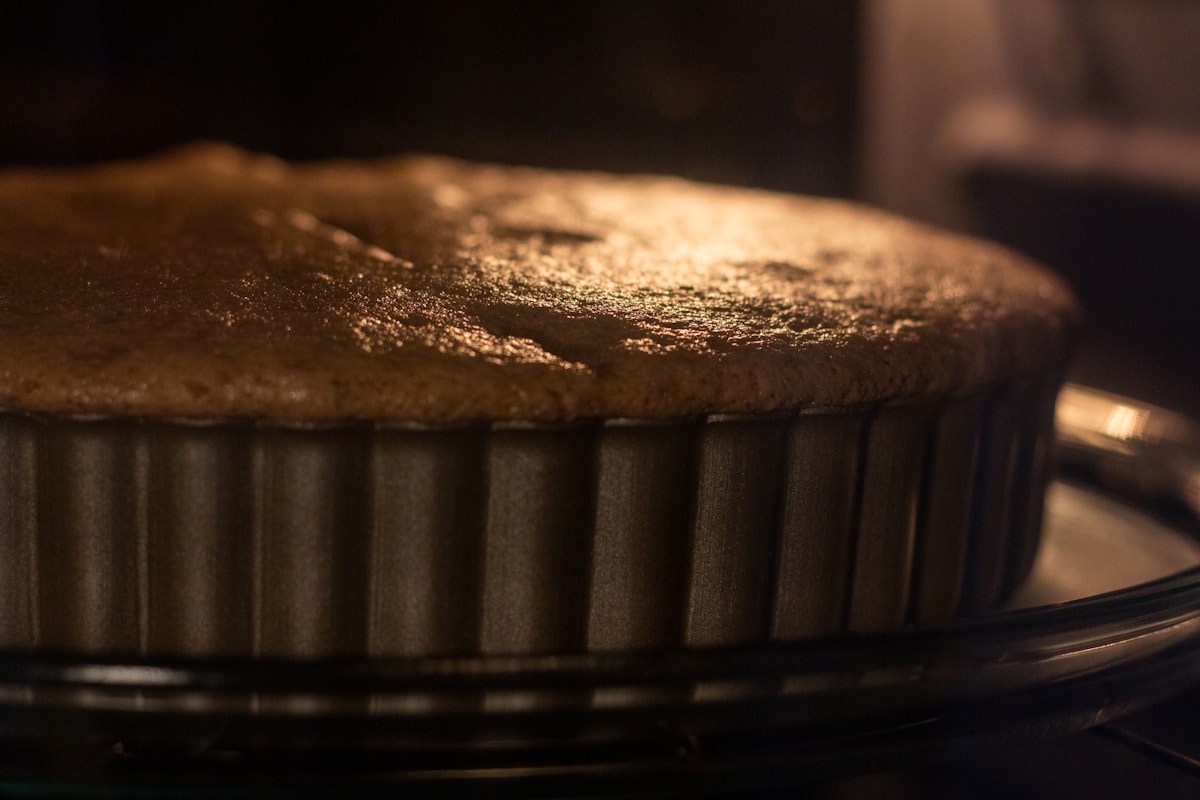
Dark Metal Pans (Often Nonstick Coated)
These are the pans many of us start with. They’re everywhere, and the “nonstick” label is incredibly appealing.
- How They Bake: Fast and hot. The dark surface absorbs heat intensely, driving it into the edges and bottom of the cake batter.
- The Result: You’ll get a darker, thicker, and often crispier crust. The edges will set quickly, which can sometimes stop the cake from rising evenly, leading to a pronounced dome in the center. Because the outside cooks so fast, you run a much higher risk of a dry, over-baked exterior by the time the interior is finally done.
- Pros:
- Excellent food release (thanks to the nonstick coating).
- Can create desirable chewy edges for things like brownies or cornbread.
- Widely available and often affordable.
- Cons:
- High risk of over-browning and burning.
- Promotes uneven baking and “doming.”
- Can easily dry out the outer crumb of a cake.
- Nonstick coatings can scratch and degrade over time.
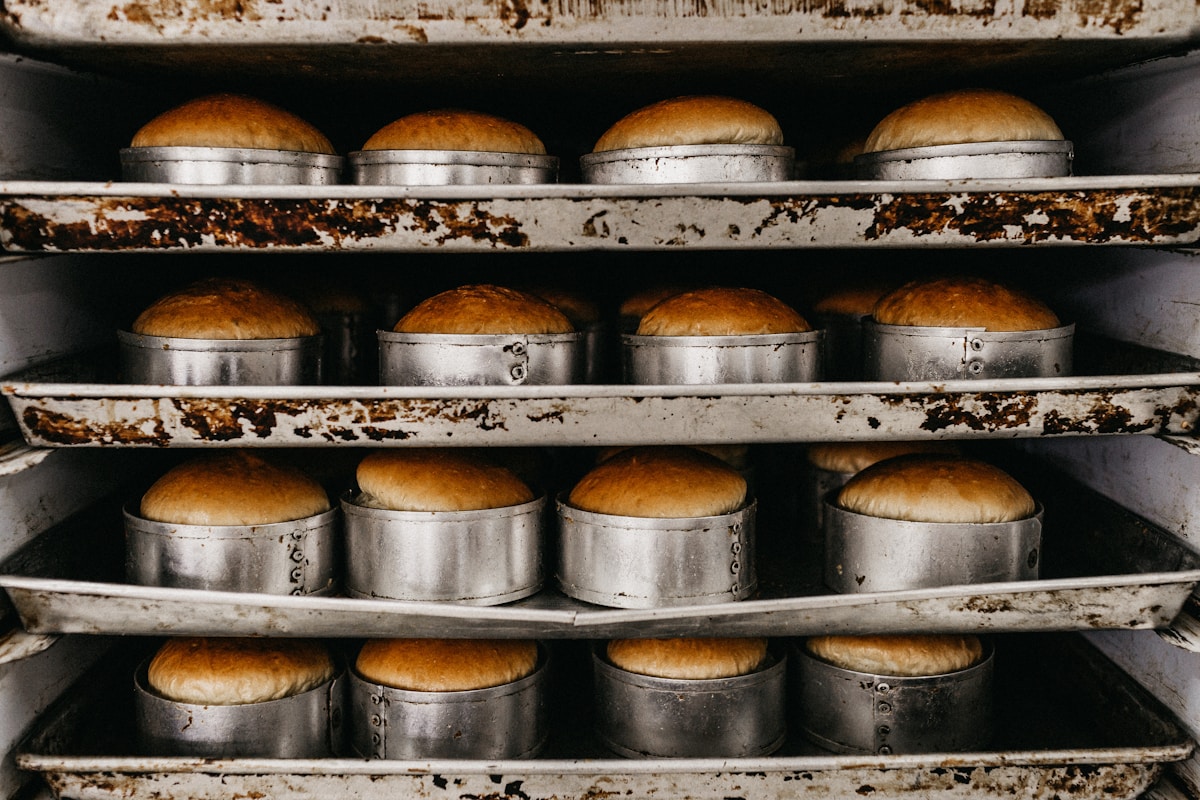
Light-Colored Metal Pans (Typically Natural Aluminum)
This is what you’ll find in the hands of most professional pastry chefs, and for good reason. They are the workhorses of the baking world.
- How They Bake: Gently and evenly. The reflective surface bounces some of the oven’s intense heat away, allowing the cake to bake more slowly from the edges inward.
- The Result: A tender, delicate, and evenly golden-brown crust. The slow, even heating allows the entire cake to rise at roughly the same rate, resulting in a much flatter top — which is ideal for stacking layer cakes. (Less trimming means less waste!)
- Pros:
- Promotes exceptionally even baking.
- Results in a tender, light-colored crumb and crust.
- Minimizes doming for flatter, stackable layers.
- Durable and long-lasting; no coating to scratch.
- Cons:
- Requires proper greasing and flouring (or a parchment paper liner) to prevent sticking.
- Can stain over time (though this doesn’t affect performance).
For delicate cakes, the winner is clear: light-colored aluminum provides the control and gentle heat you need for a perfect bake.
My Go-To Recommendations The Best Pans for Your Money
I’ve tested dozens of pans over the years, from cheap grocery store models to fancy boutique brands. My philosophy remains the same: value over vanity. You don’t need to spend a fortune to get professional-grade results.
My top recommendation for any serious home baker is a set of Fat Daddio’s ProSeries Anodized Aluminum Round Cake Pans.
- Why I Love Them: They are the definition of a workhorse. Made from heavy-gauge, non-reactive anodized aluminum, they heat incredibly evenly. The straight sides create sharp, clean edges on your layers. They are tough, won’t warp, and will last you a lifetime.
- Price Range: Typically $15 - $20 for a single 8-inch or 9-inch pan. An absolute bargain for the quality.
Another fantastic option is the USA Pan Bakeware Round Cake Pan.
- Why I Love Them: These are made from aluminized steel and have a light-colored, silicone-based nonstick coating that is PTFE and PFOA-free. They have a unique corrugated surface that promotes air circulation for even baking and easy release. They are incredibly heavy-duty.
- Price Range: Around $20 - $25 per pan. A bit more expensive, but the performance is top-notch.
If you only have dark, nonstick pans in your kitchen, please don’t throw them out! They can still be used. You just need to know how to adjust.
The Dark Pan Rescue Plan How to Adapt Your Recipe
Let’s say a recipe calls for baking a vanilla cake at 350°F (177°C) for 30-35 minutes. If all you have is a dark metal pan, you’re essentially putting that batter into a super-charged environment. Here’s how to compensate.
Kitchen Hack #1: The Temperature Drop
This is the most important adjustment you can make. Reduce the oven temperature by 25°F (about 15°C). So, for that recipe calling for 350°F, you’ll set your oven to 325°F (160°C). This simple change lowers the intensity of the radiant heat, giving the center of the cake more time to catch up to the edges. It’s the single best way to combat over-browning.
Kitchen Hack #2: The Early Time Check
Even with the reduced temperature, the cake will likely bake faster than the recipe states. Start checking for doneness about 5 to 10 minutes earlier than the low end of the recommended baking time. If the recipe says 30-35 minutes, start checking at the 20 or 25-minute mark.
How to check for doneness?
- The Toothpick Test: Insert a wooden skewer or toothpick into the absolute center of the cake. It should come out clean or with a few dry, tender crumbs attached. If you see wet batter, it needs more time.
- The Spring-Back Test: Gently press your fingertip on the surface of the cake. If it springs back immediately, it’s done. If it leaves an indentation, it needs a few more minutes.
When a Dark Pan Is Actually Your Friend
I don’t want you to think dark pans are useless. They excel in situations where you want a deep, dark, crispy crust. They are a specialized tool, and here’s where they truly shine:
- Fudgy Brownies: A dark metal pan is your secret weapon for achieving that perfect textural contrast: a gooey, molten center with delightfully chewy, almost crispy corners and edges.
- Roasted Potatoes and Vegetables: Want deep caramelization and crispy bits on your veggies? A dark, heavy-gauge sheet pan will absorb and hold heat beautifully, giving you better browning than a light-colored pan.
- Cornbread: A dark pan (especially cast iron, the king of heat absorption) will give your cornbread a wonderfully crunchy, golden-brown crust that’s impossible to get with a lighter pan.
The lesson here is simple: the tool must fit the task. For tender cakes, go light. For crispy crusts and deep browning, go dark. Understanding your equipment is just as important as understanding your ingredients. By paying attention to something as simple as the color of your pan, you’re taking one more step from being a home cook to being a true home baker. (And your cakes will thank you for it.)