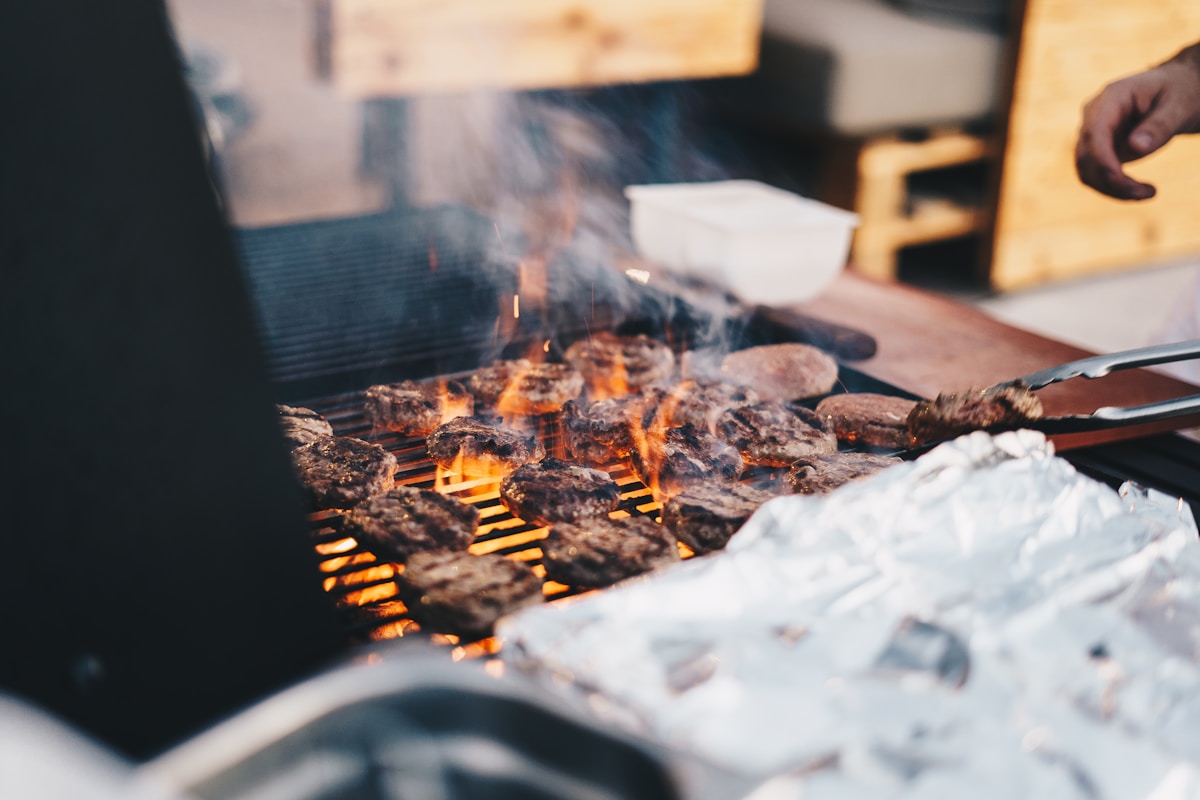
Hello there! Beatrice here, from my cozy little corner of the kitchen. I was chatting with a friend the other day, a wonderful dad to two energetic little ones, and he asked me a question that warmed my heart. He said, “Beatrice, I want to create those kitchen memories with my kids that everyone talks about. The flour on the nose, the giggles over a lopsided cookie… but where on earth do I start?” He remembered his own dad teaching him how to grill burgers, a memory that still smelled of charcoal and summer. He wanted to give that same gift to his children.
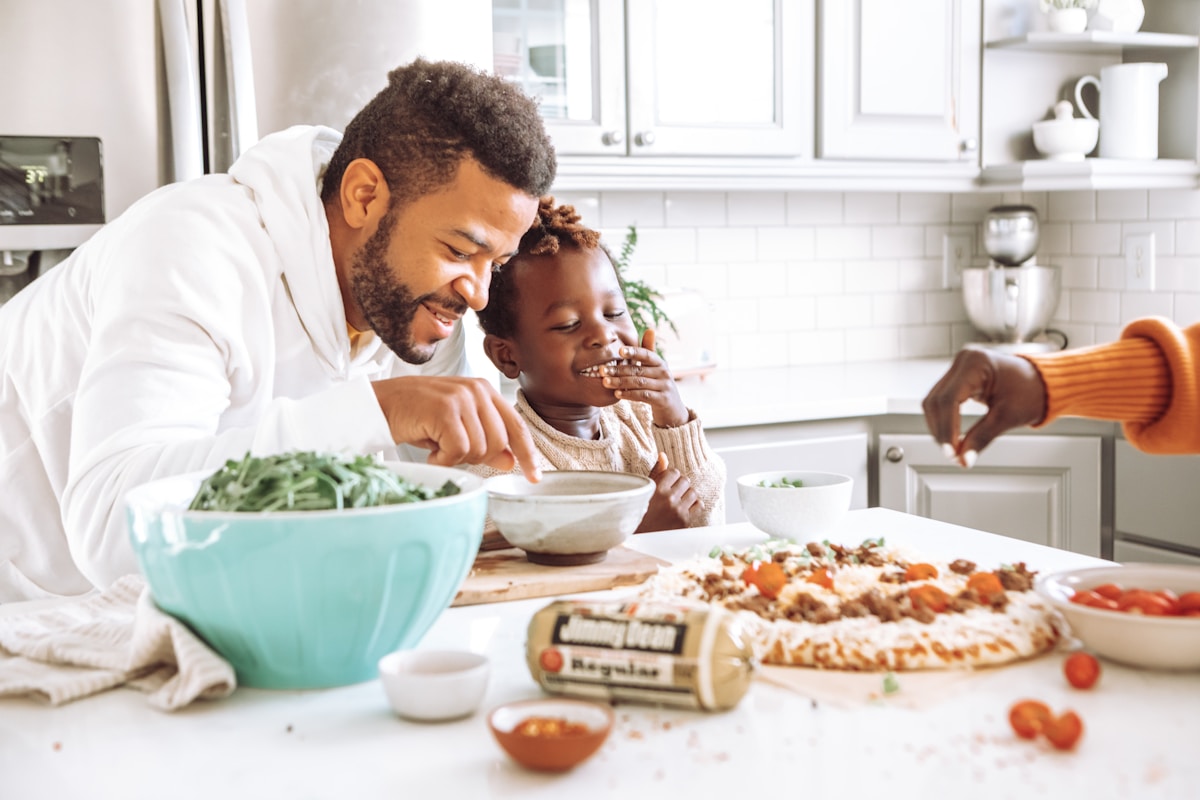
That question is one I hear a lot, and it gets right to the heart of what we do here at Kitchen Fun. It’s not about crafting a five-star meal on the first try. It’s about connection. It’s about turning a simple Saturday morning into a core memory, a story your child will tell for years to come. The kitchen is a magical place where you can teach patience, basic math, and the joy of creating something with your own two hands. So, for all the dads out there ready to tie on an apron and make some magic (and maybe a little mess), this one’s for you. We’re going to walk through three of the absolute best, confidence-boosting, practically foolproof first recipes to share with your little sous chef, ages five to seven.
Before You Even Crack an Egg
Before we talk about batter and cheese, let’s talk about mindset. Your goal today is not a perfect omelet. Your goal is a happy kid. (I promise, the two are not always mutually exclusive!) The single most important ingredient you can bring to this experience is patience. There will be spills. An egg might land on the floor. More flour might end up on the counter than in the bowl. And that is perfectly, wonderfully okay.
Our motto is: “Prep for success!” In professional kitchens, they call it mise en place, which is just a fancy way of saying “get everything ready before you start.” For cooking with kids, this is a game-changer. Before you invite your little one to the counter, do this:
- Read the recipe: Read it all the way through yourself. Twice.
- Gather your tools: Get out the bowls, spoons, whisks, and pans. Having everything within arm’s reach prevents frantic searching while your kid’s attention span wanders.
- Pre-measure ingredients: For a 5-year-old, scooping flour can be an adventure in abstract art all over your kitchen. Measure out the milk, sugar, flour, and anything else into small, shatter-proof bowls. This allows your child to do the fun part—the dumping and mixing—without the stress of precision.
Safety is our co-pilot in the family kitchen. Establish a few simple, firm rules. First, we always wash our hands with soap and warm water before we touch any food. Second, a sturdy step stool is your best friend. Look for something like the Guidecraft Kitchen Helper, which has safety rails to prevent tumbles. And third, create a clear “hot zone” around the stove and oven. Use a piece of tape on the floor if you have to! This is a grown-up zone, no exceptions.
Recipe #1 The Unbeatable Breakfast Hero Scrambled Eggs
Why are scrambled eggs the perfect first lesson? Because they involve a little bit of thrilling risk (cracking eggs!), a fun motor-skill activity (whisking!), and a truly magical transformation from liquid to solid that happens right before their eyes. The reward is fast, tangible, and delicious.
Your Ingredients (for 2 servings):
- 4 large eggs
- 1/4 cup whole milk (it makes them creamier!)
- 2 tablespoons of butter
- A pinch of salt
- 1/4 cup shredded mild cheddar cheese (optional, but highly recommended by tiny chefs)
The Game Plan:
-
Kid’s Job: The Great Crack-Up. The number one rule of cracking eggs with kids: never crack them directly into your main bowl. Give your child a small, separate bowl to crack the eggs into. This way, when a piece of shell inevitably falls in, you can easily fish it out with a larger piece of shell (it works like a magnet!). Let them crack one at a time. Celebrate the successes and laugh off the misses.
-
Kid’s Job: The Potion Master. Once the eggs are safely in your main mixing bowl, let your child pour in the pre-measured milk and the pinch of salt. Hand them a small, child-friendly whisk and let them go to town! Encourage them to whip it until the yolks and whites are one happy, pale-yellow family and little bubbles start to appear.
-
Dad’s Job: Master of the Flame. This part is for you. Place a non-stick skillet (a good Calphalon or All-Clad works wonders here) over medium-low heat. Add the butter and let it melt until it’s foamy but not browning. The secret to creamy, diner-style scrambled eggs is low and slow. High heat makes them tough and rubbery.
-
Teamwork: The Scramble! Pour the egg mixture into the warm pan. Let it sit for about 20-30 seconds until the edges just begin to set. Now, hand your child a silicone spatula (it won’t scratch the pan) and, with your hand guiding theirs, show them how to gently push the eggs from the edge of the pan toward the center. Keep repeating this slow, gentle pushing motion. They’ll see curds start to form. It’s like magic!
-
Kid’s Job: The Cheese Sprinkle. When the eggs are about 90% cooked (still a little wet-looking), turn off the heat. This is the moment for the cheese. Let your child sprinkle the shredded cheddar over the top. The residual heat from the pan will melt it into gooey perfection. Give it one final stir, and serve immediately. They made breakfast! The pride on their face will be worth every single drop of egg on the counter.
Recipe #2 The No-Fail Lunchtime Champ Personal Pizzas
If scrambled eggs are about process, personal pizzas are about pure, unadulterated creativity. There is no wrong way to top a pizza when you’re six. It’s an art project you can eat. This recipe removes the pressure of making dough from scratch, focusing entirely on the fun assembly.
Your Ingredients:
- Pre-made pizza crusts (Boboli, naan bread, or even whole-wheat pita bread work great)
- Jarred pizza sauce
- Shredded mozzarella cheese
- An assortment of toppings, chopped into kid-safe sizes: pepperoni, cooked sausage, bell peppers, olives, mushrooms, pineapple—whatever your family loves!
The Game Plan:
-
Dad’s Job: Oven Prep. Preheat your oven to 425°F (220°C). Line a baking sheet with parchment paper for the easiest cleanup in history. (Your future self will thank you.)
-
Kid’s Job: The Blank Canvas. Place a crust in front of your child. This is their masterpiece to create. Put the toppings in a series of small bowls, like an artist’s palette. This makes it easy for little hands to grab what they want.
-
Kid’s Job: The Saucy Spoon. Give your child a big spoon and a small dollop of sauce in the center of their crust. Show them how to use the back of the spoon to spread the sauce in a circle, leaving a little border for the “handle.” Some kids will make a perfect circle. Others will make a beautiful red blob. Both are correct.
-
Kid’s Job: The Cheese Shower. This is often the best part. Let them grab handfuls of shredded mozzarella and make it rain cheese all over their pizza. A little mess is part of the fun. You can turn this into a counting game (“Let’s put five pieces of pepperoni on!”) or a design challenge (“Can you make a happy face with the olives and peppers?”).
-
Dad’s Job: The Great Bake. Carefully transfer the finished pizzas to the prepared baking sheet. Slide them into the hot oven. They’ll cook quickly, usually about 10-12 minutes. You’re looking for the crust to be golden brown and the cheese to be bubbly and melted. Let them cool for a few minutes before slicing and serving. The moment they take a bite of the pizza they designed is pure gold.
The Sweet Victory Weekend Pancakes
Nothing says “weekend” quite like the smell of pancakes wafting through the house. Using a complete box mix (like Krusteaz or Bisquick, which only require water) is the key to a stress-free first experience. The goal is the joy of mixing and flipping, not the science of leavening agents.
Your Ingredients:
- 2 cups of “complete” pancake mix
- 1 1/2 cups of cold water
- 1 tablespoon of vegetable oil or melted butter (for the griddle)
- Fun additions: chocolate chips, blueberries, or sliced bananas
The Game Plan:
-
Kid’s Job: Dump and Stir. In a large bowl, let your child dump in the pre-measured pancake mix. Then, have them pour in the water. Hand them a whisk or a wooden spoon and let them stir. Here comes a great kitchen lesson: teach them to stir only until the big lumps are gone. A few small lumps are actually a good thing! Over-mixing pancakes makes them tough.
-
Dad’s Job: The Hot Seat. While they’re mixing, you get the griddle ready. A large, flat surface like a cast-iron griddle (Lodge makes fantastic ones) or an electric griddle works best. Heat it over medium heat. You’ll know it’s ready when a drop of water flicked onto the surface sizzles and evaporates instantly. Brush the surface with a little oil or melted butter.
-
Teamwork: The Pour. Using a 1/4-cup measuring cup or a small ladle, help your child pour batter onto the hot griddle to form pancakes. They might be circles, they might be continents. It’s all delicious.
-
Kid’s Job: The Sprinkle. If you’re adding chocolate chips or blueberries, now is the time to let your child carefully sprinkle a few onto the top of each wet pancake.
-
Dad’s Job: The Flip. This is another grown-up task. Watch the pancakes closely. When you see bubbles start to form and pop all over the surface and the edges look dry, it’s time to flip. Use a thin, wide spatula and do it with confidence! Cook for another minute or two on the other side until golden brown.
The Clean-Up Crew and The Core Memory
After the last bite of cheesy egg or syrupy pancake is gone, the adventure isn’t quite over. Teaching your kids that cleaning is part of cooking is a life skill. It doesn’t have to be a chore. Turn on some music and make it a team effort. A 6-year-old can carry their own unbreakable plate to the sink, help wipe the table with a cloth, or put away the container of toppings.
Looking back at your slightly messy kitchen, you’ll see more than just a few stray crumbs. You’ll see the place where you built a little more trust, taught a little bit of science, and created a memory that smells like melted butter and tastes like love. You didn’t just make a meal; you told your child they are capable, creative, and a valuable part of the family team. And that, my friend, is a recipe for a truly wonderful life.