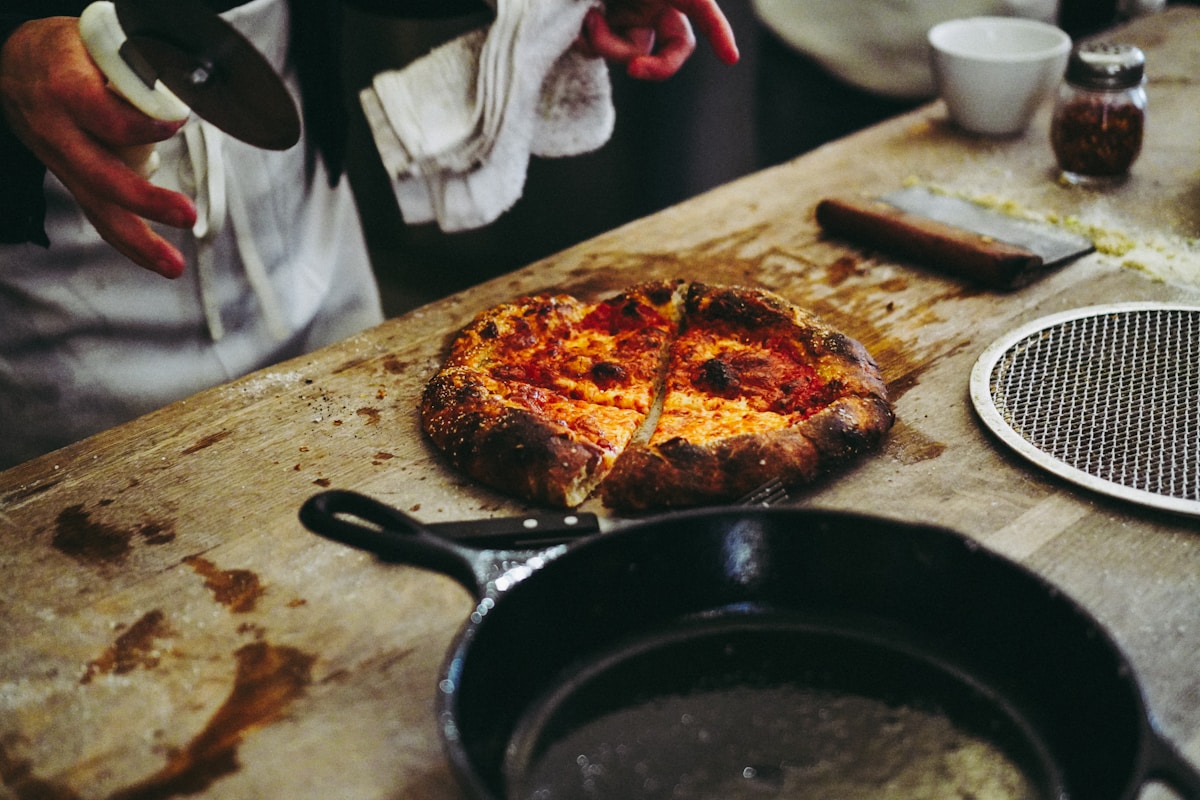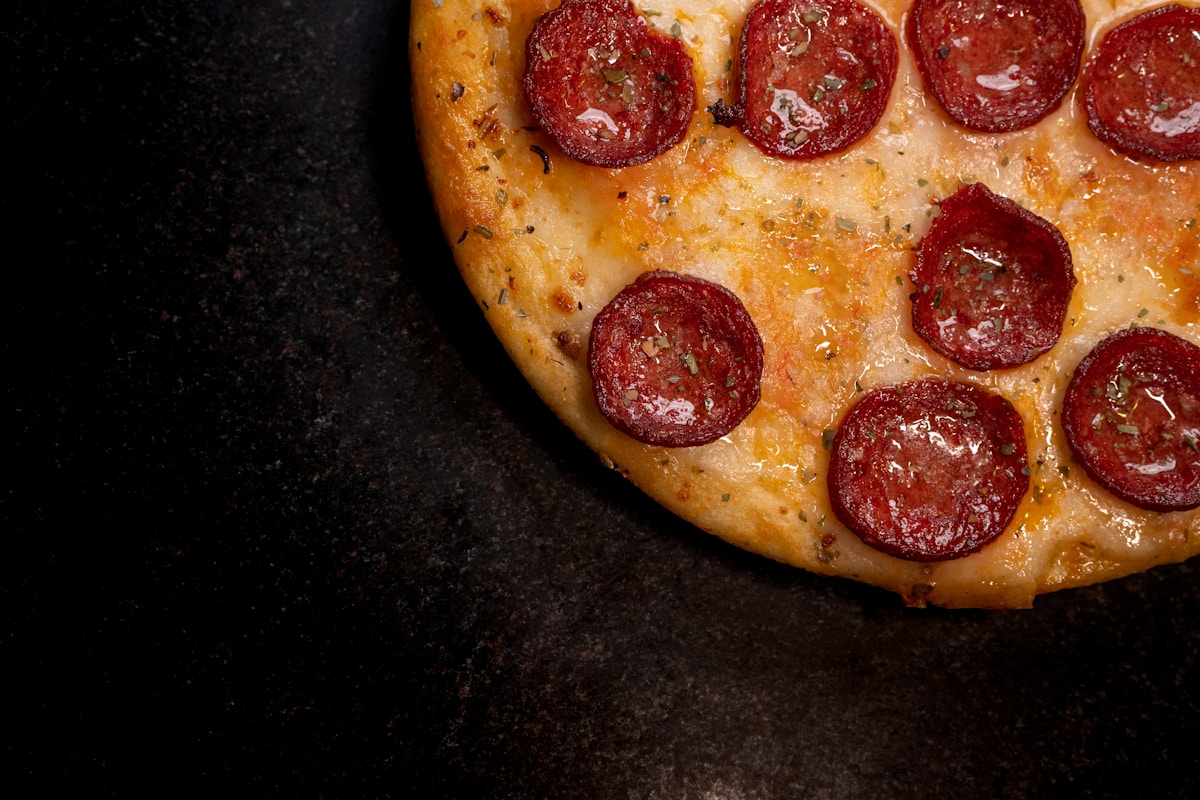
You’ve seen those photos on r/Pizza — a perfectly browned pepperoni pizza cradled in a well-seasoned 12-inch Lodge cast iron skillet. The crust looks like it stepped out of a deep-dish fantasy. But then you scroll further and there it is: a Neapolitan-style pie with leopard-spotted char, slid off a blazing-hot pizza stone onto a wooden peel. Which one do you want?
If you’ve ever stood in your kitchen scratching your head over which tool will give you the crust you dream of, you’re not alone. The age-old debate between cast iron and pizza stones is real, and the answer isn’t one-size-fits-all. It comes down to what kind of pizza you love — and how much patience you have. Let me break it down like I’m standing next to you at the counter, pointing at hot pans.
The Great Crust Debate
First, understand that your choice of cooking surface directly shapes the texture and flavor of your crust. A pizza stone is porous, absorbing moisture from the dough as it bakes. That creates a dry, crunchy, cracker-like base — think classic thin-crust or Neapolitan style. A cast iron skillet, on the other hand, is a heat sink. It retains massive amounts of energy and conducts heat so efficiently that the entire bottom of the dough fries in its own oil or fat. The result? A deeply golden, crispy, almost fried bottom crust that’s thick and chewy on the inside — like a pan pizza or Sicilian slice.
Neither is wrong. But you need to know what you’re after before you commit to preheating anything.
Why Cast Iron Delivers That Golden Crunch
Let’s talk about the skillet. A 12-inch Lodge cast iron skillet (around $30–$40) is an absolute workhorse. I’ve used mine for years, and honestly, it’s the closest thing to magic for pan-style pizzas. Here’s why:
- Heat retention: Cast iron holds heat like a grumpy bear. Once it’s hot, it stays hot. That means your crust starts cooking the second the dough hits the pan. You get a deep, even browning that rivals any pizzeria.
- Fat is your friend: A generous drizzle of olive oil (or butter) in the skillet before adding the dough creates a shallow fry effect. The oil gets to 400°F (204°C) while the skillet itself is at 500°F (260°C). That combination yields a crust with a shatteringly crisp bottom that’s golden to the point of caramelization. (Yes, really.)
- No special prep time: Unlike pizza stones, cast iron doesn’t need 45 minutes of preheating. Pop the skillet in a cold oven, set it to 500°F (260°C), and let it heat for about 15–20 minutes. Or, for speed, preheat it on the stovetop over high heat for 3–4 minutes before transferring to the oven.
- Versatility: You can start the pizza on the stovetop to crisp the bottom further, then finish under the broiler. That two-zone cooking method is a real kitchen hack I use all the time.
The downside? Weight. A 12-inch Lodge weighs nearly 8 pounds. Handling it with a hot handle and a full pizza takes care. Also, if you want a thin, airy crust, cast iron won’t give it to you. The dough will always fry slightly, creating a denser, breadier result.
America’s Test Kitchen confirmed what many of us have found: cast iron produces more even browning because it doesn’t have hot spots. The whole skillet radiates heat uniformly. That’s why your pepperoni edges get that perfect rendered crisp while the cheese bubbles evenly.
Why Pizza Stones Create the Perfectly Charred Neapolitan Base
Now the pizza stone camp. A good stone — like the Fibrament stone (about $40–$60) or a basic unglazed ceramic tile from a hardware store — is designed for one thing: absorbing moisture quickly. When you drop a stretched dough onto a 500°F (260°C) stone that’s been preheating for at least 45 minutes, the water in the dough vaporizes instantly. This steam pushes up through the crust, creating those gorgeous air bubbles and a chewy, charred bottom.
- Thin crust nirvana: If you’re after a Neapolitan-style pizza with a puffy cornicione (the outer edge) and a thin, crackly base, a stone is your best bet. It mimics the floor of a wood-fired oven.
- High heat tolerance: Stones can handle temperatures up to 600°F (315°C) or more. Many home ovens max out at 550°F (288°C), but a stone will still perform beautifully if you give it time.
- No fat needed: You don’t add oil to the stone. The dough slides off a semolina-dusted peel directly onto the hot surface. This method produces a clean, non-greasy crust that allows the flavor of the flour to shine.
The catch is preheating. You must preheat the stone for 45 minutes to an hour. Skipping that step means a soggy, pale underside—pretty much the opposite of what you want. Also, stones can crack if shocked with cold water or placed on a hot surface too quickly. They’re fragile compared to cast iron.
Many r/Pizza enthusiasts swear by stones for a specific style. But they also warn that stones don’t brown the bottom as evenly as cast iron, especially if your oven has hot spots. You might need to rotate the pizza mid-bake.
Which One Should You Choose
Still stuck? Here’s my practical breakdown based on what you crave:
- Go for cast iron if… you love thick, doughy pan pizzas with a crispy, fried bottom. You want something quick to heat up and forgiving for beginners. You’re okay with a bit of weight and want a tool that doubles as a frying pan for everything else. Price: $30–$40.
- Go for a pizza stone if… you’re obsessed with thin, charred Neapolitan-style crusts. You don’t mind waiting 45 minutes for preheat. You want to bake multiple pizzas in a row (though cast iron can do that too, with a little cleaning between). Price: $40–$60.
If you’re like me and love both, you don’t have to choose. I keep a Lodge skillet and a Fibrament stone in my kitchen. On a Tuesday night when I want a quick comfort pizza, I grab the cast iron. On a weekend when I’m hosting friends and want to show off, I fire up the stone. They each have their place.
A Few Pro Tips for Both Methods
No matter which tool you pick, these tips will level up your pizza game:
- Preheat is non-negotiable: For cast iron, 15–20 minutes in a 500°F (260°C) oven works. For stones, commit to a full 45 minutes. Use an infrared thermometer to check surface temps—aim for 475–500°F (246–260°C) for most home ovens.
- Dough matters: A higher hydration dough (65–70% water) works better on stones, as the extra moisture helps create bubble structure. For cast iron, a slightly stiffer dough (55–60%) gives you a denser, chewier crumb that stands up to the fat.
- Oil the skillet, not the stone: Brush olive oil directly into the cast iron skillet before adding the dough (about 2 tablespoons). For the stone, use a dusting of semolina or cornmeal on the peel to prevent sticking.
- Bake times: Cast iron pies typically take 12–15 minutes at 500°F (260°C). Stone-baked thin crusts take 8–10 minutes. Watch the cheese and edges—when the pepperoni starts to curl and the mozzarella gets blistery spots, it’s done.
- Let it rest: After you pull the pizza out, let it sit for 2–3 minutes before slicing. This sets the cheese and allows the crust to firm up. Cutting immediately will turn a perfect pie into a squishy mess.
The Final Slice
There’s no universally “better” tool. It’s about matching the surface to the pizza you want to eat. Cast iron gives you a deeply satisfying, golden-crusted pan pizza that feels like a hug on a plate. A pizza stone delivers that whisper-thin, blistered base that tastes like a little slice of Naples.
Both are affordable, durable, and capable of producing restaurant-quality results at home. Start with what excites you more — maybe that’s a 12-inch Lodge skillet from your local hardware store or a Fibrament stone from Amazon. Either way, you’ll be making pizza that makes your kitchen feel like the magic place it is.
(And yes, you can totally own both. Your stomach will thank you.)