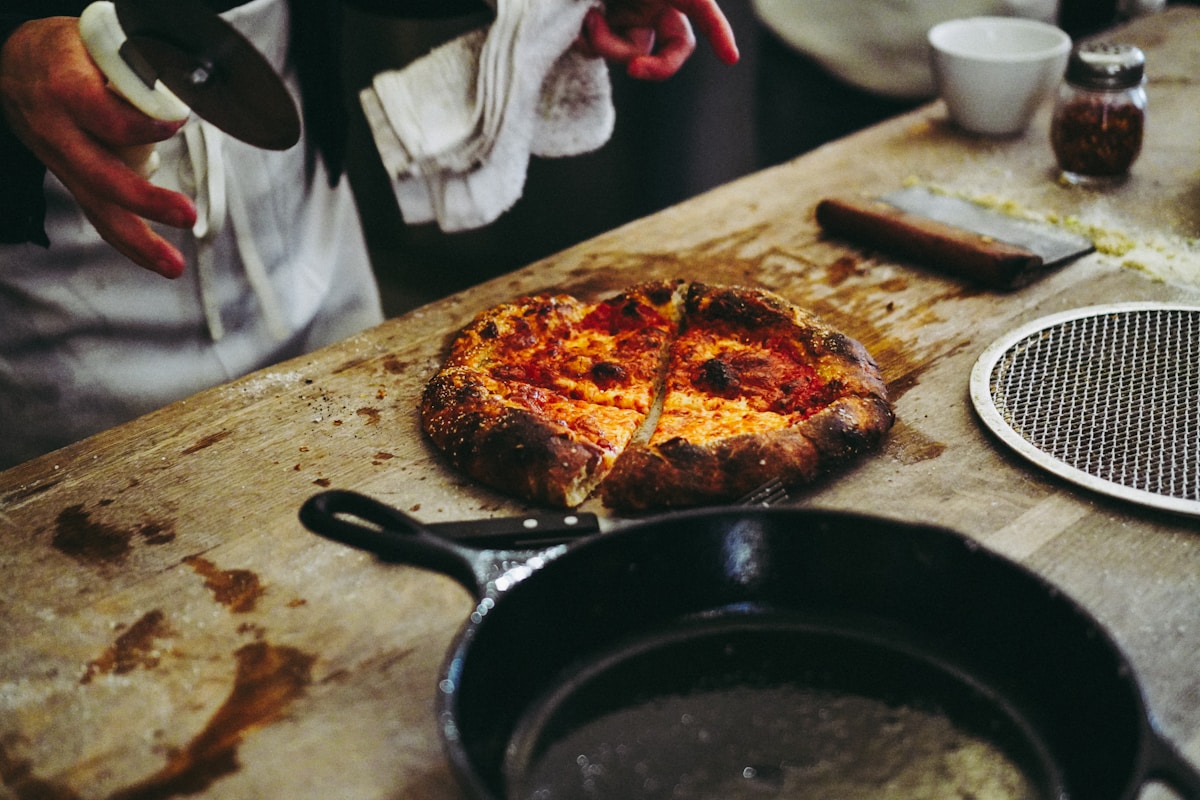
We’ve all been there. You spend an afternoon making dough from scratch, you carefully select your toppings, and you slide your creation into the oven dreaming of a pizzeria-style crust. What comes out twenty minutes later? A pizza that’s… fine. The cheese is melted, but the crust is pale, a little soft, and disappointingly floppy. It’s the kind of pizza that makes you think, “Maybe I should have just ordered delivery.”
But what if I told you the problem isn’t your dough or your oven? It’s your pan. And the solution isn’t some expensive, single-purpose gadget. It’s probably sitting on your stovetop right now: a heavy, reliable cast iron skillet.
Here at Kitchen Fun, we believe the right tool makes cooking better, and that tool is often the simplest one. When it comes to homemade pizza, your 10 or 12-inch cast iron skillet is an absolute game-changer. Let’s break down why.
Why Cast Iron Works So Well
The magic of a great pizza oven isn’t just the high heat; it’s the intense, immediate heat transfer from the stone floor to the dough. This blast of energy causes the water in the dough to turn to steam instantly, creating that beautiful, airy rise called “oven spring” and a supremely crispy bottom crust. A thin aluminum baking sheet just can’t do this. It’s flimsy and loses heat the second you place cool dough on it.
Cast iron, on the other hand, is a master of heat retention. It’s a dense, heavy material that acts like a thermal battery. When you preheat it in a 550°F (288°C) oven, it soaks up an incredible amount of energy. When you lay your pizza dough inside, the skillet doesn’t flinch. It immediately dumps all that stored heat into the crust, perfectly mimicking the floor of a professional brick oven. The result is a golden-brown, blistered, and audibly crunchy crust that can stand up to any toppings you throw at it.
Skillet vs Stone vs Steel The Real-World Showdown
I get a lot of questions about pizza stones and baking steels. They’re great products, but are they necessary for a fantastic home pizza? Let’s do a practical comparison.
-
Cast Iron Skillet:
- Pros: Extremely versatile (you use it for everything else!), relatively inexpensive, and heats up quickly. The high sides also help create a contained, deep-dish-like crust edge that gets beautifully fried and crispy. (It’s a texture you can’t get any other way.)
- Cons: Limits you to a round, 10 or 12-inch pizza. It’s also quite heavy to move in and out of a hot oven.
- Price: $20 - $40 for a classic Lodge skillet that will last a lifetime.
-
Pizza Stone (Cordierite):
- Pros: The porous surface is excellent at wicking moisture away from the dough, which contributes to a crisp crust.
- Cons: Requires a long preheat—at least 45 minutes to an hour—to get truly hot. They are also prone to cracking from thermal shock if you place something cold on them or get them wet while hot.
- Price: $30 - $60.
-
Baking Steel:
- Pros: Conducts heat even more effectively than stone, resulting in an incredible crust. It’s also virtually indestructible.
- Cons: Very expensive and extremely heavy. Like a stone, it requires a long 45-60 minute preheat to come to temperature.
- Price: $70 - $150.
My Verdict: For weeknight pizza or for anyone who doesn’t want another single-task item cluttering their kitchen, the cast iron skillet wins. It delivers 95% of the performance of a steel for a fraction of the cost and preheating time.
The Step-by-Step Skillet Pizza Method
Ready to try it? The key here is working safely and quickly. That skillet will be dangerously hot.
- Preheat Everything: Place a 12-inch cast iron skillet on the middle rack of your oven. Turn the oven to its highest setting, typically 500°F to 550°F (260°C to 288°C). Let the skillet preheat for at least 30 minutes.
- Prep Your Station: While it heats, get your dough (stretched to about 10-11 inches), sauce, cheese, and toppings ready to go. You won’t have time to be chopping mushrooms once that skillet comes out.
- The Assembly: Carefully remove the screaming-hot skillet from the oven and place it on a heatproof surface. Drizzle a tablespoon of olive oil in the pan—it will shimmer immediately. Lay your dough inside, pressing it out towards the edges. It will start sizzling on contact.
- Work Fast: Quickly spread your sauce, cheese, and toppings. Don’t overload it! A few toppings work best here.
- Bake: Using oven mitts, carefully place the skillet back in the oven. Bake for 10 to 14 minutes, or until the cheese is bubbling and the crust is a deep golden brown.
- Finish: Remove the skillet and let it cool for a minute before using a spatula to slide the pizza onto a cutting board. The best part? The skillet’s nonstick surface means it should slide right out.
Kitchen Hack The Stovetop Sizzle Start
If handling a 550°F skillet sounds intimidating, there’s another brilliant method that gives you even more control and a guaranteed crispy bottom.
This time, you assemble the pizza in a cold skillet. Stretch your dough and place it in the unheated pan, then add your toppings. Now, place the entire skillet on your stovetop over medium-high heat. Let it cook for 2-3 minutes. You will hear it start to sizzle and see the edges begin to firm up. This step is only to cook the bottom crust.
While this is happening, turn on your oven’s broiler to high. Once the bottom is sizzling, transfer the skillet directly from the stovetop to the top rack of your oven, about 6-8 inches from the broiler element. Let the broiler cook the top of the pizza for 4-6 minutes. Keep a close eye on it, as broilers can burn things quickly!
This method perfectly separates the cooking process, ensuring the bottom is crisp by the time the cheese on top is perfectly melted and bubbly. It’s my go-to for a quick weeknight pizza.
So before you invest in specialized gear, give your trusty cast iron pan a shot. It’s a humble, hardworking tool that proves you don’t need to spend a lot of money to bring a little bit of magic—and a perfectly crispy pizza—into your kitchen.


