The Reddit Obsession That Changed My Pizza Game
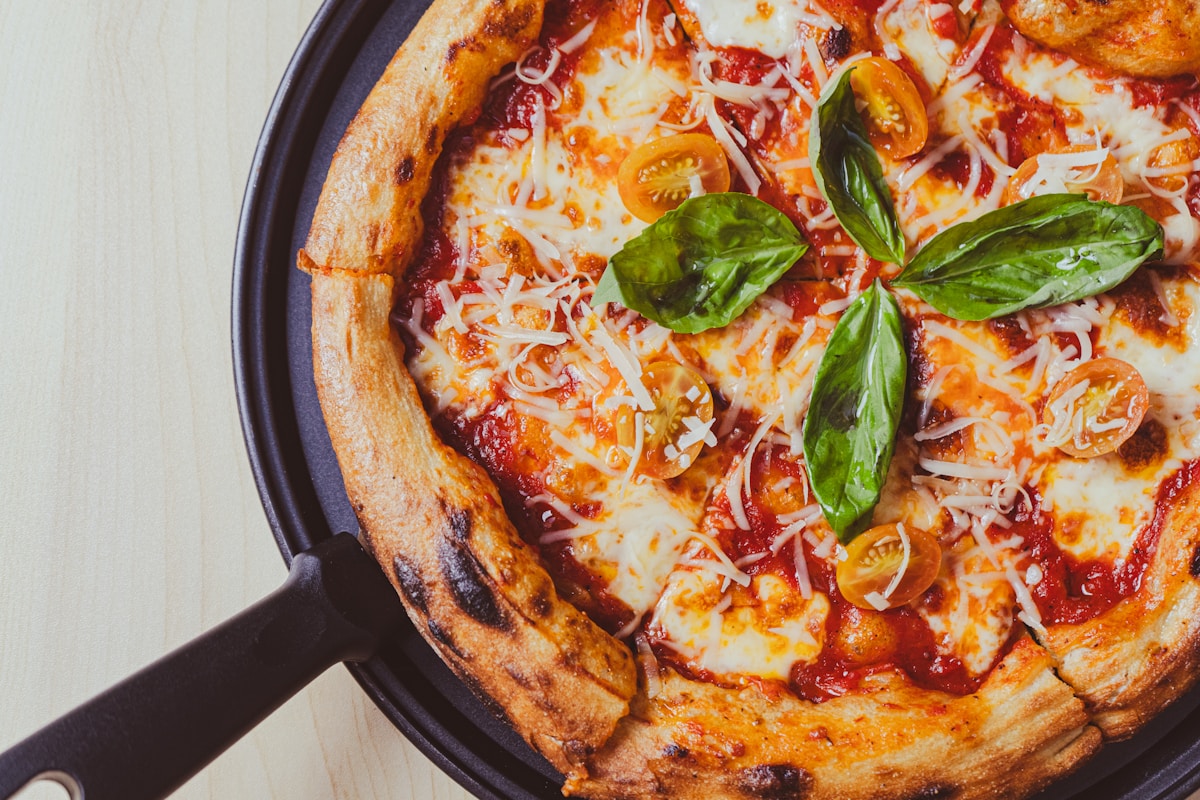
I remember the first time I saw it: a photo on r/Pizza of a cast iron skillet pizza with a crust so golden and caramelized it looked like it had been kissed by the sun. The home cook who posted it admitted they were obsessed, and after reading their technique, I understood why. They claimed the crust could handle a heavier sauce without getting soggy, and that preheating the skillet at 500°F (260°C) produced a crunch that rivaled any pizzeria. I had to test it myself. And you know what? They were right. If you’ve been struggling with a pizza stone that takes forever to heat up or a sheet pan that leaves you with a pale, floppy bottom, a cast iron skillet might be the upgrade you didn’t know you needed.
Why Cast Iron Works for Pizza
Let’s talk about the science behind that beautiful crunch. Cast iron is a dense metal that excels at two things: heat retention and even heat distribution. When you preheat a cast iron skillet in a 500°F to 550°F (260°C to 288°C) oven for at least 30 minutes, the metal becomes a giant heat battery. The moment you lay your dough onto that screaming-hot surface, it starts to sear. This is what chefs call the Maillard reaction — the browning that creates complex, nutty flavors and a crisp texture.
Compare that to a standard baking sheet. Thin aluminum pans lose heat the second you add cold dough. They don’t store enough energy to give you that immediate sear. A pizza stone does store heat, but it takes a full hour to reach peak temperature, and it’s heavy and fragile. A cast iron skillet sits somewhere in the sweet spot: it’s easier to handle, preheats faster than a stone, and gives you that stone-like crunch. Plus, the weight of the skillet actually prevents the dough from puffing up too quickly. Instead of a light, airy center, you get a denser, chewier base that supports generous toppings without collapse. (Trust me on this one.)
The Perfect Preheat: Time and Temp
Here’s where most people go wrong. They toss the skillet in the oven for five minutes and call it good. No. For a truly crunchy bottom, you need to preheat the skillet for a full 30 minutes at 500°F (260°C). If your oven maxes out at 550°F (288°C), that’s even better. Kenji López-Alt’s tests at Serious Eats confirmed this: the internal surface temperature of a preheated cast iron skillet at 500°F will drop about 100 degrees when you add room-temperature dough, but because the skillet holds so much thermal mass, it recovers quickly. A short preheat means the skillet cools off too fast and you end up with a pale bottom.
If you want to take it up a notch, place the skillet on the bottom rack of the oven to get direct exposure to the heating element. I use a Lodge 12-inch skillet for this — it’s affordable (around $40) and heavy enough to hold heat. Avoid skillets with enamel coatings unless you’re sure they can handle high heat. Plain, seasoned cast iron is the way to go.
Dough and Assembly: Tips for a Non-Greasy Crust
The r/Pizza community warned against using too much oil, and they’re spot on. A light brush of oil on the hot skillet is enough to prevent sticking, but if you go overboard, you’ll end up with a deep-fried bottom. I use a paper towel to wipe a thin layer of olive oil onto the skillet right after it comes out of the oven, then I immediately add the dough. Some people like to stretch the dough on a piece of parchment paper, then slide it into the skillet — that’s a great hack for beginners (it prevents the dough from sticking and makes transfer easy). But if you want the most direct contact, skip the paper.
For the dough itself, aim for a hydration around 60-65% (100g water to 160g flour). I use King Arthur Flour’s bread flour for its higher protein content, which gives more chew and browning. Stretch the dough into a round that’s slightly smaller than the skillet’s diameter, because it will shrink a bit when it hits the heat. Let it rest for 10 minutes after stretching to relax the gluten.
Sauce and Toppings: Go Ahead, Be Generous
One of the biggest advantages of cast iron is that the thick, crispy crust can support a heavier hand with sauce and toppings. I like to use a simple San Marzano tomato sauce that’s been crushed and seasoned with salt, garlic, and a pinch of sugar. Spread it all the way to the edges — you want that caramelized edge where sauce meets skillet. For toppings, well, anything goes. But the Reddit poster mentioned that the crust can handle a heavier sauce, and it’s true. I pile on mozzarella, pepperoni, mushrooms, and even a few blobs of ricotta without worrying about the center turning mushy.
A word on cheese: grate your own low-moisture mozzarella. Pre-shredded cheeses contain starches that can cause the crust to steam instead of crisp. Now, pop that skillet into the oven and bake for 12–15 minutes. You’ll see the edges start to puff and brown. That’s when you know magic is happening.
The Broiler Finish for Extra Top Browning
Here’s a trick that separates good cast iron pizza from great cast iron pizza: finish it under the broiler. Once the crust is cooked through and the cheese is melted but not deeply browned, switch your oven to broil (high) and move the rack to the top position. Broil for 2–3 minutes, watching carefully. The direct top heat caramelizes the cheese and any exposed edges of the crust, giving you that faux-wood-fired look. Just be careful not to leave it too long — cheese can burn fast. (Your future self will thank you for staying nearby.)
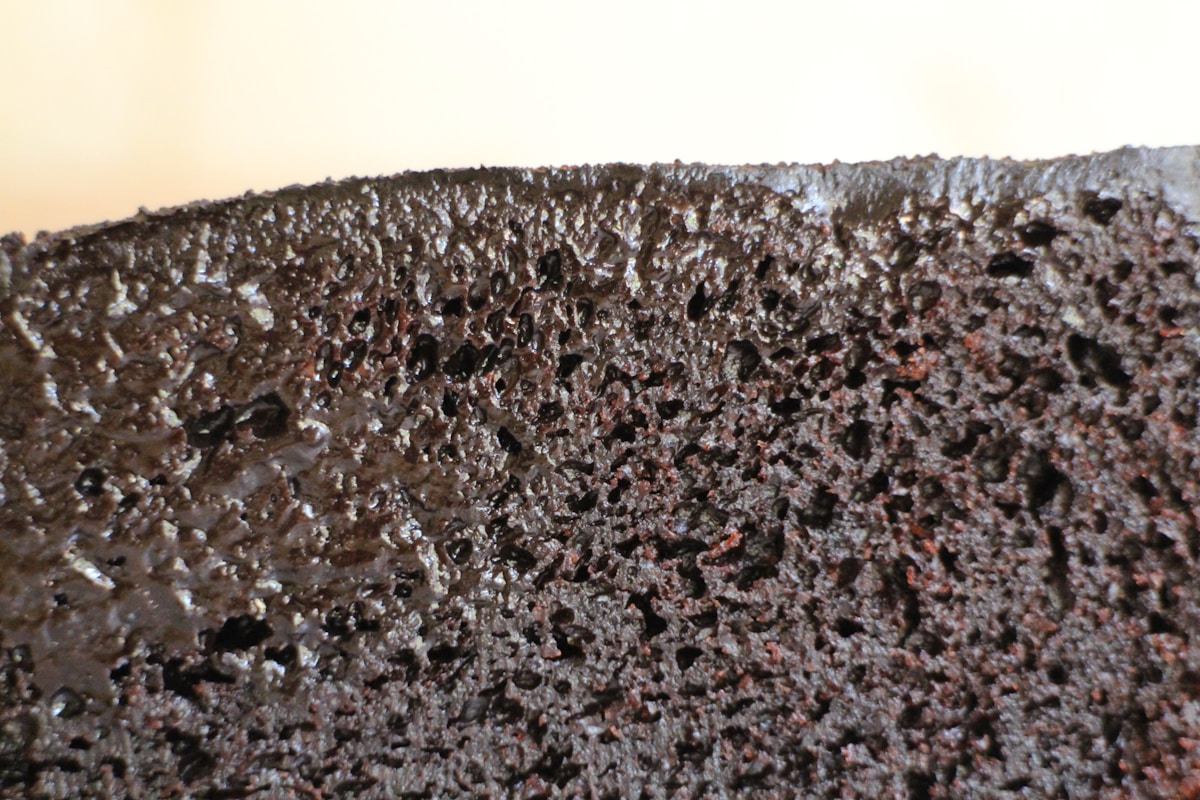
After broiling, let the pizza rest in the skillet for 5 minutes before you attempt to lift it out. This allows the bottom to firm up even more. Use a thin metal spatula to slide it onto a cutting board. The crust should be a deep golden brown and sound hollow when tapped. If it’s still pale, your skillet wasn’t hot enough or you didn’t preheat long enough.
Cleaning and Caring for Your Skillet After Pizza
Let’s be honest: pizza leaves a mess in the skillet. Bubbled cheese and baked-on sauce can be stubborn. Here’s the right way to clean: pour in a cup of water and bring it to a simmer on the stovetop. Use a wooden spatula to scrape up the stuck bits. Once the water cools, dump it out, scrub with a soft brush and mild soap (yes, soap is fine on seasoned cast iron — that’s a myth), then dry thoroughly over low heat. Rub a thin layer of oil inside to re-season. Never use steel wool or harsh abrasives that strip the seasoning.
If you treat your skillet right, it will give you years of perfect pizza. I own a Lodge skillet that’s been in use for over five years, and the seasoning is so dark and slick that nothing sticks — even sticky cheese slides right off with a quick wipe. That’s the beauty of cast iron: it gets better with age.
Is It Better Than a Pizza Stone?
So, can you make better pizza in a cast iron skillet than on a stone? I think so, for most home setups. A stone gives you a more traditional Neapolitan-style crust with a soft, airy crumb and leopard spotting on the bottom. But achieving that requires a stone that’s preheated for at least an hour, plus a peel for launching the pizza. The cast iron skillet is more forgiving. It’s easier to preheat, easier to load (just press the dough into the hot pan), and it produces a consistently crunchy, caramelized crust that holds up to heavy toppings. The trade-off is that the crust will be denser and more bread-like — not a flaw, just a different style.
If you already own a cast iron skillet, you’re out zero dollars to try this. If you don’t, a 10- or 12-inch skillet from Lodge costs between $30 and $45. That’s a steal compared to a high-end pizza steel ($80–$120) or a baking stone ($50–$70). And you can use it for searing steaks, frying chicken, and baking cornbread. For value and versatility, cast iron wins every time.
My Final Recommendation
Try this method at least once. Preheat your skillet for 30 minutes at 500°F. Use a dough that’s around 65% hydration and stretch it thin. Don’t drown the skillet in oil. Bake until the crust is deep golden, then hit it with the broiler. The result will be a pizza that’s crunchy on the bottom, chewy in the middle, and perfectly bubbled on top. No fancy equipment needed — just a pan that’s been in kitchens for centuries. And if you’re not convinced yet, head over to r/Pizza and scroll through the cast iron posts. You’ll see what I mean. Happy cooking, and remember: the right tool makes cooking easier — but the most expensive tool isn’t always the right one.