The request usually comes in a frantic text or a breathless phone call. “The baker cancelled!” or “We decided to elope tomorrow!” Your heart hammers in your chest as you look at your calendar. A wedding cake. Tomorrow. It sounds like a scene from a baking reality show, a challenge designed for pure chaos. But I’m here to tell you a secret whispered among bakers in online forums and tight-knit communities: it can be done.
Baking a multi-tiered celebration cake in a single day is less about magic and more about strategy. It requires abandoning dreams of delicate sugar flowers and intricate fondant work, and instead embracing the beauty of simplicity, stability, and a rock-solid plan. It’s a culinary sprint, a testament to the power of a well-organized kitchen. So take a deep breath. We’re going to turn that panic into a plan and create something beautiful, delicious, and worthy of a celebration.
The Golden Rule Choosing Your Cake Wisely
Before you even touch a bag of flour, your most important decision is the cake itself. This is not the time for an airy, ethereal angel food cake or a delicate, wobbly chiffon. Those cakes are beautiful, but they are divas; they demand long, slow cooling times and gentle handling. For a one-day wedding cake, you need a workhorse. A sturdy, reliable, and delicious cake that can handle being cooled quickly, stacked confidently, and frosted without complaint.
Your two best friends in this mission are oil-based cakes and sturdy butter cakes.
-
The Trusty Oil-Based Cake: Think of a wonderfully moist carrot cake (hold the nuts and raisins for easier stacking!) or a classic chocolate “wacky cake.” Using oil instead of butter creates a crumb that is incredibly tender and stays moist for days. These cakes are often mixed using the simple “muffin method” (wet ingredients into dry), which is fast and nearly foolproof. They also handle a rapid chill in the freezer like a champion.
-
The Sturdy Butter Cake: A classic yellow or vanilla butter cake is the foundation of many traditional wedding cakes for a reason. Its tighter, denser crumb provides the structural integrity needed to support multiple tiers. While it requires the more involved “creaming method” (beating butter and sugar until light and fluffy), the result is a rich flavor and a flat, even surface perfect for decorating. Just remember to let the finished cake sit at room temperature for a bit before serving, as the butter in the cake will be quite firm straight from the fridge.
Whichever you choose, use a recipe you trust. This is not the day to experiment with a brand-new, un-tested recipe from the internet. Reliability is your most valuable ingredient.
Your Hour-by-Hour Battle Plan
A compressed timeline requires military precision. Clear your counters, send the kids and pets to a friend’s house, and put on your favorite upbeat music. This is your kitchen command center for the day.
Morning (8:00 AM - 12:00 PM): The Baking Blitz
Your first move is mise en place. This French term means “everything in its place,” and today, it’s non-negotiable. Measure out all your flour, sugar, eggs, and flavorings for all your cake layers before you start mixing. (Trust me, your future self will thank you.)
- Preheat & Prep: Get your oven preheating to 350°F (175°C). Grease your pans, line them with parchment paper, and grease the parchment. This guarantees your cake layers will release cleanly.
- Mix & Bake: Mix your batter and get those layers in the oven. For even baking, I swear by cake strips—fabric strips you soak in water and wrap around the outside of your pans. They insulate the pan, forcing the cake to rise evenly without a huge dome, which saves you precious leveling time later.
- Cool & Wrap: Once baked, let the layers cool in their pans for about 15 minutes. Then, with purpose, flip them out onto a wire rack. Here’s the key kitchen hack: while they are still warm, wrap each layer tightly in two layers of plastic wrap. This traps the steam and moisture, resulting in an incredibly moist cake.
- Flash Chill: Immediately place the wrapped layers on a flat surface (like a cookie sheet) in your freezer. This rapid cooling is what makes a one-day cake possible. They need at least 2-3 hours to become firm enough to handle and frost.
Afternoon (12:00 PM - 3:00 PM): Frosting & The Crumb Coat
While the cakes are chilling, it’s time to make your frosting. You’ll need a large batch, so a stand mixer (like a trusty KitchenAid) is a lifesaver here. Once your cakes are firm to the touch (cold, but not frozen solid), it’s assembly time.
- Level & Stack: Use a cake leveler or a long serrated knife to carefully slice off any domes from your cake layers, creating a perfectly flat surface.
- Assemble: Place your first layer on a cake board. Pipe a thick dam of frosting around the outer edge. This will hold in any filling you choose to use and prevent it from squishing out the sides. Fill, then place the next layer on top. Repeat for all tiers.
- The Crumb Coat: This is the most crucial step for a clean finish. Apply a thin, messy layer of frosting over the entire cake. Its only job is to catch all the loose crumbs. Use a bench scraper to smooth it down. It will look ugly. That’s okay! (Yes, really.) Pop the crumb-coated cake back into the fridge or freezer for at least 30 minutes to an hour until the frosting is hard.
Late Afternoon (3:00 PM - 5:00 PM): Final Frosting & Decor
Now for the fun part. Apply a generous final coat of frosting over your chilled, crumb-coated cake. A cake turntable and a bench scraper are your best tools for achieving those satisfyingly smooth sides. Don’t aim for perfection; aim for beautiful.
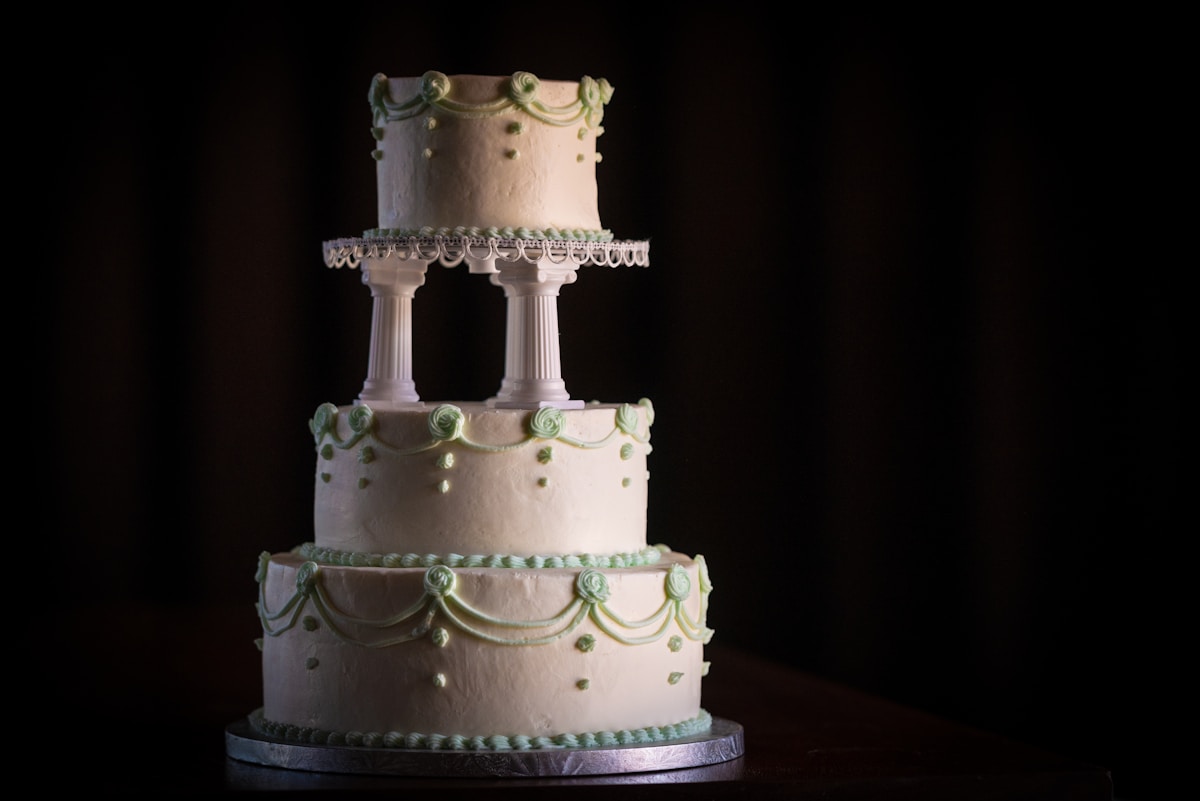
For decoration, think simple and elegant. A textured, rustic finish made with the back of an offset spatula is stunning and incredibly forgiving. Fresh, non-toxic flowers (with their stems wrapped in floral tape) add instant romance. A simple piped border at the base is classic for a reason. Your goal is to finish decorating and get the cake into its final, safe resting place in the refrigerator until it’s time for delivery.
The Frosting Dilemma Stability is Key
Your choice of frosting is just as important as your choice of cake. You need something that will whip up relatively quickly, hold its shape at room temperature, and taste amazing.
- American Buttercream (ABC): This is the easiest and fastest option. It’s a simple mix of powdered sugar, softened butter, vanilla extract, and a splash of milk or cream. It’s very sweet and forms a slight crust, which makes it incredibly stable. For a one-day cake, this is a fantastic, low-stress choice.
- Swiss Meringue Buttercream (SMBC): My personal favorite for its silky, less-sweet flavor. It involves gently heating egg whites and sugar over a water bath before whipping them into a meringue and then beating in butter. It’s more technical than ABC but is wonderfully stable and a dream to work with. If you’re comfortable with the technique, the results are spectacular.
What to avoid? Cream cheese frosting. While delicious, it’s notoriously soft and doesn’t hold up well to stacking or sitting out without significant stabilization, adding a layer of complexity you just don’t need today.
Embracing the Beauty of Perfectly Imperfect
As the Reddit baking community wisely noted, the mindset is half the battle. When you take on a challenge like this, you must release the pursuit of flawless perfection. The goal is not a cake that looks like it was made by a team of pastry chefs over three weeks. The goal is to create a delicious, beautiful, and stable cake that will be the centerpiece of a joyful celebration.
Those little imperfections? That slightly rustic edge on the frosting, the simple floral arrangement instead of hand-pulled sugar-paste peonies? That’s not failure. That’s the story of how you, a baker armed with skill and determination, stepped in and made a wedding day happen. And frankly, that’s a story even sweeter than the cake itself.