It’s a moment every cast iron owner dreads. You reach into the cabinet for that trusty skillet, the one that’s seared a hundred steaks and crisped a thousand potatoes, and you find… something wrong. Maybe it’s an unsettling orange bloom of rust after a guest tried to be “helpful” and let it soak. Maybe it wobbles on your cooktop when it used to sit flat and solid. Or maybe, in the worst-case scenario, you spot a tiny, dark line that wasn’t there before.
Your heart sinks. Is it over? Did you just ruin a piece of cookware that was supposed to last for generations? Take a deep breath. As the guy who has tested, abused, and restored more pans than I can count, I’m here to tell you that cast iron is incredibly resilient. Most of the time, what looks like a catastrophe is just a cosmetic issue begging for a little elbow grease.
But sometimes, the damage is fatal. The key is knowing the difference between a pan that needs some simple rehab and one that’s ready for retirement. Let’s walk through the diagnosis, from the easily fixable to the absolute deal-breakers.
The Fixable Offenses: Don’t Panic Yet
Most cast iron problems fall into this category. They look bad, but with a bit of work, your pan will be back in action, often better than before. Think of this as a deep spa day for your skillet.
1. Surface Rust This is, without a doubt, the most common fear. You see orange, you think failure. But surface rust is almost always fixable. It’s simply iron oxide, a natural reaction when iron is exposed to moisture and air. It hasn’t compromised the pan itself.
- The Fix: Create a 50/50 solution of white vinegar and water. Submerge the pan (or just the affected area) for 30 to 60 minutes. The acidity will dissolve the rust. Don’t leave it longer, or the vinegar can start to eat at the iron itself. After the soak, grab some fine steel wool and scrub the rust away. It should come off with minimal effort. Immediately rinse the pan thoroughly, then dry it completely. And I mean completely. The best way is to put it in a 200°F (95°C) oven for 10-15 minutes. Once it’s bone dry, you must re-season it right away to protect the raw, exposed iron.
2. Flaky or Uneven Seasoning Your once-slick black surface is now patchy and flaking off in spots. This often happens after cooking highly acidic foods like tomato sauce or simmering wine, or if the initial seasoning layers weren’t fully polymerized. It’s ugly, but it’s not damage.
- The Fix: This is a perfect opportunity to strip the pan down to bare metal and start fresh. The most straightforward home method is using a lye-based oven cleaner. (Yes, really.) Grab a can of Easy-Off with the yellow cap. In a well-ventilated area (preferably outside), spray the entire pan, place it in a heavy-duty garbage bag, and seal it up. Let it sit for 24-48 hours. When you open it, the old seasoning will have turned into a brown sludge. Wearing gloves and eye protection, scrub the gunk off under running water. Once it’s back to its original gray, metallic state, wash, dry, and begin your seasoning process from scratch.
3. Caked-on Carbon Buildup Those black, crusty bits that won’t come off with a normal scrub? That’s not seasoning; it’s carbonized food and oil. Too much of it can flake off into your food and create hot spots. It’s a cleaning issue, not a damage issue.
- The Fix: A flat-edged metal spatula is your best friend here. While the pan is warm, gently scrape away the buildup. For more stubborn spots, a chainmail scrubber works wonders. It will remove the crust without harming the underlying seasoning. This is just routine maintenance.
The Deal-Breakers: When to Say Goodbye
Now we get to the tough part. These are the structural failures that, for safety and performance reasons, mean a pan’s cooking days are over. No amount of seasoning can fix a fundamental flaw in the metal.
1. Cracks This is the number one, non-negotiable end for a cast iron pan. A crack, even a hairline one, is a fatal structural flaw. As the pan heats and cools, the metal expands and contracts. This stress will cause the crack to grow. The absolute worst-case scenario is the pan failing catastrophically while it’s full of 400°F (200°C) oil. It’s simply not safe. Inspect your pan carefully, especially if you’ve dropped it or bought it secondhand. If you find a crack, its cooking career is done. (It can, however, become a cool wall decoration.)
2. Significant Warping (The Wobble Test) Place your pan on a perfectly flat surface, like your countertop or a glass cooktop. Press down on the edges. Does it wobble or spin? If so, it’s warped. This is usually caused by thermal shock—the classic mistake of plunging a searing hot pan into a sink of cold water. The rapid, uneven temperature change can cause the metal to permanently deform.
Why is this a deal-breaker? On a glass or induction cooktop, a warped pan won’t make proper contact, leading to terrible heat distribution and scorched spots. It might still be usable on a gas range where the flames can contour to the pan’s bottom, but it’s a serious sign of metal fatigue and the performance will never be the same.
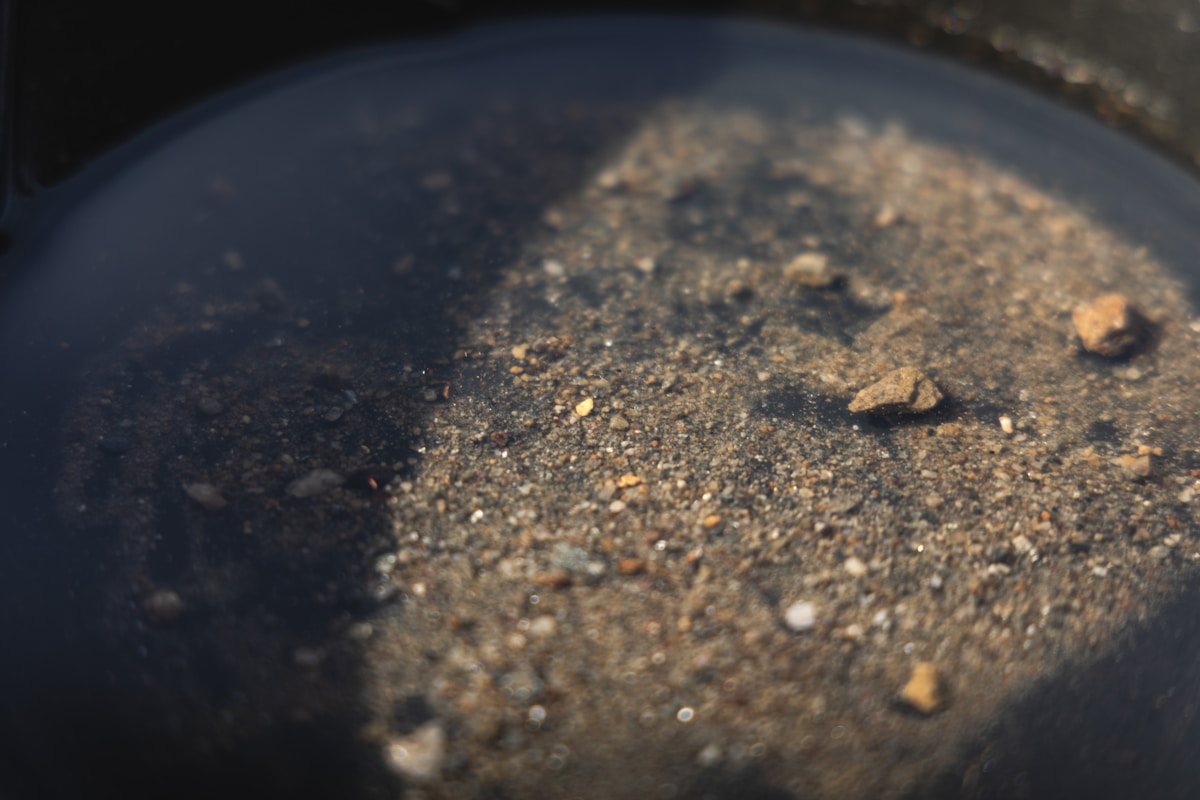
3. Deep Pitting This isn’t the light surface rust we talked about earlier. Deep pitting is when rust has been left unchecked for so long that it has physically eaten away at the iron, creating a cratered, uneven surface. While you can remove the rust, you can’t replace the lost metal. This makes it incredibly difficult to build up a smooth, non-stick layer of seasoning. Food will constantly get stuck in the pits, and it will be a frustrating cooking experience forever.
The Kitchen Hack: Your Cast Iron Prevention Plan
The best way to fix a problem is to prevent it from ever happening. My number one tip, the one habit that will solve 90% of cast iron issues, is the Immediate Heat-Dry & Oil.
After you wash your pan (yes, you can use a little soap), don’t just towel dry it. Place it back on the stove over low heat for 1-2 minutes. This evaporates every last molecule of moisture that can lead to rust. While the pan is still warm, add a half-teaspoon of your seasoning oil (canola, grapeseed, etc.) and wipe it over the entire cooking surface with a paper towel. Wipe off any excess until it looks dry. This micro-layer of oil protects the iron and builds your seasoning over time. It takes 60 seconds and will save you hours of restoration work down the line.
Time for a New Pan? My Value-Focused Picks
If you’ve inspected your pan and confirmed it’s cracked or severely warped, it’s time to let it go. The good news is that a fantastic replacement doesn’t have to cost a fortune.
-
The Workhorse ($20-$30): The Lodge 10.25-inch Classic Skillet. There is no better value in cookware, period. It’s made in the USA, will outlive you, and costs less than a couple of movie tickets. The surface is a bit pebbly out of the box, but it smooths out beautifully with use. This is the pan I recommend to 9 out of 10 people.
-
The Smooth Upgrade ($125-$150): If you have the budget and want a pan with a silky-smooth, machined cooking surface reminiscent of vintage Griswolds, look at brands like Field Company or Stargazer. They are lighter, have more ergonomic handles, and are stunning to look at. They perform beautifully, but do they cook food $100 better than a Lodge? Honestly, no. You’re paying for craftsmanship and aesthetics.
Ultimately, don’t let the fear of ruining cast iron keep you from using it. It’s tough stuff. Understand the difference between a simple rust spot and a true crack. Take care of it with simple, consistent habits, and it will reward you with a lifetime of delicious meals. And if you do encounter one of the fatal flaws, don’t mourn for too long. A brand new Lodge is waiting to start the next hundred-year journey with you.