I still remember the sound. A sad tink-tink-tink as the warped bottom of my ‘premium’ non-stick skillet wobbled on the electric stovetop. It was less than a year old, already scratched, and couldn’t hold a steady heat to save its life. If you’ve ever felt that frustration, you’ve probably stood at the cast iron crossroads: intimidated, a little confused, and wondering if it’s worth the fuss.
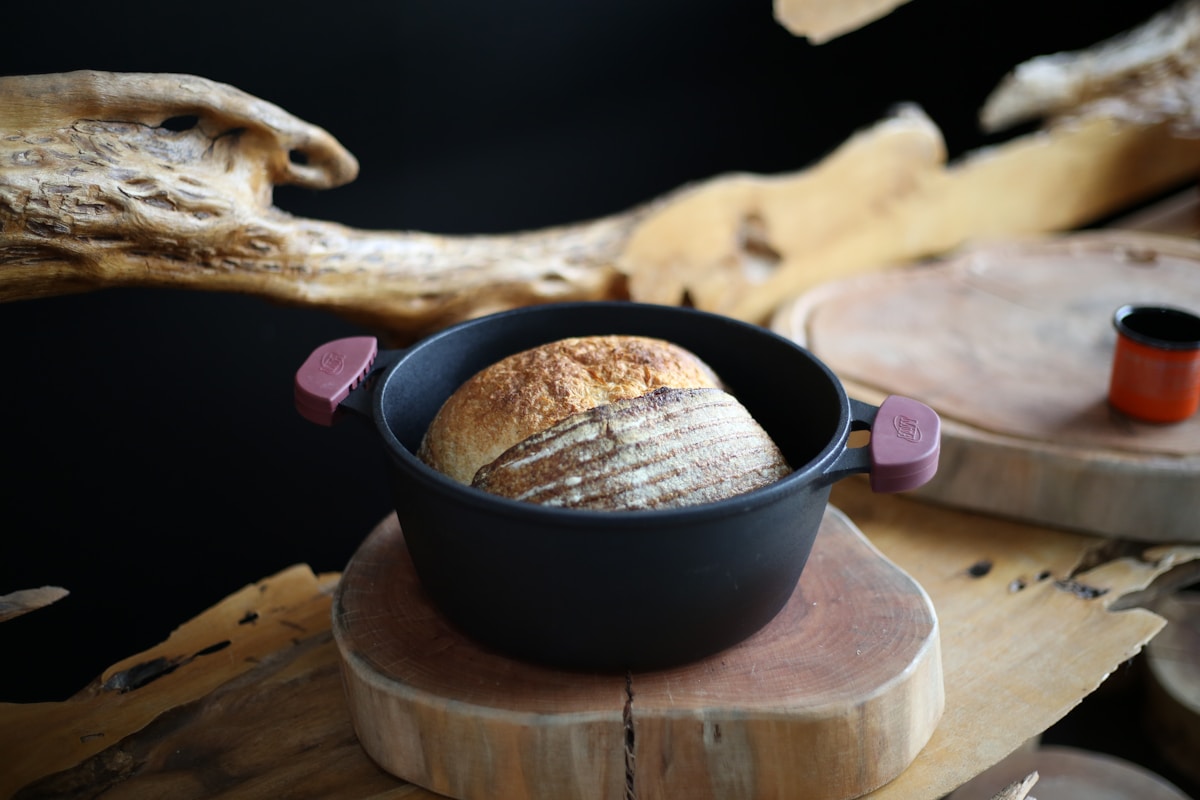
The answer is a resounding yes. And I’m here to tell you that getting started is simpler and cheaper than you think. Forget the confusing array of sizes, boutique brands, and scary maintenance rituals. Your journey begins with one simple, perfect tool: the 10-inch pre-seasoned cast iron skillet.
The Cast Iron Crossroads Where Do You Begin
So you’ve decided to take the plunge. You want the incredible sear, the even heating, and the buy-it-for-life durability that only cast iron can offer. But where do you start? The choices can feel paralyzing. Do you need a fancy, hand-smithed pan from a startup? Do you need a giant 12-inch model to cook for the family? The truth is much simpler.
The beauty of cast iron is its simplicity. It’s just a chunk of molded iron. Its magic comes from how you use it, not from a hefty price tag or a complex design. That’s why, for over a century, the most reliable, practical, and recommended starting point has remained the same. You don’t need to overthink it. You just need the right tool for the job, and for 90% of home cooks, that tool is humble, affordable, and perfectly sized.
Why Size Matters The 10-Inch Sweet Spot
Walk down the cookware aisle and you’ll see cast iron in every size imaginable, from tiny 3-inch pans perfect for a single egg to massive 15-inch behemoths that could double as a shield. The temptation for a beginner is often to go big. ‘A 12-inch pan can cook more food, right?’ While technically true, it’s a classic rookie mistake.
Your average home stove burner, whether gas or electric, is designed to heat a very specific surface area efficiently. A 10-inch or 10.25-inch skillet sits perfectly within that zone. This means you get consistent, edge-to-edge heat without much effort. You place it on the burner, preheat it, and the entire cooking surface gets roaring hot.
Now, try that with a 12-inch skillet. The outer 1-2 inches of the pan will hang over the effective range of the burner. Cast iron is great at retaining heat, but it’s not a magical conductor. Those edges will be significantly cooler than the center, creating frustrating cold spots. Trying to sear four pork chops at once? The two in the middle will get a gorgeous, crusty sear while the two on the outside just sort of… steam. (Ask me how I know.)
A 10-inch skillet is the pragmatic choice. It’s spacious enough for two nice ribeye steaks, four to six chicken thighs, a family-sized portion of cornbread, or a fantastic deep-dish pizza. It’s also a manageable weight. You can lift it with one hand to pour off grease or slide a frittata onto a plate. A fully loaded 12-inch pan often requires two hands and a prayer.
The Pre-Seasoning Revolution Skip the Hard Part
Let’s talk about the biggest myth that scares people away from cast iron: ‘seasoning.’ People imagine complicated, multi-day rituals involving specific oils, precise temperatures, and clouds of smoke filling the kitchen. While that was once a part of the process for bare, unseasoned iron, it’s now almost entirely a thing of the past.
What is seasoning? It’s not a layer of old food or a delicate coating you can’t touch. Seasoning is simply oil that has been heated to the point of polymerization. The fat molecules transform into a hard, plastic-like coating that bonds to the surface of the iron, creating that classic black, non-stick patina.
This is where brands like Lodge changed the game. Their skillets, like the industry-standard Lodge 10.25-Inch Classic Skillet, come ‘pre-seasoned’ from the factory. They spray a thin layer of vegetable oil on the pan and bake it at high temperatures. Is this factory seasoning perfect? No. It can feel a bit rough to the touch and it won’t be as non-stick as your grandmother’s 50-year-old pan on day one. But it’s a massive head start. It protects the pan from rust right out of the box and gives you a solid foundation to build upon.
The real, durable, slidey-egg seasoning comes from one thing: cooking. Every time you fry bacon, sear a steak, or sauté vegetables in oil, you’re adding microscopic layers to that seasoning. You’re not just cooking dinner; you’re improving your pan.
Your First Cook What to Make (and What to Avoid)
Okay, you’ve brought your new 10-inch skillet home. Now what? The best way to start building that beautiful seasoning is with high-heat cooking and a decent amount of fat. My top recommendation for a first cook is searing a thick-cut steak.
Here’s a simple guide:
- The Slow Preheat: This is critical. Place your dry skillet on the stove over medium-low heat. Let it sit there for a good 10-15 minutes. A slow preheat ensures the heat is even throughout the entire pan. Rushing this can create hot spots that scorch your food.
- Check for Heat: How do you know it’s ready? Flick a drop of water into the pan. If it sizzles and evaporates immediately, you’re not hot enough. If it breaks into tiny balls that dance and skitter across the surface, you’re at the perfect searing temperature—around 450°F (232°C).
- Oil Up: Add a tablespoon of a high-smoke-point oil like avocado, grapeseed, or even just canola oil. It should shimmer almost instantly.
- The Sear: Pat your steak completely dry and season it generously. Place it in the pan. You should hear a loud, aggressive sizzle. Don’t touch it! Let it sear for 2-3 minutes to develop a deep, brown crust. Flip and repeat on the other side. For a perfect medium-rare, you’re looking for an internal temperature of about 130°F (54°C).
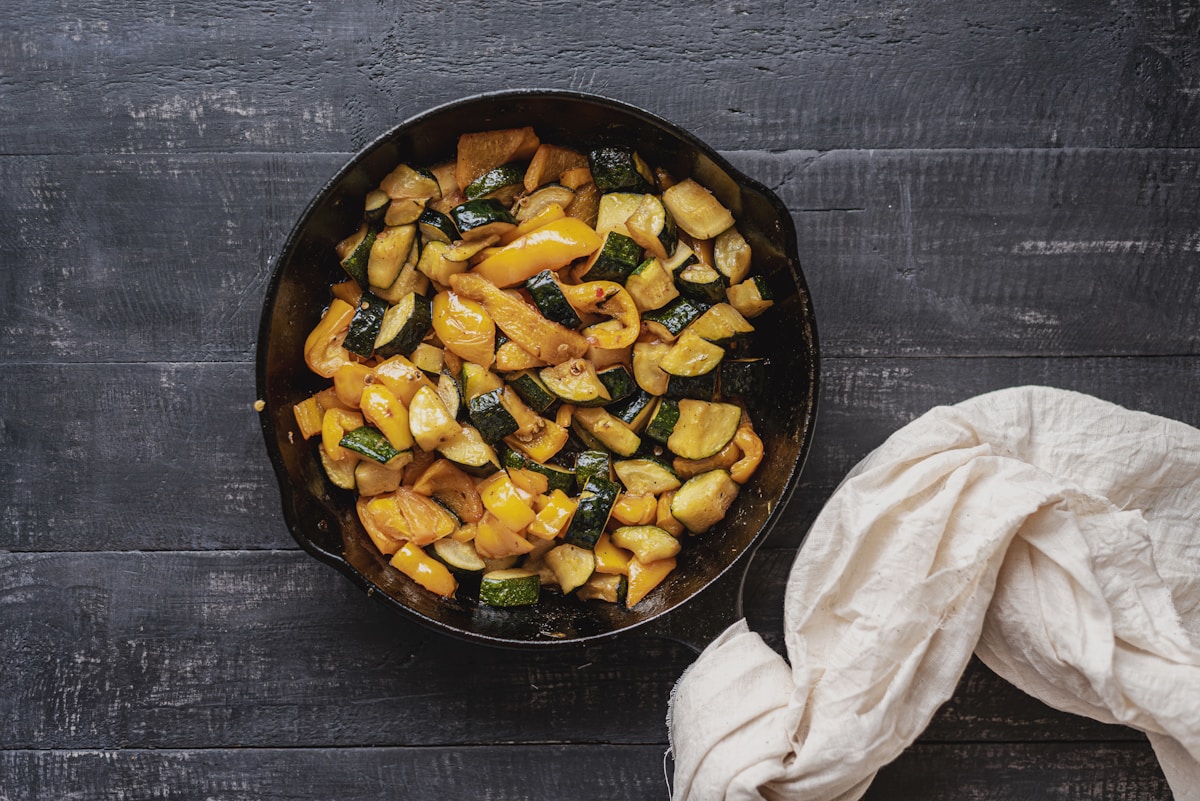
Other great starter meals include frying bacon, making cornbread (the batter and heat create a wonderful layer of seasoning), or roasting potatoes. For the first month or so, try to avoid very acidic foods like tomato sauce or simmering wine, as the acid can sometimes weaken a new layer of seasoning. Also, hold off on delicate foods like flaky fish or scrambled eggs until you’ve built up a more robust, slick surface.
The Million-Dollar Question Expensive vs Affordable
You’ve seen them online. The beautiful, artisanal cast iron skillets with perfectly smooth, polished cooking surfaces and price tags of $150, $200, or even more. Then you see the Lodge 10.25-inch skillet hanging in the hardware store for about $25. What’s the real difference? And does it matter for a beginner?
For a beginner, the answer is an emphatic ’no.’
Think of it this way: both the $25 pan and the $200 pan are made of the same material—cast iron. The expensive pan’s main selling point is its ultra-smooth, machined cooking surface. The Lodge pan has a slightly pebbly texture, a remnant of the sand-casting process it’s made in. That smooth surface on the expensive pan might give you a slight edge in non-stick performance on day one. But here’s the secret the cast iron community has known for years: after a few months of regular cooking and proper care, that pebbly Lodge pan will be just as slick and non-stick as its expensive cousin.
The seasoning fills in the microscopic valleys of the pan’s surface over time. Frying bacon, searing meats, and daily use will build a patina that makes the initial surface texture irrelevant. You aren’t buying a non-stick surface; you are building one. Why pay an extra $175 for a head start you can achieve on your own with a few pounds of bacon? (It’s way more delicious, too.) Save your money, buy the Lodge, and spend the difference on high-quality ingredients to cook in it.
Lucas’s Simple Care Guide Don’t Overthink It
The final hurdle is maintenance. The internet is full of conflicting advice and scary warnings about rust and ruined seasoning. It’s mostly noise. Caring for cast iron is ridiculously simple if you follow three basic steps: Clean, Dry, and Oil.
Here’s my foolproof method that will keep your pan happy for decades:
- Clean It: As soon as you’re done cooking, while the pan is still warm (but not screaming hot), scrape out any food bits with a flat-edged metal spatula or a chainmail scrubber. Then, take it to the sink and wash it with hot water. And yes, you can use a little bit of dish soap! The idea that soap strips seasoning is a myth leftover from the days when soap contained harsh lye. Modern dish soap is gentle enough not to harm your polymerized oil layer. Just don’t let it soak in the sink.
- Dry It Immediately: This is the most important step. Water is the enemy of iron. After washing, wipe the pan with a towel and then place it back on the stove over low heat for a minute or two until every last drop of moisture has evaporated. This single step will prevent 99% of all rust issues.
- Oil It Lightly: Once the pan is bone dry, turn off the heat. Add about half a teaspoon of a neutral oil (canola, grapeseed, vegetable). Use a paper towel to rub it all over the cooking surface, creating a very thin, even layer. Now, grab a clean paper towel and wipe out the excess until the pan looks almost dry again. You want a micro-layer of oil, not a greasy pool. This protects it until the next use.
That’s it. That’s the whole routine. It takes about two minutes and becomes second nature. Do this, and your $25 skillet won’t just last your lifetime—it’ll be something you can pass down, filled with the seasoning and memories of a million wonderful meals.