You Just Bought a Cast Iron Skillet. Now What?
You finally did it. You brought home that beautiful, heavy cast iron skillet — maybe a Lodge, a Field Company, or a newer brand like Made In. You open the box, and there it sits: dark, pre-seasoned, and begging to be used. But here’s the question that stumps almost every new owner: what should you cook first?
If you’ve been scrolling Reddit’s r/castiron, you might have seen a post from a Made In employee who seasoned their new skillet with carne asada and elote. The community went wild with approval. And they were right to. That meal — skirt steak and street corn — is practically a textbook example of the ideal inaugural cook for a cast iron pan.
Let me explain why, and walk you through everything you need to know to get your skillet off to a perfect start.
Why the First Meal Matters
Your new cast iron skillet comes pre-seasoned from the factory. That seasoning is a thin layer of polymerized oil that gives the pan a nonstick surface and protects it from rust. But that factory seasoning is just the beginning. It’s fragile. It needs to be built up, bonded, and strengthened through cooking.
The first meal you cook will either reinforce that seasoning or damage it. The goal is to choose foods that deposit a fresh layer of oil and polymerize it under high heat. That’s why experts at Lodge and Field Company all suggest starting with fatty, high-heat foods. Think steak, bacon, fried chicken, or anything that requires oil and high temperature.
On the absolute no-go list: acidic foods. Tomatoes, wine, vinegar, lemon juice — these can strip the fresh seasoning right off, leaving you with a patchy, sticky mess. Also avoid delicate items like eggs or fish until the seasoning is stronger (after several uses).
The Ideal First Meal: Carne Asada and Elote
The Reddit-approved combination of carne asada and elote hits every sweet spot.
Carne Asada (Skirt Steak)
- Skirt steak is naturally fatty. As it cooks, rendered fat seeps into the iron’s pores, creating a protective layer.
- High heat is essential. You want the pan screaming hot — around 230°C (450°F) before the steak hits the surface. That heat helps polymerize the oil and the steak’s own fat, bonding it to the seasoning.
- Cook the steak in a little neutral oil (like avocado or vegetable oil) to get a perfect sear. Don’t move it for 3-4 minutes per side. The result: a crusty, delicious steak and a pan that looks even better than when you started.
Elote (Mexican Street Corn)
- Elote (corn on the cob slathered with mayo, cheese, chili, and lime) might seem like a risky choice because of the lime juice. But here’s the hack: skip the lime in the pan. Cook the corn first, then add the lime and toppings after it’s off the heat.
- Grilling the corn directly in the hot skillet — after the steak — uses the residual fat and heat. The sugars in the corn caramelize, adding sweetness and patina. (Trust me on this one, your future skillet will thank you.)
Together, this meal gives you high heat, plenty of fat, and zero acidic interference. It’s a seasoning party.
Step-by-Step: Your First Cook
Let’s break it down so you can replicate the magic at home.
Step 1: Prep the Pan Even though your skillet is pre-seasoned, give it a quick wash with mild soap and warm water to remove any factory dust or shipping residue. Dry it immediately and thoroughly. Place it on the stove over medium heat for 2-3 minutes to fully evaporate moisture.
Step 2: Apply a Thin Layer of Oil While the pan is warm (not hot), rub a thin layer of high-smoke-point oil — avocado, vegetable, or grapeseed — all over the cooking surface. Use a paper towel. You don’t want puddles; just a sheen. Then heat the pan to medium-high until it just begins to smoke (about 200°C / 400°F). Let it cool slightly.
Step 3: Cook Your Fatty Protein Heat the pan to high (around 230°C / 450°F). Add a splash of oil. Place your steak (or bacon, or chicken thighs) in the pan. Don’t crowd it. Sear undisturbed for 3-4 minutes. Flip and repeat. The sizzle should be vigorous. The smoke will be real — open a window. (Yes, really.)
Step 4: Cook the Veg or Side After the protein, reduce heat to medium-high. Add a little more oil if needed. Toss in corn on the cob, sliced bell peppers, or even hash browns. Let them brown and develop fond (those tasty brown bits on the pan). Those fond particles are pure seasoning gold.
Step 5: Cool and Clean Let the pan cool completely. Then wash with warm water and a stiff brush — no soap needed unless there’s stuck-on food. Dry immediately. Apply another micro-layer of oil before storing.
More Options for First Meals
Don’t have steak on hand? Here are other excellent first meals:
- Bacon: Cook a whole pound. The rendered fat is liquid seasoning. Save the grease for future cooking.
- Fried Chicken: Dredge chicken in seasoned flour, then shallow-fry in oil. The crust plus the fat builds a spectacular patina.
- Cornbread: A classic for a reason. The butter and cornmeal create a natural nonstick layer, and the sugars help polymerize. Bonus: cornbread tastes amazing.
- Smashed Burgers: High heat, fatty beef, and a quick cook time. The patties leave behind a perfect seasoning deposit.
What to avoid first time out:
- Eggs (they will stick and frustrate you)
- Tomato sauce or any acidic dish
- Fish (too delicate, may flake and stick)
- Baked goods like pizza (low fat, risk of sticking)
Building a Lasting Seasoning
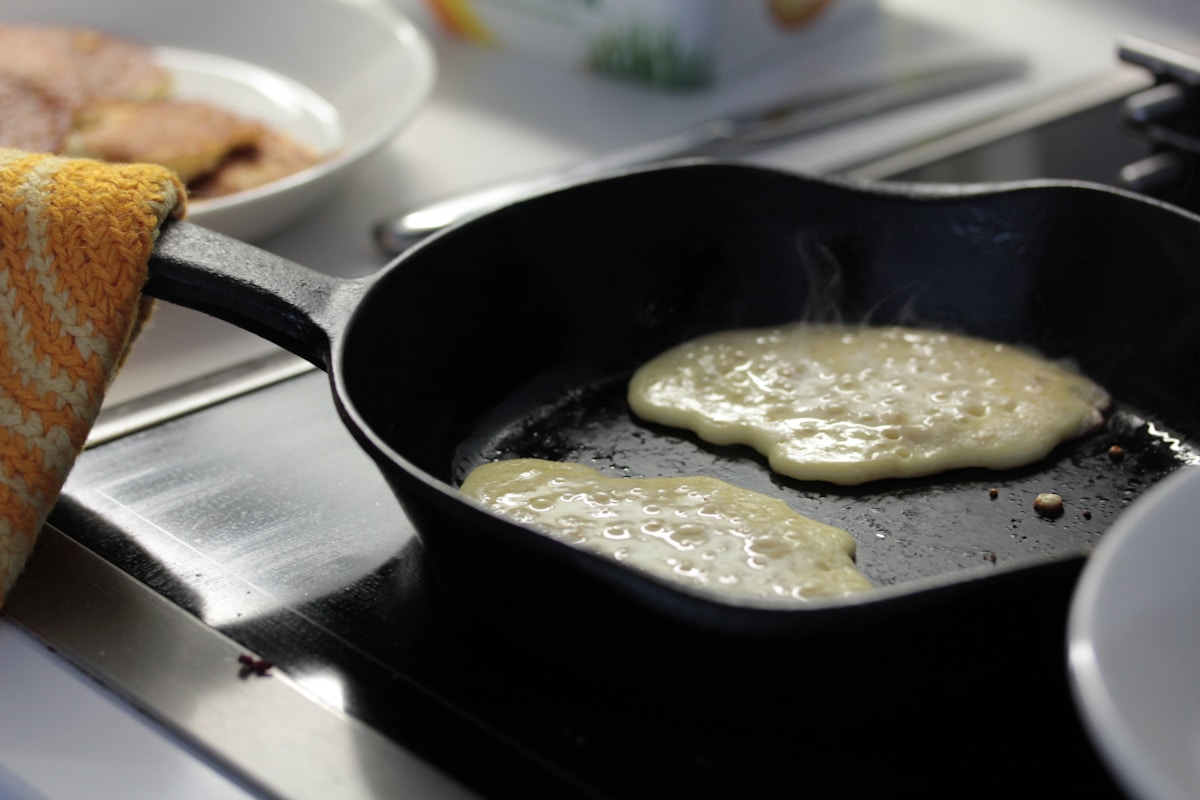
One meal won’t make your skillet nonstick. Seasoning is cumulative. The more you cook fatty, high-heat foods, the darker and slicker your pan becomes. After 10-15 uses, you’ll notice eggs sliding around like they’re on Teflon.
Key tips for long-term success:
- Always preheat your pan before adding oil
- Use metal spatulas — they help smooth the seasoning as you cook
- Avoid soap if possible; scrub with coarse salt and a paper towel
- Dry on the stove over low heat after washing to prevent rust
- Oil lightly after every use
Why the Reddit Community Approved
The r/castiron community is full of passionate cooks who’ve ruined their share of early seasoning with overly ambitious recipes. That’s why the carne asada and elote post got such a warm reception. It’s smart, practical, and delicious. It’s the kind of meal that transforms a brand-new skillet into a cherished cooking tool.
As one user put it: “If you want to bond with your pan, cook something that loves fat and heat. Steak and corn is a love letter to cast iron.”
Final Verdict
Your cast iron skillet is a lifetime investment. The first meal you cook sets the tone. Choose wisely. Go with fatty, high-heat, low-acid foods. Carne asada and elote is the champion of first meals — it builds seasoning, tastes incredible, and gives you a gorgeous, dark patina from the get-go.
So heat up that skillet, grab some skirt steak and corn, and get cooking. Your future self (and your future eggs) will thank you. (Yes, really.)