The Moment That Changed Everything
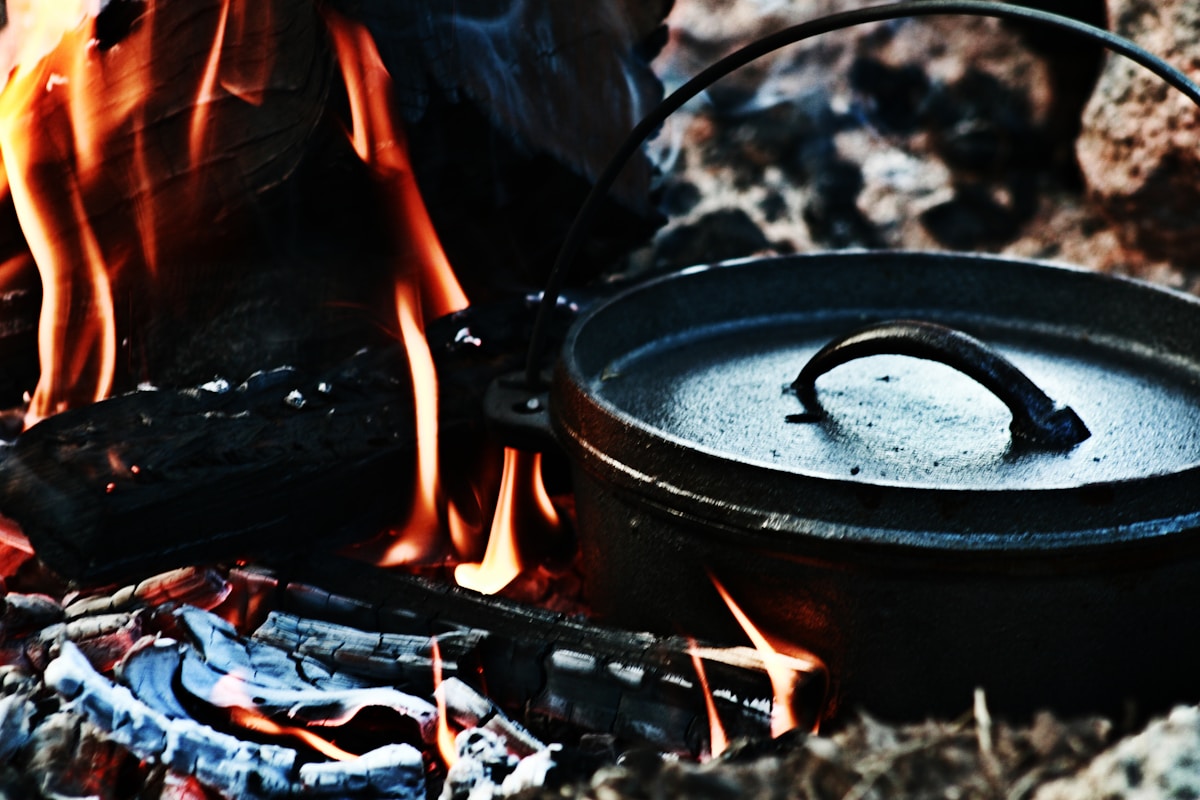
Picture this: you’re camping, fire crackling, and you’ve just seasoned your new cast iron Dutch oven. You get distracted, the flames lick higher, and suddenly the pot is glowing red. Panic sets in. That’s exactly what happened to a Reddit user recently, and the cast iron community had strong opinions. Can a Dutch oven survive that kind of heat? The answer depends on whether it’s enameled or bare iron — and how you react next.
What Overheating Does to Your Dutch Oven
Cast iron is tough, but it has limits. When a bare iron Dutch oven exceeds 500°F (260°C), the seasoning — that polymerized oil layer — begins to burn off, turning to ash and smoke. The iron itself can warp if heated unevenly, especially on an open campfire. For enameled Dutch ovens (think Le Creuset or Staub), the stakes are higher. Enamel is glass fused to iron. Above 500°F, the enamel can craze (develop crack lines) or chip. At extreme temperatures like a glowing red heat, the enamel may bubble or separate from the iron. Once the interior enamel chips, those glass shards can end up in your food — a serious safety risk.
How to Tell If It’s Ruined
First, identify your pot type. Look for a smooth, glossy interior. If it’s creamy white or colored, it’s enameled. If it’s rough and black, it’s bare iron. Check for cracks, bubbles, or chips. For enameled pots, fill with water and bring to a boil. If water seeps through a crack, the pot is compromised. America’s Test Kitchen recommends replacing enameled cookware if the interior enamel is chipped — even a small chip can release glass into food. For bare iron, inspect for warping: set the pot on a flat surface and see if it rocks. Also check for rust, which often appears after seasoning is burned away.
Immediate Steps After Overheating
If you catch the pot before it glows red, remove it from the heat source immediately. Let it cool down slowly — never pour cold water into a hot Dutch oven, as thermal shock can crack enamel or warp iron. Once cool, proceed with assessment. For bare iron, if the pot is still smoking and the seasoning is gone, you’ll need to strip and reseason. For enameled, if you see any bubbling or chipping, stop using it for cooking right away.
Restoration: Bare Iron Dutch Oven
If your bare iron Dutch oven survived without cracks or warping, you can bring it back. Start by scrubbing off all burned seasoning and rust. Use steel wool or a chainmail scrubber with hot water and a bit of dish soap — yes, soap is fine now (the old myths are gone). For stubborn rust, soak in a 50/50 vinegar-water solution for 30 minutes, then scrub. Rinse thoroughly and dry immediately. Next, apply a thin layer of vegetable oil (grapeseed or canola work well) inside and out. Place the pot upside down in a 450°F (232°C) oven for an hour, with a foil-lined tray below to catch drips. Let it cool in the oven. Repeat this seasoning process 2-3 times for a durable nonstick surface. A quick kitchen hack: if the burned-on gunk is really stubborn, try spraying with Easy-Off oven cleaner (the yellow cap version) and letting it sit overnight in a plastic bag — then wash and season. (Just wear gloves and work in a ventilated area.)
Restoration: Enameled Dutch Oven
Enameled pots are less forgiving. If the enamel is chipped or crazed on the interior, the pot is unsafe for cooking and should be replaced. (Your health isn’t worth saving a $100 pot, trust me.) If the exterior enamel has cosmetic damage only, you can still use it. For light staining or minor burns, make a paste of baking soda and water, scrub gently, and rinse. For stubborn residue, boil water with a tablespoon of baking soda per quart for 10 minutes, then scrub. Avoid thermal shock: never put a hot enameled pot into cold water. If the pot has lost its shine but no chips, it’s fine to keep using — just lower your cooking temperatures next time. For interior staining that won’t budge, try a soak with 1 part hydrogen peroxide to 2 parts baking soda — let it sit for 15 minutes, then scrub.
Prevention: How to Avoid Overheating
The best repair is prevention. Never heat an empty cast iron Dutch oven on high. Always start with low to medium heat, especially on campfires or gas stoves. For bare iron, don’t exceed 500°F (260°C) for long periods — your seasoning will thank you. For enameled, stay below 450°F (232°C) for dry heat; it’s fine for braising or boiling. When camping, use a grate to raise the pot above the coals, not directly in flames. A simple thermometer like the ThermoPro TP-20 can help monitor ambient heat. And always add food or liquid before cranking up the heat.
Real-World Recommendations
I’ve tested dozens of Dutch ovens over the years. For budget-friendly bare iron, the Lodge 5-Quart Dutch Oven ($60-$80) is a workhorse that takes seasoning well. For enameled, the Cuisinart 7-Quart Chef’s Classic ($70-$90) offers great value, though the enamel isn’t as thick as premium brands. Le Creuset ($300-$400) and Staub ($250-$350) are the gold standards — their enamel withstands higher temperatures and resists chipping. But even they have limits. At kitchen-fun.com, we believe the right tool for your budget and cooking style matters more than the price tag. A well-maintained $60 Lodge can outperform a neglected $400 Staub any day.
Quick Reference: Bare Iron vs Enameled
| Feature | Bare Iron | Enameled |
|---|---|---|
| Overheat tolerance | Seasoning burns off, can warp | Enamel may craze or chip |
| Maximum safe temp (dry) | ~500°F (260°C) | ~450°F (232°C) |
| Can it be restored? | Yes, strip & reseason | Only if no interior chipping |
| Cost to replace | ~$50-$100 | $70-$400 |
| Best for | Camping, searing, baking | Braising, simmering, acidic foods |
Final Thoughts
Your Dutch oven is a workhorse, not a fragile ornament. But it deserves respect. That Reddit camper likely learned a hard lesson: cast iron can take a beating, but glowing red is a red line. For bare iron, patience and a few rounds of seasoning bring it back to life. For enameled, be honest about the damage — a chip inside means it’s time to retire the pot. The kitchen is a magic place, and the right tools make it joyful. Treat your Dutch oven well, and it will feed you for decades. Now go cook something amazing.


