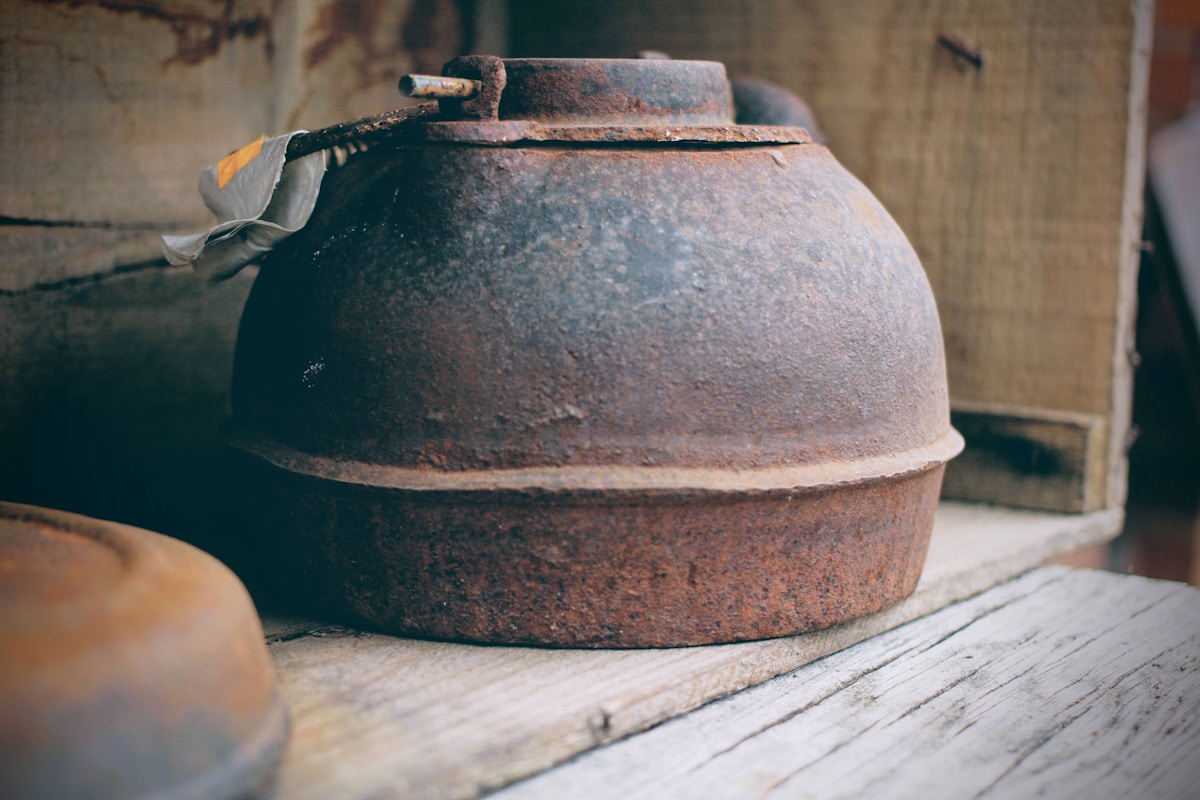
A neglected skillet can look beyond saving: orange rust, black flakes, sticky residue, and a cooking surface you would not want near dinner. The good news is that most light-to-moderate damage does not require a large restoration kit.
The best cast iron restoration tools are usually a sturdy scraper, a stiff brush or abrasive scrub pad, a way to dry the pan quickly, and a clean cloth for applying a thin oil layer. Add a chainmail scrubber, rust eraser, or stronger abrasive only when the skillet’s condition justifies it.
Key Takeaways
- Start with a scraper, stiff brush, scrub pad, towels, and suitable cooking oil; most skillets do not need a large specialty kit.
- Use the least aggressive tool that removes the residue or rust, and inspect the surface often to avoid unnecessary wear.
- Chainmail scrubbers are better for stubborn cooked-on residue and routine maintenance than for heavy rust.
- Vinegar can help loosen rust, but the soak should be monitored and followed by thorough rinsing and immediate drying.
- Cracks, severe warping, deep corrosion, or loose parts may make a skillet impractical to restore.
Identify the Pan Before Choosing Restoration Tools
First confirm that the skillet is bare cast iron. Bare cast iron normally has a dark gray or black iron surface, while rust appears orange, reddish-brown, or flaky. A rough patch may be surface rust, baked-on food, or deeper pitting, so do not choose an aggressive tool until you inspect the pan under good light.
Enameled cast iron needs a different approach. Enamel is a glass-like coating that may be black, cream, white, or another color, and it can be damaged by aggressive metal scraping or abrasive rust-removal methods. If the surface is coated, check the cookware maker’s care instructions before using steel wool, sanding tools, rust erasers, or other harsh abrasives.
Look for four types of damage:
- Surface rust: Light orange discoloration or a powdery film that often responds to scrubbing.
- Baked-on residue: Hard black or brown material that may need scraping before rust removal can work properly.
- Deep pitting: Small craters formed by corrosion. The pan may still be usable if the damage is shallow, but it will not become perfectly smooth.
- Structural damage: Cracks, severe warping, a loose handle, or a damaged cooking surface. These problems can make restoration impractical, particularly if the skillet no longer sits flat or appears unsafe to handle.
A basic restoration usually needs several inexpensive tools rather than a specialty kit. The aim is to remove loose rust and residue without unnecessarily reshaping the cooking surface.
Essential Cast Iron Restoration Tools by Job
Scraping baked-on residue
A pan scraper is the best starting point for hardened food and grease. Look for a comfortable handle, a firm edge, and corners that can reach near the sides of the skillet. A scraper with several edge shapes can be useful, but it is not essential if one straight edge fits the pan well.
Plastic or composite scrapers are gentle and easy to clean. They are a good first choice for routine residue and for restorers who want more control. A wooden scraper can also work well, especially when its edge matches the curve of the pan, but wood may wear, stain, or require more careful drying.
A metal scraper offers more cutting power on stubborn buildup, but it requires a lighter touch. Drag it across residue rather than digging into the iron. The best cast iron scraper is not automatically the hardest one; it is the one that gives you enough leverage without forcing you to gouge, pry, or work at an awkward angle.
Check the edge before buying. A sharp, burred, or uneven edge can scratch the surface more readily than a smooth, deliberately shaped edge. Also consider wet grip, handle thickness, and whether the tool has a hanging hole or compact storage shape.
Removing loose rust and residue
A stiff nylon brush is a practical first-line tool. It can work into the cooking surface, sidewalls, and corners without the same cutting action as a metal abrasive. Choose one with a secure handle and bristles that are firmly attached; loose bristles make cleanup frustrating.
A dedicated cast iron cleaning brush may have a longer handle, a grip designed for wet use, or bristles arranged for textured surfaces. These features are helpful if you clean several pans, but they are not mandatory for one restoration.
Nonwoven scrub pads provide a useful middle ground between a brush and steel wool. They are flexible, easy to store, and effective for lifting surface residue. Their main limitation is that they can load up with grease and rust, so rinse or replace them when they stop cutting effectively.
Steel-wool-style abrasives remove rust faster than a soft brush, but they also remove more of the existing surface film. Use them with controlled pressure and inspect the pan often. If the abrasive begins shedding heavily, replace it rather than leaving fibers behind.
Cleaning tight or textured areas
A chainmail scrubber is made from linked metal rings and is mainly useful for stubborn cooked-on food after the pan has been brought back into reasonable condition. It can follow the texture of a cast iron surface better than a flat scraper and is durable when rinsed and dried properly.
It is not always the best tool for a heavily rusted skillet. Loose rust and thick corrosion can clog the rings, and the tool may encourage you to apply more pressure than necessary. For serious rust, start with a brush or controlled abrasive, then keep the chainmail scrubber for later cleaning and maintenance.
Removing localized rust
A rust eraser or small abrasive block can be useful when corrosion is concentrated in one area. Its compact shape gives you control around a spot, such as the rim, a sidewall, or a patch that a broad scrub pad cannot reach.
The trade-off is surface wear. Work only on the affected area, use light pressure, and stop frequently to check your progress. A rust eraser is an optional cast iron rust removal tool, not a requirement for every rusty pan.
The basic beginner setup
For light-to-moderate rust, a sensible kit includes:
- A plastic, composite, or smooth metal scraper.
- A stiff nylon brush.
- A nonwoven scrub pad or steel-wool-style abrasive.
- Kitchen gloves that provide a secure wet grip.
- Clean towels and a small amount of suitable cooking oil.
- A stovetop or oven method for prompt drying, used according to the cookware maker’s guidance.
An expanded kit may add a chainmail scrubber, rust eraser, spare abrasive pads, eye protection, and a longer-handled brush. Buy those tools for a specific problem, not because a large package looks more complete.
Rust Removal Methods and When Each Tool Makes Sense
Restoration works best as a sequence rather than a contest between tools. Scrape first to remove thick residue, loosen rust with water or a suitable soak, scrub the surface, and use spot abrasion only where necessary.
A vinegar-and-water soak is one option for rust, but it needs supervision. Acid exposure can loosen corrosion, yet prolonged contact can also affect the iron surface. Use a container that will not react with the solution, wear gloves, protect your eyes from splashes, and provide reasonable ventilation. Do not leave the skillet unattended for an unnecessarily long period.
There is no universal soak time that suits every pan. Rust thickness, solution strength, pan condition, and the cookware maker’s recommendations all matter. Check the surface regularly, remove the skillet when the loose rust has softened, rinse it thoroughly, and continue with controlled scrubbing rather than assuming a longer soak is better.
Do not mix vinegar with other cleaning chemicals. Dispose of the used solution according to local household guidance, and clean the work area afterward. Keep sharp scrapers and abrasive tools away from children while the pan is being restored.
For mild rust, a brush and scrub pad may be enough. For thick residue, scraping saves time before you begin wet scrubbing. For a small rust patch, a rust eraser may provide better control than treating the entire pan. For widespread corrosion, a stronger abrasive can help, but frequent inspections are important.
Power sanders, aggressive grinding, and harsh chemical strippers can remove material quickly, but they increase the risks of dust, uneven abrasion, accidental gouging, and surface changes. If sanding is truly necessary, use appropriate eye protection, ventilation, and dust-control practices, and understand that power tools are not beginner-friendly restoration equipment. A hand tool is slower but usually gives better control for a single skillet.
Compare tools using five practical questions:
- Removal power: Can it handle the residue or rust you actually have?
- Control: Can you stop before damaging a good area?
- Cleanup: Does it trap grease, shed fibers, or require special washing?
- Durability: Will the handle, bristles, edge, or abrasive survive the job?
- Total cost: Is the tool solving a real problem, or duplicating something already in your kitchen?
Drying, Oiling, and Seasoning Supplies That Prevent Flash Rust
Water-based cleaning leaves bare iron vulnerable to rapid surface rust. Dry the skillet promptly after rinsing rather than letting it air-dry on the counter.
A clean towel removes most surface water, but a brief drying step on a stovetop or in an oven can help remove moisture from pores, corners, and the handle joint. Use heat cautiously, handle the pan as hot cookware, and follow the cookware maker’s instructions for temperatures and oven use.
For oil application, a lint-free cloth or folded paper towel is usually enough. A small silicone or natural-fiber brush can help reach around the rim and sidewalls, but it should not leave fibers behind. Apply a very thin, even layer over the cooking surface, exterior, rim, and handle if those areas are bare iron.
The pan should look lightly coated rather than wet. Excess oil can become sticky or uneven during heating, which creates another cleanup problem. Wipe the skillet again after spreading the oil; removing more oil than you think you need is often preferable to leaving visible pools.
Seasoning oils vary in availability, spreading behavior, smoke behavior, and cookware guidance. Use an oil that is suitable for high-heat cooking and follow tested instructions from the pan maker or a trusted cookware source. Do not assume that every oil or every oven method produces the same result.
Restoration seasoning may require more than one thin layer. The goal is a stable, even coating built through careful application and heating, not a thick glossy film applied all at once. Allow the pan to cool safely between stages and inspect it before deciding whether another layer is needed.
A scraper, brush, and chainmail scrubber then become routine maintenance tools. They are not all necessary for rebuilding the initial seasoning, but they can reduce the chance that another neglected layer of residue develops.
How to Choose and Use the Right Restoration Kit
| Tool | Main job | Best use | Main limitation | Cost category |
|---|---|---|---|---|
| Plastic or composite scraper | Lift baked-on residue | Beginners and routine buildup | Less cutting power | Low |
| Smooth metal scraper | Cut through hard residue | Thick, stubborn deposits | Needs a light touch | Low to medium |
| Stiff nylon brush | Scrub rust and residue | General cleaning and corners | May be slow on heavy corrosion | Low |
| Nonwoven scrub pad | Remove surface film | Light-to-moderate rust | Can load with grease | Low |
| Steel-wool-style abrasive | Remove stubborn rust | Controlled abrasive work | More surface wear and cleanup | Low |
| Chainmail scrubber | Clean textured residue | Later maintenance and cooked-on food | Not ideal for severe rust | Medium |
| Rust eraser or abrasive block | Treat a local rust patch | Spot correction | Can wear the surface | Low to medium |
| Lint-free cloth and oil | Dry and protect iron | Final restoration steps | Excess oil can turn sticky | Low |
Choose a basic kit when the pan has surface rust, ordinary residue, and no deep pits. Choose an expanded kit when it has thick deposits, rust concentrated in several small areas, or textures that make flat scraping difficult.
For every tool, inspect the grip and storage. A wet handle should remain controllable, metal parts should be resistant to corrosion, and the tool should be easy to rinse and dry. Hanging holes or compact shapes help if your kitchen has limited drawer space. Replace worn brushes and heavily loaded abrasives instead of forcing them to work longer.
Use this restoration checklist:
- Inspect the skillet for enamel, cracks, severe warping, deep pitting, and loose parts.
- Scrape away thick baked-on residue.
- Loosen rust with controlled wet scrubbing or a carefully monitored soak when appropriate.
- Rinse and scrub again, using spot abrasion only where needed.
- Remove all loose residue and inspect the surface under good light.
- Dry promptly with a towel and a cautious heat-drying step.
- Apply a very thin, even layer of suitable oil.
- Rebuild the seasoning layer according to reliable cookware guidance.
- Let the pan cool, then inspect it before cooking.
The skillet is ready for cooking when there is no loose rust, flaking residue, or dampness; the surface is reasonably even for its condition; and the seasoning layer looks thin, stable, and free from sticky pools. It should also sit securely and show no cracks or other structural damage.
Deep pits may remain visible after successful cleaning, and that is not automatically a failure. However, a cracked, badly warped, or structurally compromised skillet may not be worth restoring. Tools can remove rust and residue, but they cannot reliably reverse every kind of damage.
FAQ
What is the best tool for removing rust from a cast iron skillet?
There is no single universal winner. A stiff brush or scrub pad is a good starting point for light rust, while a controlled steel-wool-style abrasive or rust eraser can help with more stubborn or localized corrosion. Use the least aggressive tool that solves the problem and inspect the surface often.
Can I use a chainmail scrubber or steel wool on rusty cast iron?
Yes, either can be useful on bare cast iron when used with control. Chainmail is often better for cooked-on residue and later maintenance, while steel-wool-style abrasives generally provide more direct rust removal. Avoid treating enameled cast iron this way unless the manufacturer specifically permits it.
How long should I soak a rusty cast iron skillet in vinegar?
Use a monitored, method-specific soak rather than a fixed universal time. Check the pan regularly, avoid unnecessarily long acid exposure, and stop when the rust has loosened enough for scrubbing. Rinse thoroughly, dry immediately, and follow cookware-specific guidance when available.