Let’s be honest. We’ve all been there. You followed a pizza recipe, spent an hour prepping, and pulled your creation from the oven only to be met with… disappointment. The cheese looks good, the sauce is bubbly, but when you lift a slice, it does the sad, floppy fold. The bottom is pale, a little doughy, and has none of the glorious crunch you get from a pizzeria. It’s a moment that can make you want to put away the flour and just order takeout forever.
But what if I told you the secret to a shatteringly crispy, beautifully browned, professional-level pizza crust wasn’t a fancy pizza stone or a thousand-degree oven? What if it was that heavy black pan sitting on your stovetop right now?
Yes, I’m talking about your cast iron skillet. It’s the unsung hero of the home pizza maker, and today, we’re going to unlock its magic together. We’ll use a shockingly simple, one-hour dough that you don’t even need a mixer for. Get ready to completely change your pizza night game.
Why Your Cast Iron Pan is a Pizza Oven in Disguise
So, what makes a cast iron skillet so special for pizza? It all comes down to one word: heat.
Your home oven is great, but it has a hard time delivering the intense, direct heat to the bottom of the pizza that a professional pizza oven can. A pizza oven has a stone floor (the “deck”) that can reach 700°F (370°C) or more. When the pizza hits that deck, the bottom crust instantly sears and puffs up, creating that classic crisp-chewy texture.
A baking sheet is just too thin. It can’t store and transfer that kind of intense heat. A pizza stone helps, but it needs a long preheat and can be fussy.
A cast iron pan, however, is a thick, dense piece of metal. It’s a beast at absorbing and holding onto heat. When you crank your oven up as high as it will go—we’re talking 500°F or 550°F (260-288°C)—that pan gets incredibly, uniformly hot. When you place your dough inside, the cast iron acts like a mini pizza deck. It essentially fries the bottom of the crust in the olive oil, creating a golden, crunchy foundation that is simply impossible to get on a regular baking sheet. (It’s the best kind of fried dough you’ll ever have.)
Think of it like searing a steak. You need a screaming hot pan to get that perfect crust. The same principle applies here. Your cast iron pan delivers that sear, solving the dreaded soggy bottom problem once and for all.
The Magic One-Hour, No-Mixer Dough
The perfect pan needs the perfect dough, right? You might be thinking of recipes that require hours of rising, complicated kneading schedules, or a powerful stand mixer. Forget all of that.
This dough is a high-hydration, no-knead wonder. “High-hydration” just means it has a higher ratio of water to flour, which makes it a little sticky but also creates a light, airy crumb with lots of bubbles. “No-knead” means the gluten develops on its own while the dough rests. It’s the perfect recipe for beginners because it’s incredibly forgiving and requires nothing more than a bowl and a spoon.
Here’s what you’ll need for one 10- or 12-inch pizza:
- Bread Flour: 300 grams (about 2 cups). Bread flour has more protein, which gives a chewier crust. If all you have is All-Purpose flour, it will still be delicious, just a little less chewy.
- Warm Water: 225 grams (about 1 cup). You want it to be around 100°F (38°C)—warm to the touch, like a baby’s bottle, but not hot.
- Instant Yeast: 1 teaspoon. Sometimes called rapid-rise yeast.
- Fine Sea Salt: 1 teaspoon.
- Honey or Sugar: 1 teaspoon. This is just a little snack to get the yeast working quickly.
- Olive Oil: For the pan. Don’t be shy with it!
The Steps (It’s This Easy):
- Combine the Dry Stuff: In a medium-sized bowl, whisk together the flour, instant yeast, and salt. This just makes sure everything is evenly distributed before you add the water.
- Mix in the Wet Stuff: Pour in the warm water and the honey. Using a sturdy spoon or a spatula, mix until everything is just combined and there are no dry patches of flour left. The dough will look shaggy, messy, and very sticky. (This is exactly what you want! Don’t be tempted to add more flour.)
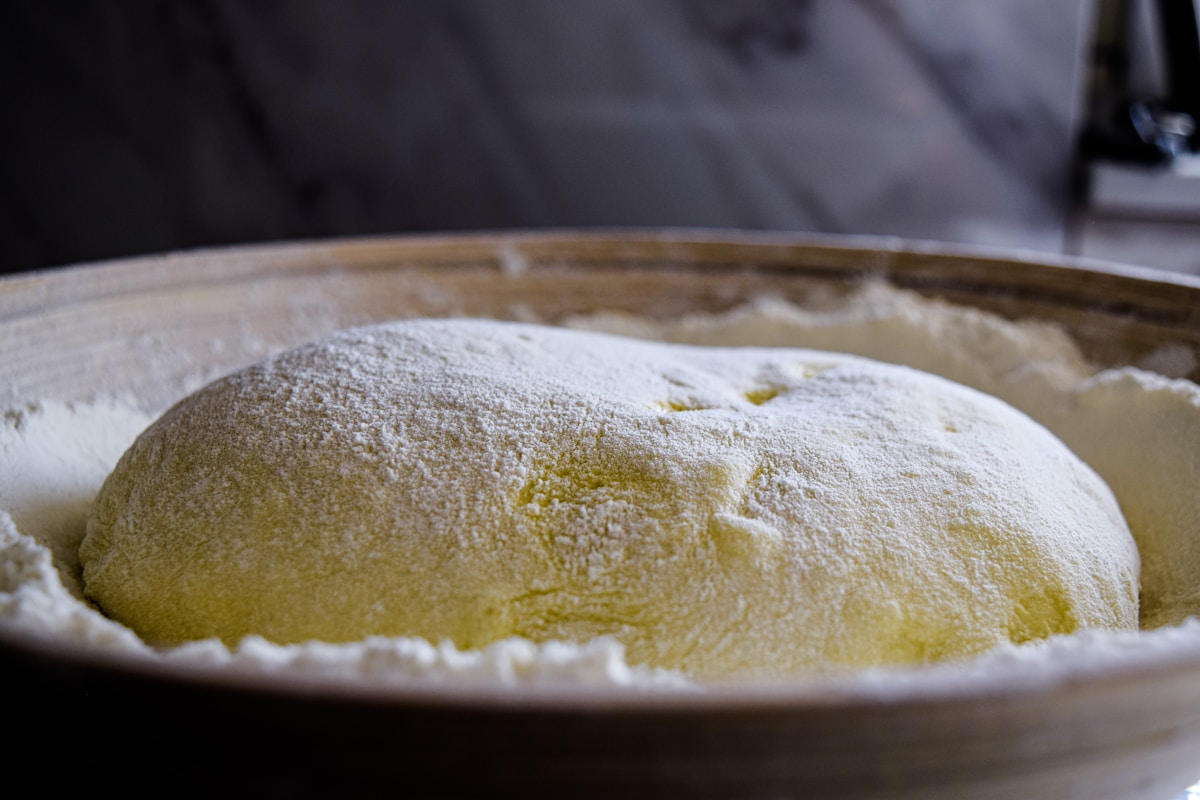
- Let it Rest: Cover the bowl with a plate or plastic wrap and place it in a warm, draft-free spot in your kitchen for one hour. You can even place it in your oven with just the oven light on. After an hour, the dough should have doubled in size and you’ll see lots of bubbles on the surface. That’s it! Your pizza dough is ready.
Assembling and Baking Your Masterpiece
This is where the magic happens. Timing is everything here, so let’s walk through it step-by-step.
The Prep:
- Crank the Oven: About 30 minutes before your dough is finished rising, place an oven rack in the upper-middle position and preheat your oven to its highest possible temperature. For most home ovens, this is 500°F or 550°F (260-288°C). Let it get fully, completely hot.
- Oil Your Pan: Pour a generous amount of olive oil into your 10- or 12-inch cast iron skillet—at least 2 to 3 tablespoons. Swirl it around to coat the entire bottom and the sides. (Your future self will thank you when the pizza slides right out.)
- Shape the Dough: Once the dough has risen, use a spatula to gently scrape it out of the bowl and into the center of your oiled skillet. The dough will be sticky, so drizzle a little olive oil on your fingertips. This is my favorite kitchen hack—it prevents the dough from sticking to you without adding extra flour. Now, gently press and stretch the dough out toward the edges of the pan. Don’t worry about making it a perfect circle. A rustic look is part of the charm! Let it be thicker at the edges to create a nice crust.
Toppings & Baking:
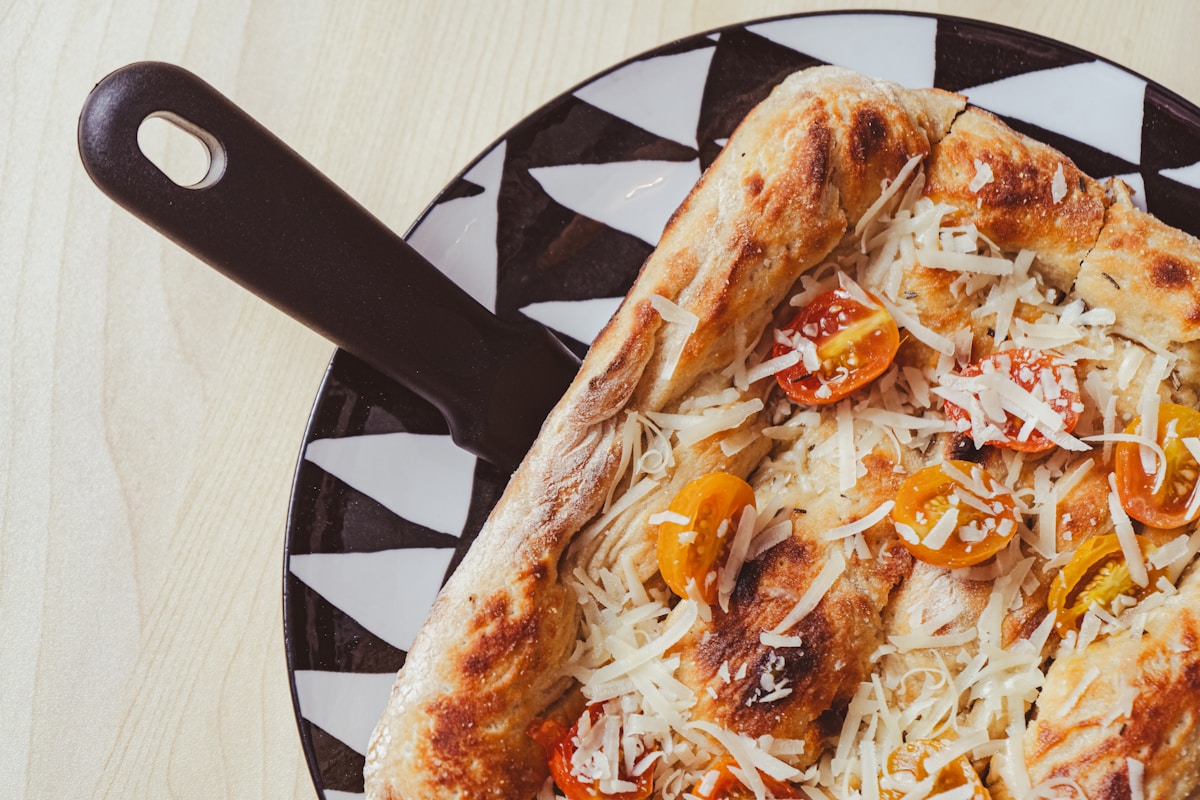
- Top It Up (In the Pan): Now you can add your toppings directly to the dough in the skillet. For your first time, I recommend a simple Margherita: a thin layer of crushed tomato sauce (leave a border around the edge), some torn fresh mozzarella, and a few fresh basil leaves. Keeping it simple lets the amazing crust shine.
- Into the Fire: Carefully place the skillet onto the hot rack in your preheated oven.
- Bake for 12-15 Minutes: The exact time will depend on your oven’s heat. Start checking around the 12-minute mark. You’re looking for deeply golden-brown, puffy edges and bubbly, slightly browned cheese. The best part? You don’t have to worry about the bottom. The cast iron has that covered.
- The Grand Finale: Using sturdy oven mitts (that pan is incredibly hot!), carefully remove the skillet from the oven. Let it rest for a minute, then use a spatula to slide the pizza out of the pan and onto a cutting board. The sizzle you hear is the sound of success. Let it cool for a few minutes before slicing, so the cheese doesn’t slide off.
Common Questions and Gentle Troubleshooting
It’s your first time, so let’s head off a few common worries before they start. Remember, the kitchen is more forgiving than you think!
-
“Help! My dough is a sticky monster!” Yes, it is! And that’s a good thing. A sticky, high-hydration dough creates a light and airy crust. The trick is not to fight it. Instead of adding more flour (which will make the crust dense), use oiled hands to handle it. The oil creates a barrier and makes the dough manageable.
-
“Can I make the dough ahead of time?” Absolutely. After you mix it, you can place the covered bowl in the refrigerator for up to 3 days. The flavor will actually get even better! Just be sure to take it out and let it sit at room temperature for about 2-3 hours to warm up before you shape it in the pan.
-
“My smoke alarm went off!” This can happen at very high oven temperatures, especially if there’s any old food debris in your oven or if some olive oil splashes. It’s usually nothing to worry about. Just make sure your kitchen is ventilated. It’s a small price to pay for pizza this good.
-
“I don’t have a cast iron pan. What else can I use?” While a cast iron skillet is truly the star here, you can get a decent result with a heavy-bottomed, oven-safe stainless steel skillet. You won’t get quite the same deep, fried-like crisp on the bottom, but it’s much better than a thin baking sheet. Just make sure the handle is oven-safe! (No plastic.)
Try This Tonight
Don’t wait for the “perfect” time to try this. Pizza night is tonight!
Gather the four simple ingredients for the dough. Mix it up when you get home from work. While it rests for an hour, you can prep your simple toppings, pour a glass of wine, and get excited. In less than 90 minutes from when you started, you’ll be pulling a beautiful, bubbling, ridiculously crispy pizza out of your oven.
Take a bite. Hear that crunch. Taste that crust. That’s not takeout pizza. That’s your pizza. And it’s amazing. Welcome to the cast iron pizza club. You’re going to love it here.